Stage 1: Demo, Clean, And Prepare The Van

Let's get started!
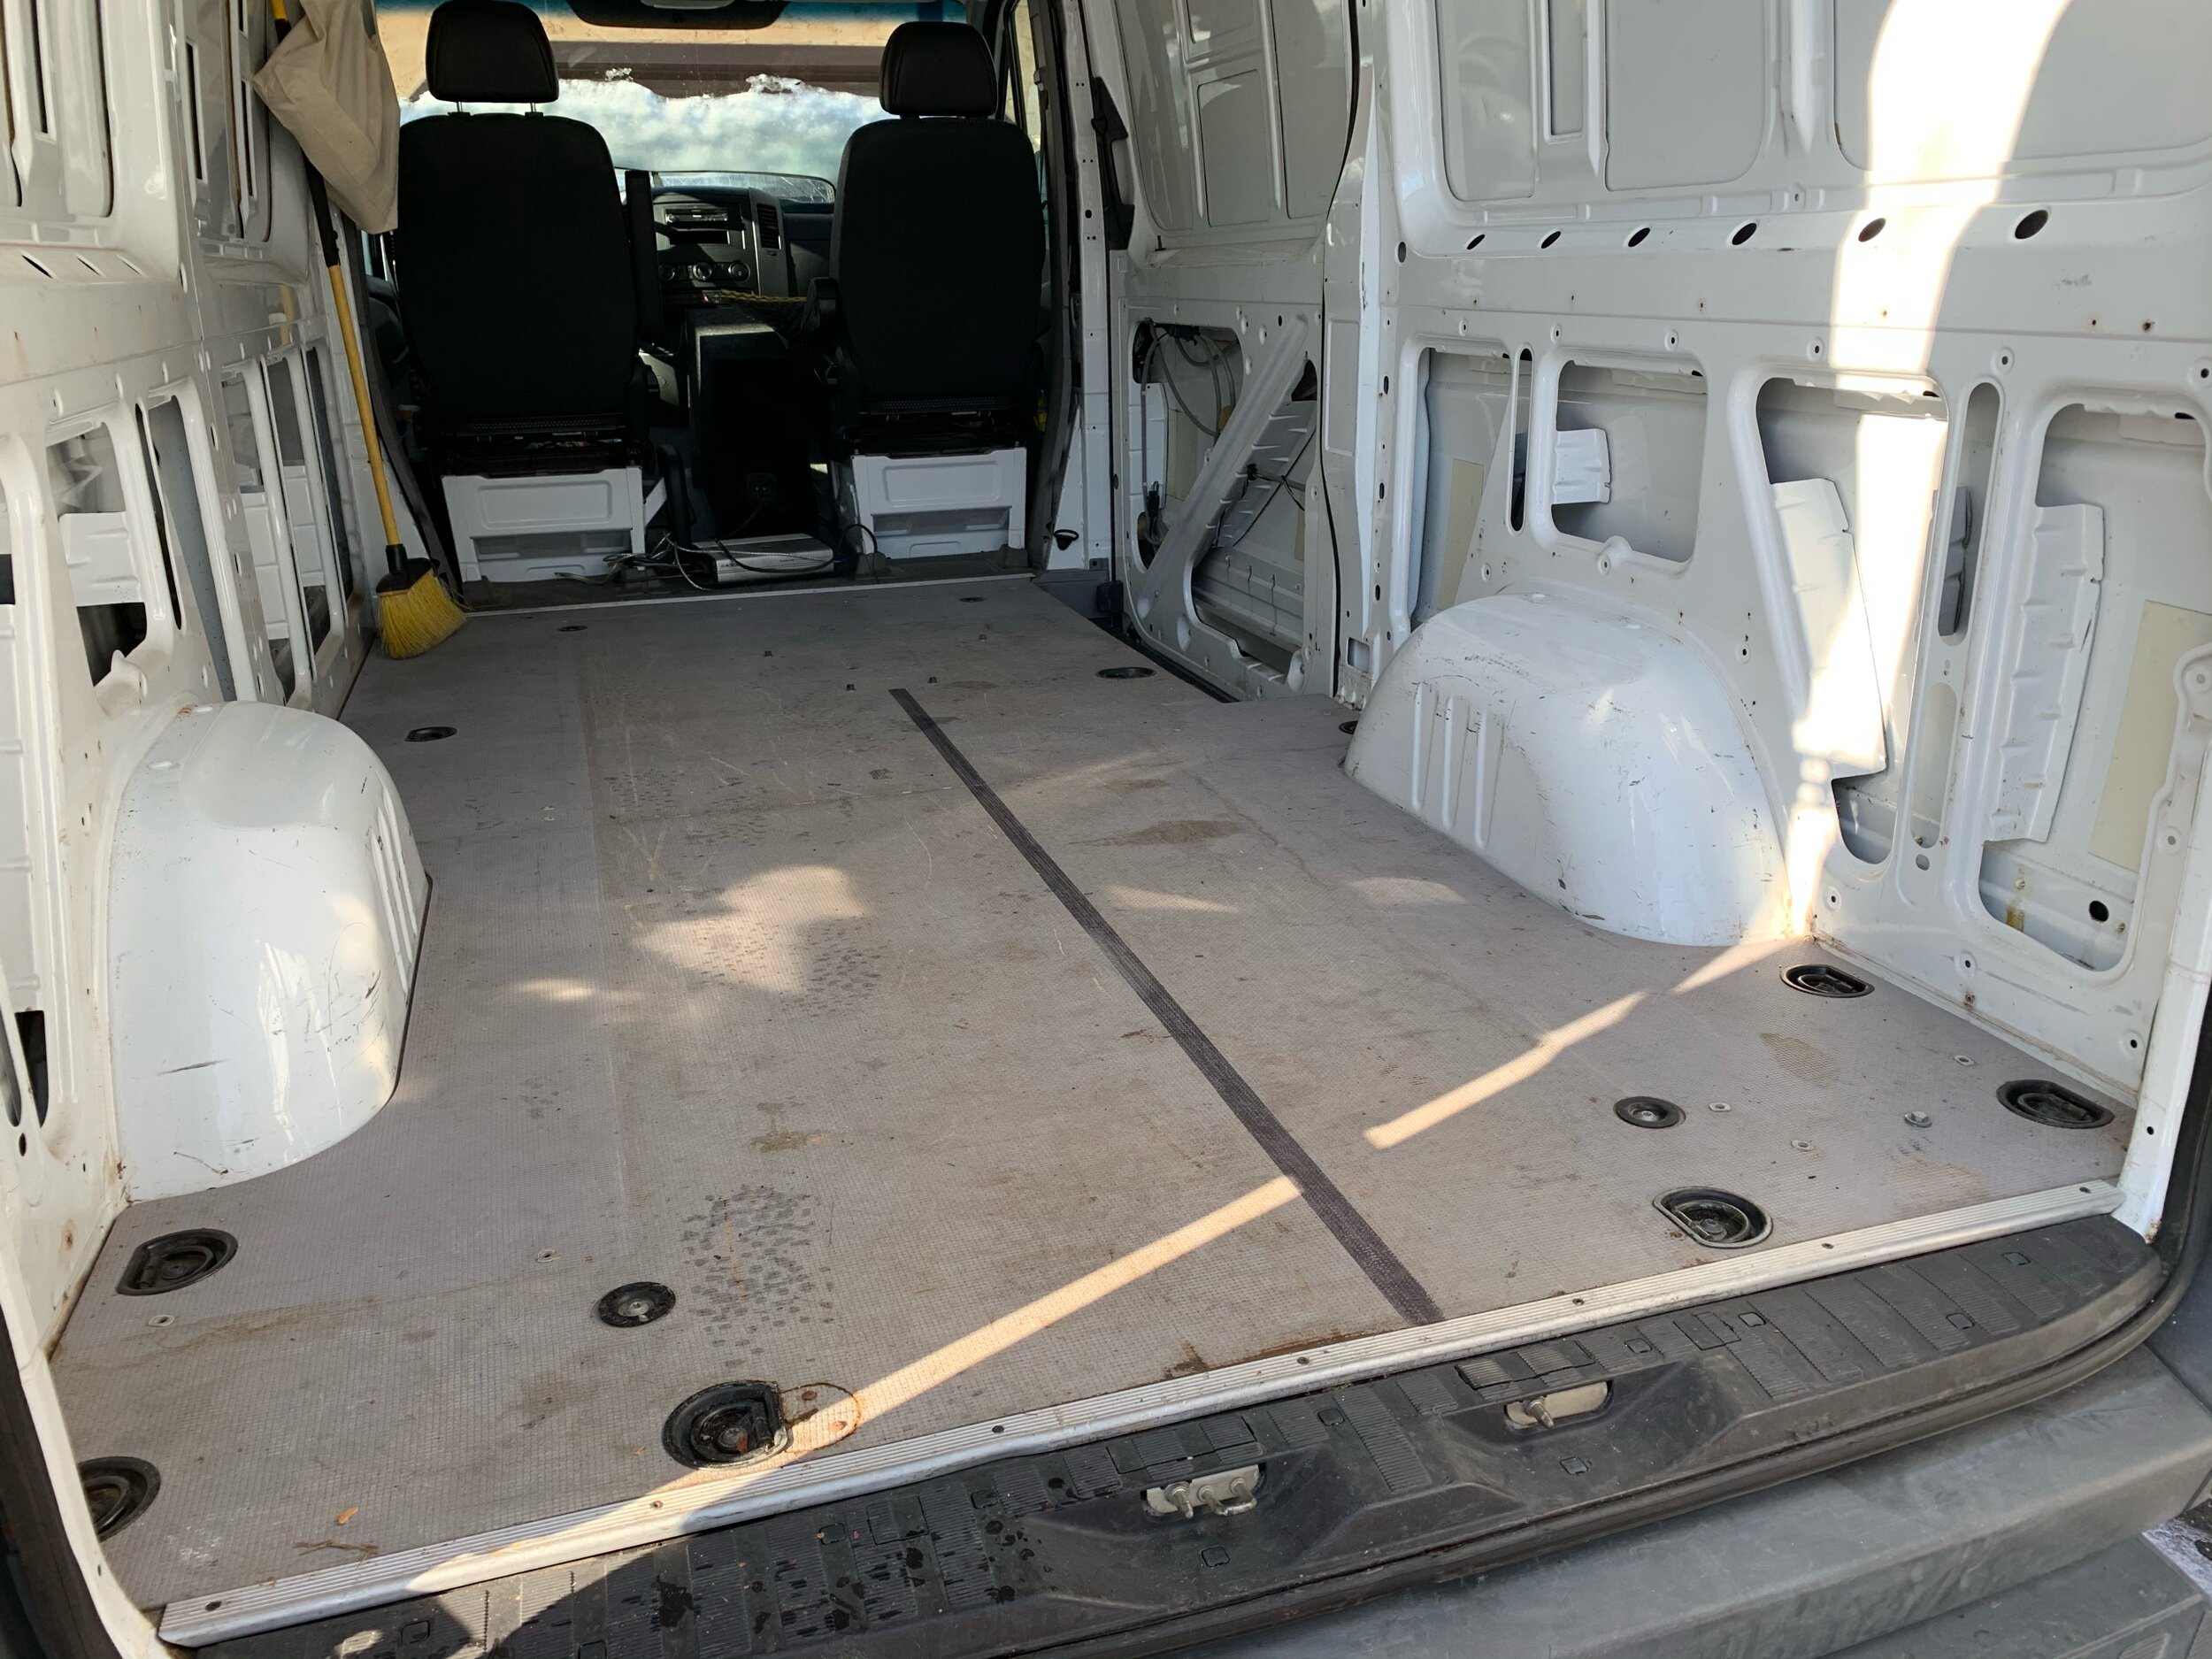
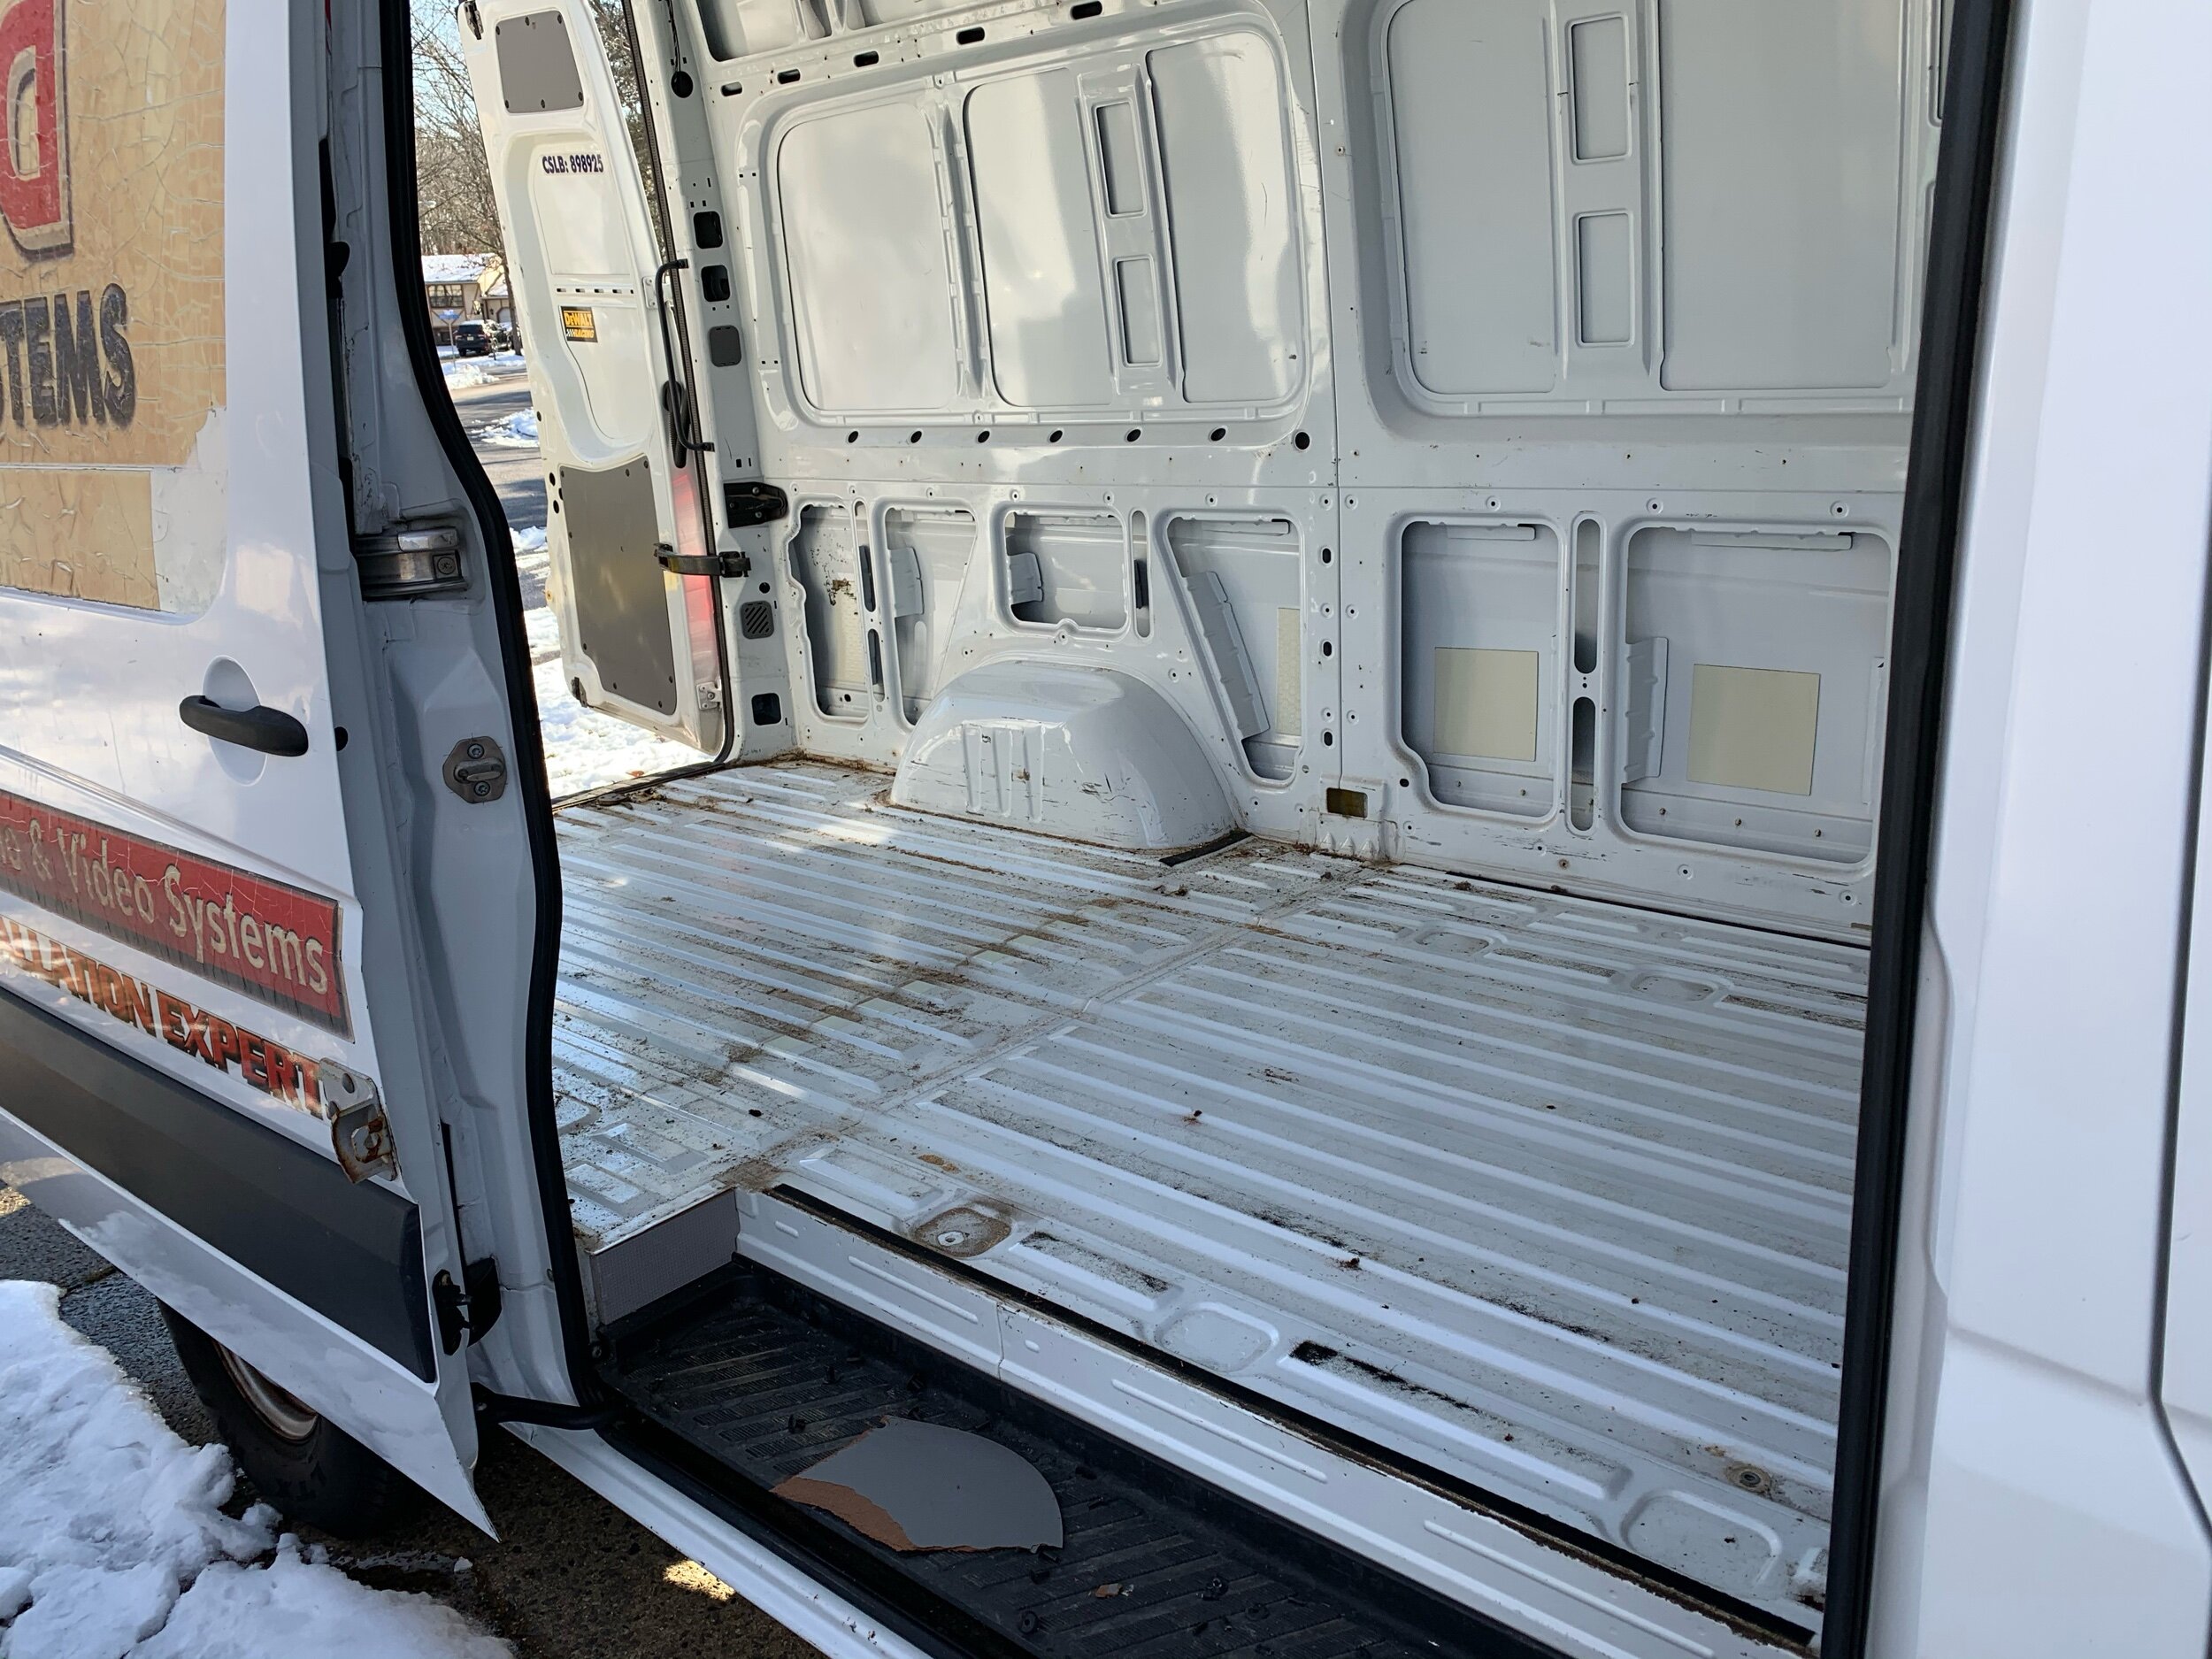
The first stage in our van build started with clearing out the cargo area and preparing the space to build. Our 2007 Dodge Sprinter came with a variety of commercial equipment, i.e. ladder rack, metal partition, and storage shelves, all of which, we didn't need and could sell.
It took us two days to remove everything since there were a million nuts and bolts (no exaggeration) holding the metal partition and shelves in place. Looking back, this important stage makes all the difference and feels like major progress. If you buy a new, empty, or clean van, consider yourself lucky!
The preparation stage is no joke. Sealing any holes from potential rust and water damage will save you down the road.

Demo-day! Matt starting on the van demo which included removing these PVC pipes.
Stage one
Remove metal shelves, partition, and wall coverings
It took us two days to remove the shelves, partition, and wall coverings. The metal shelves were bolted through the floor and into the walls, which left a few sizeable holes.
The wall coverings were made of MDF board which we thought we could keep to cover the driver-side wall. However, everything had to come out so we could prep the space, address any holes in the floor, and later, add sound deadening and insulation.
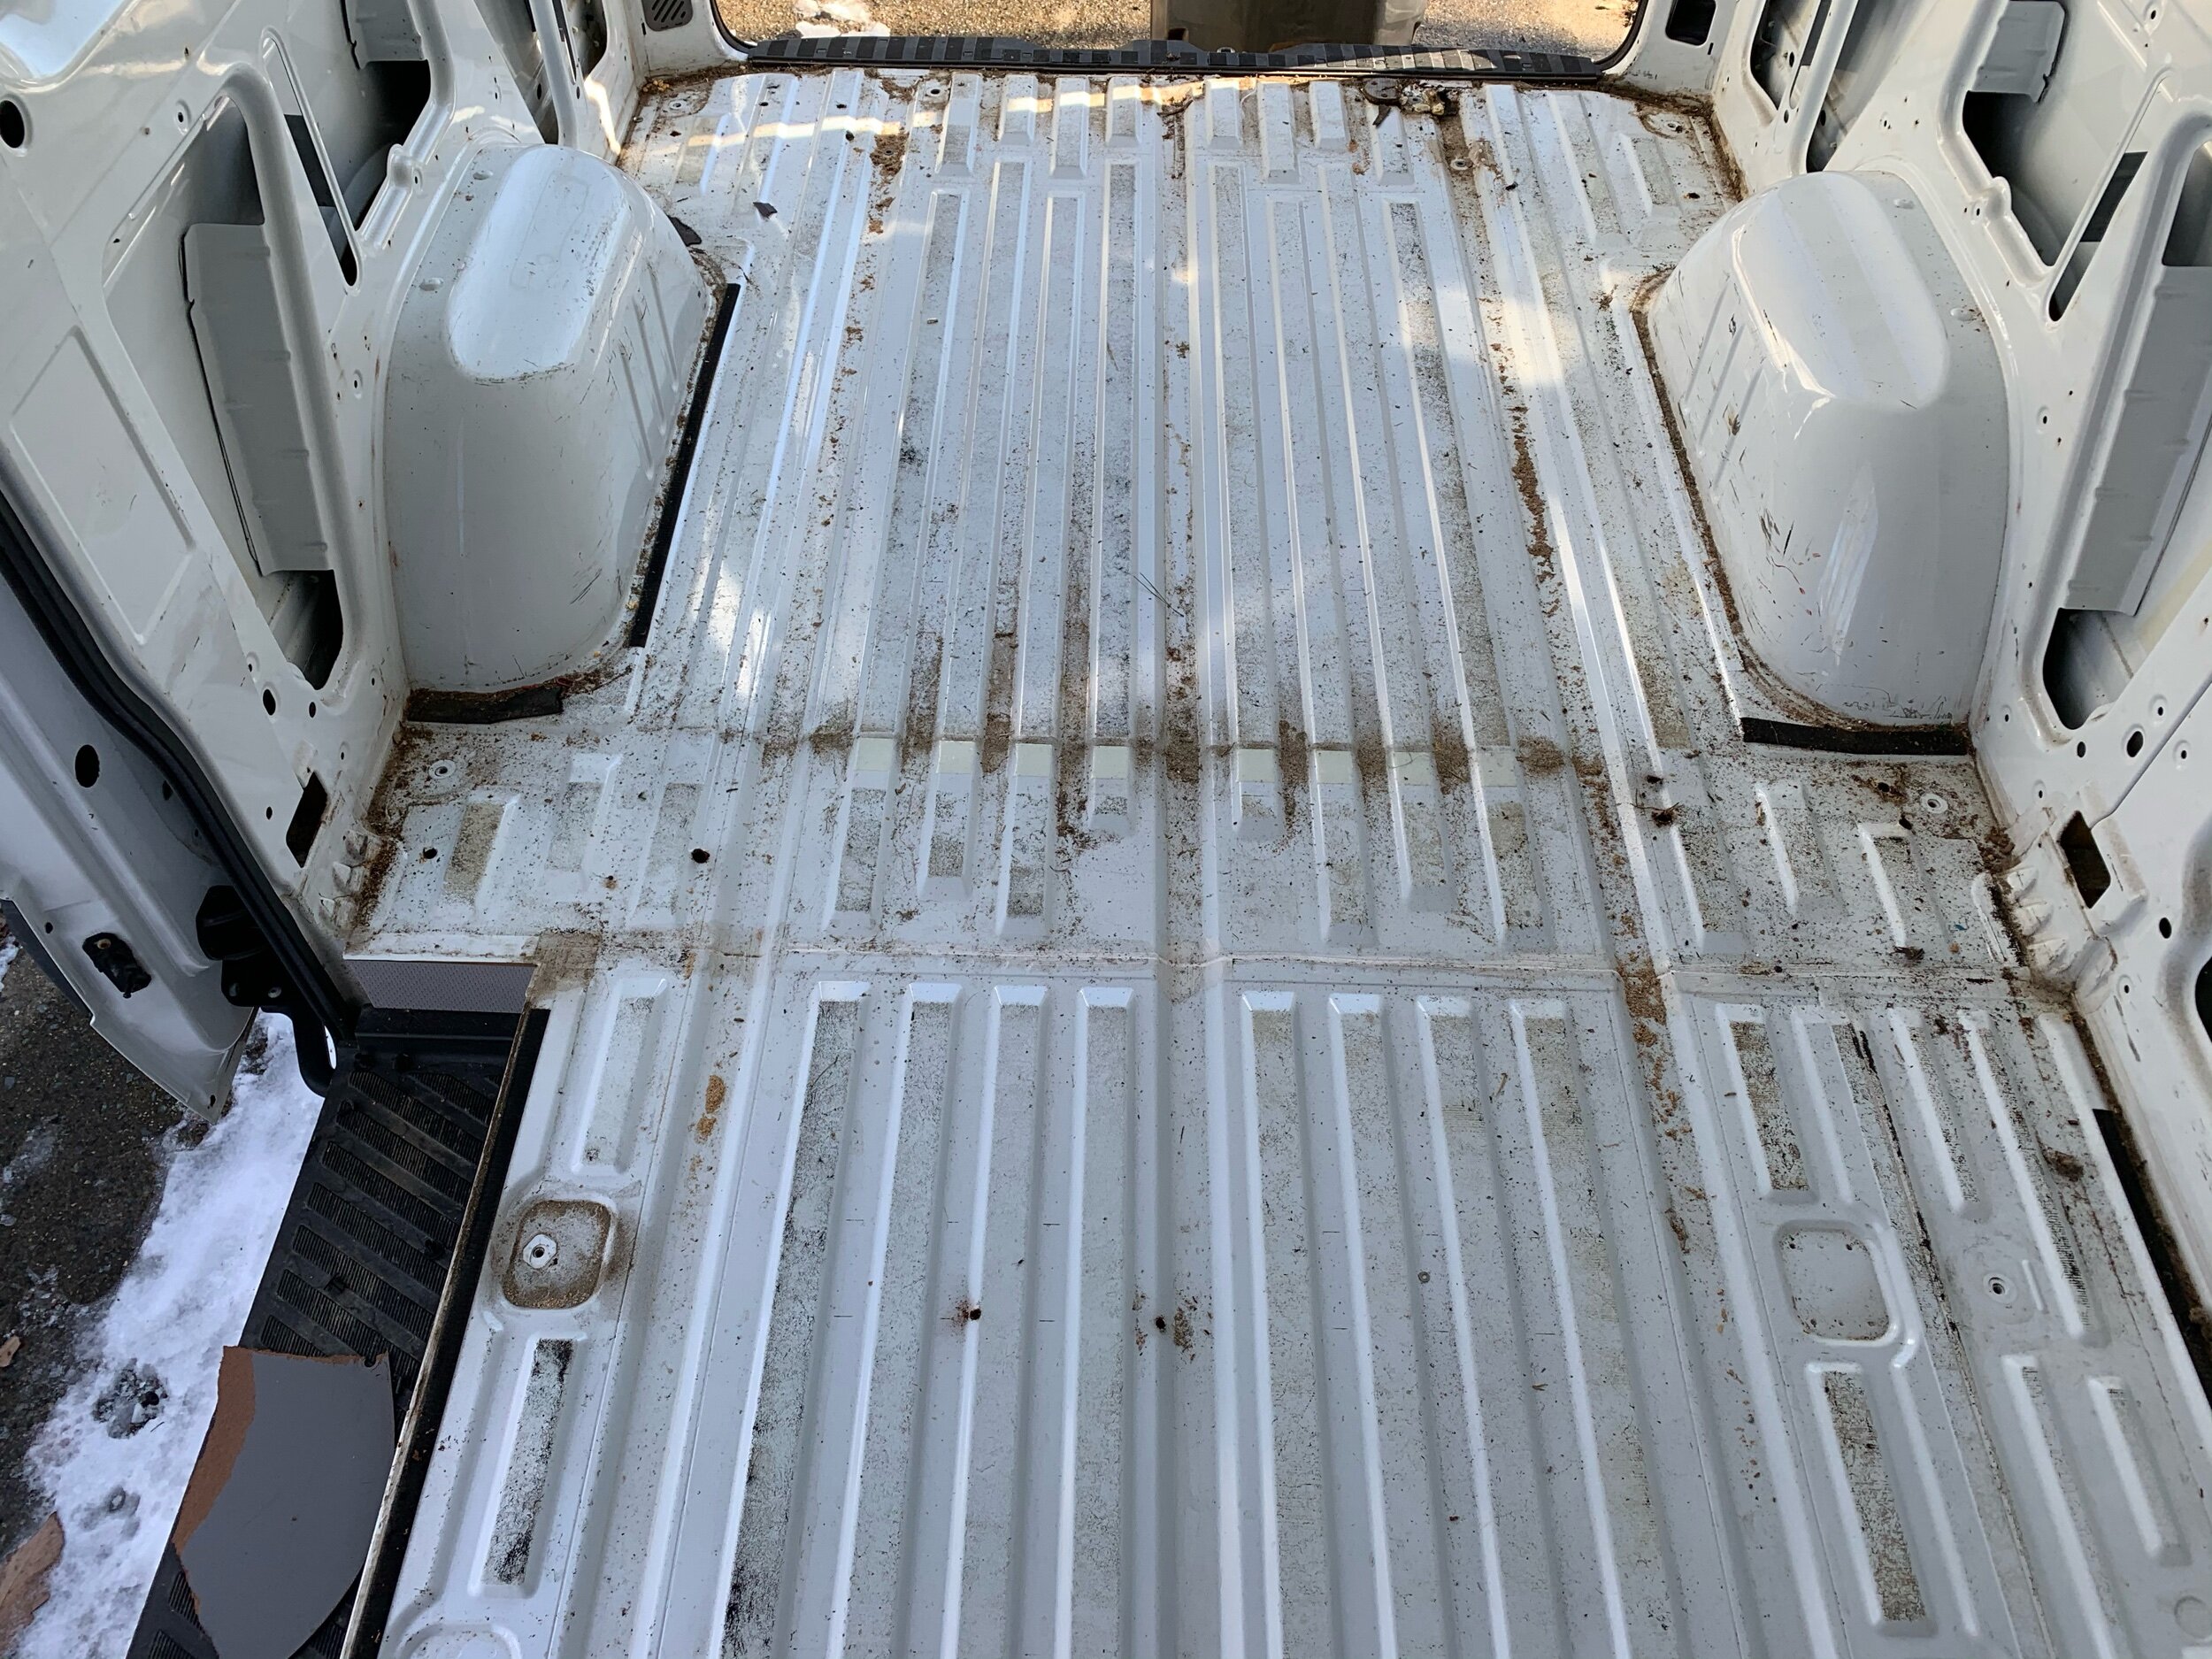
Remove flooring
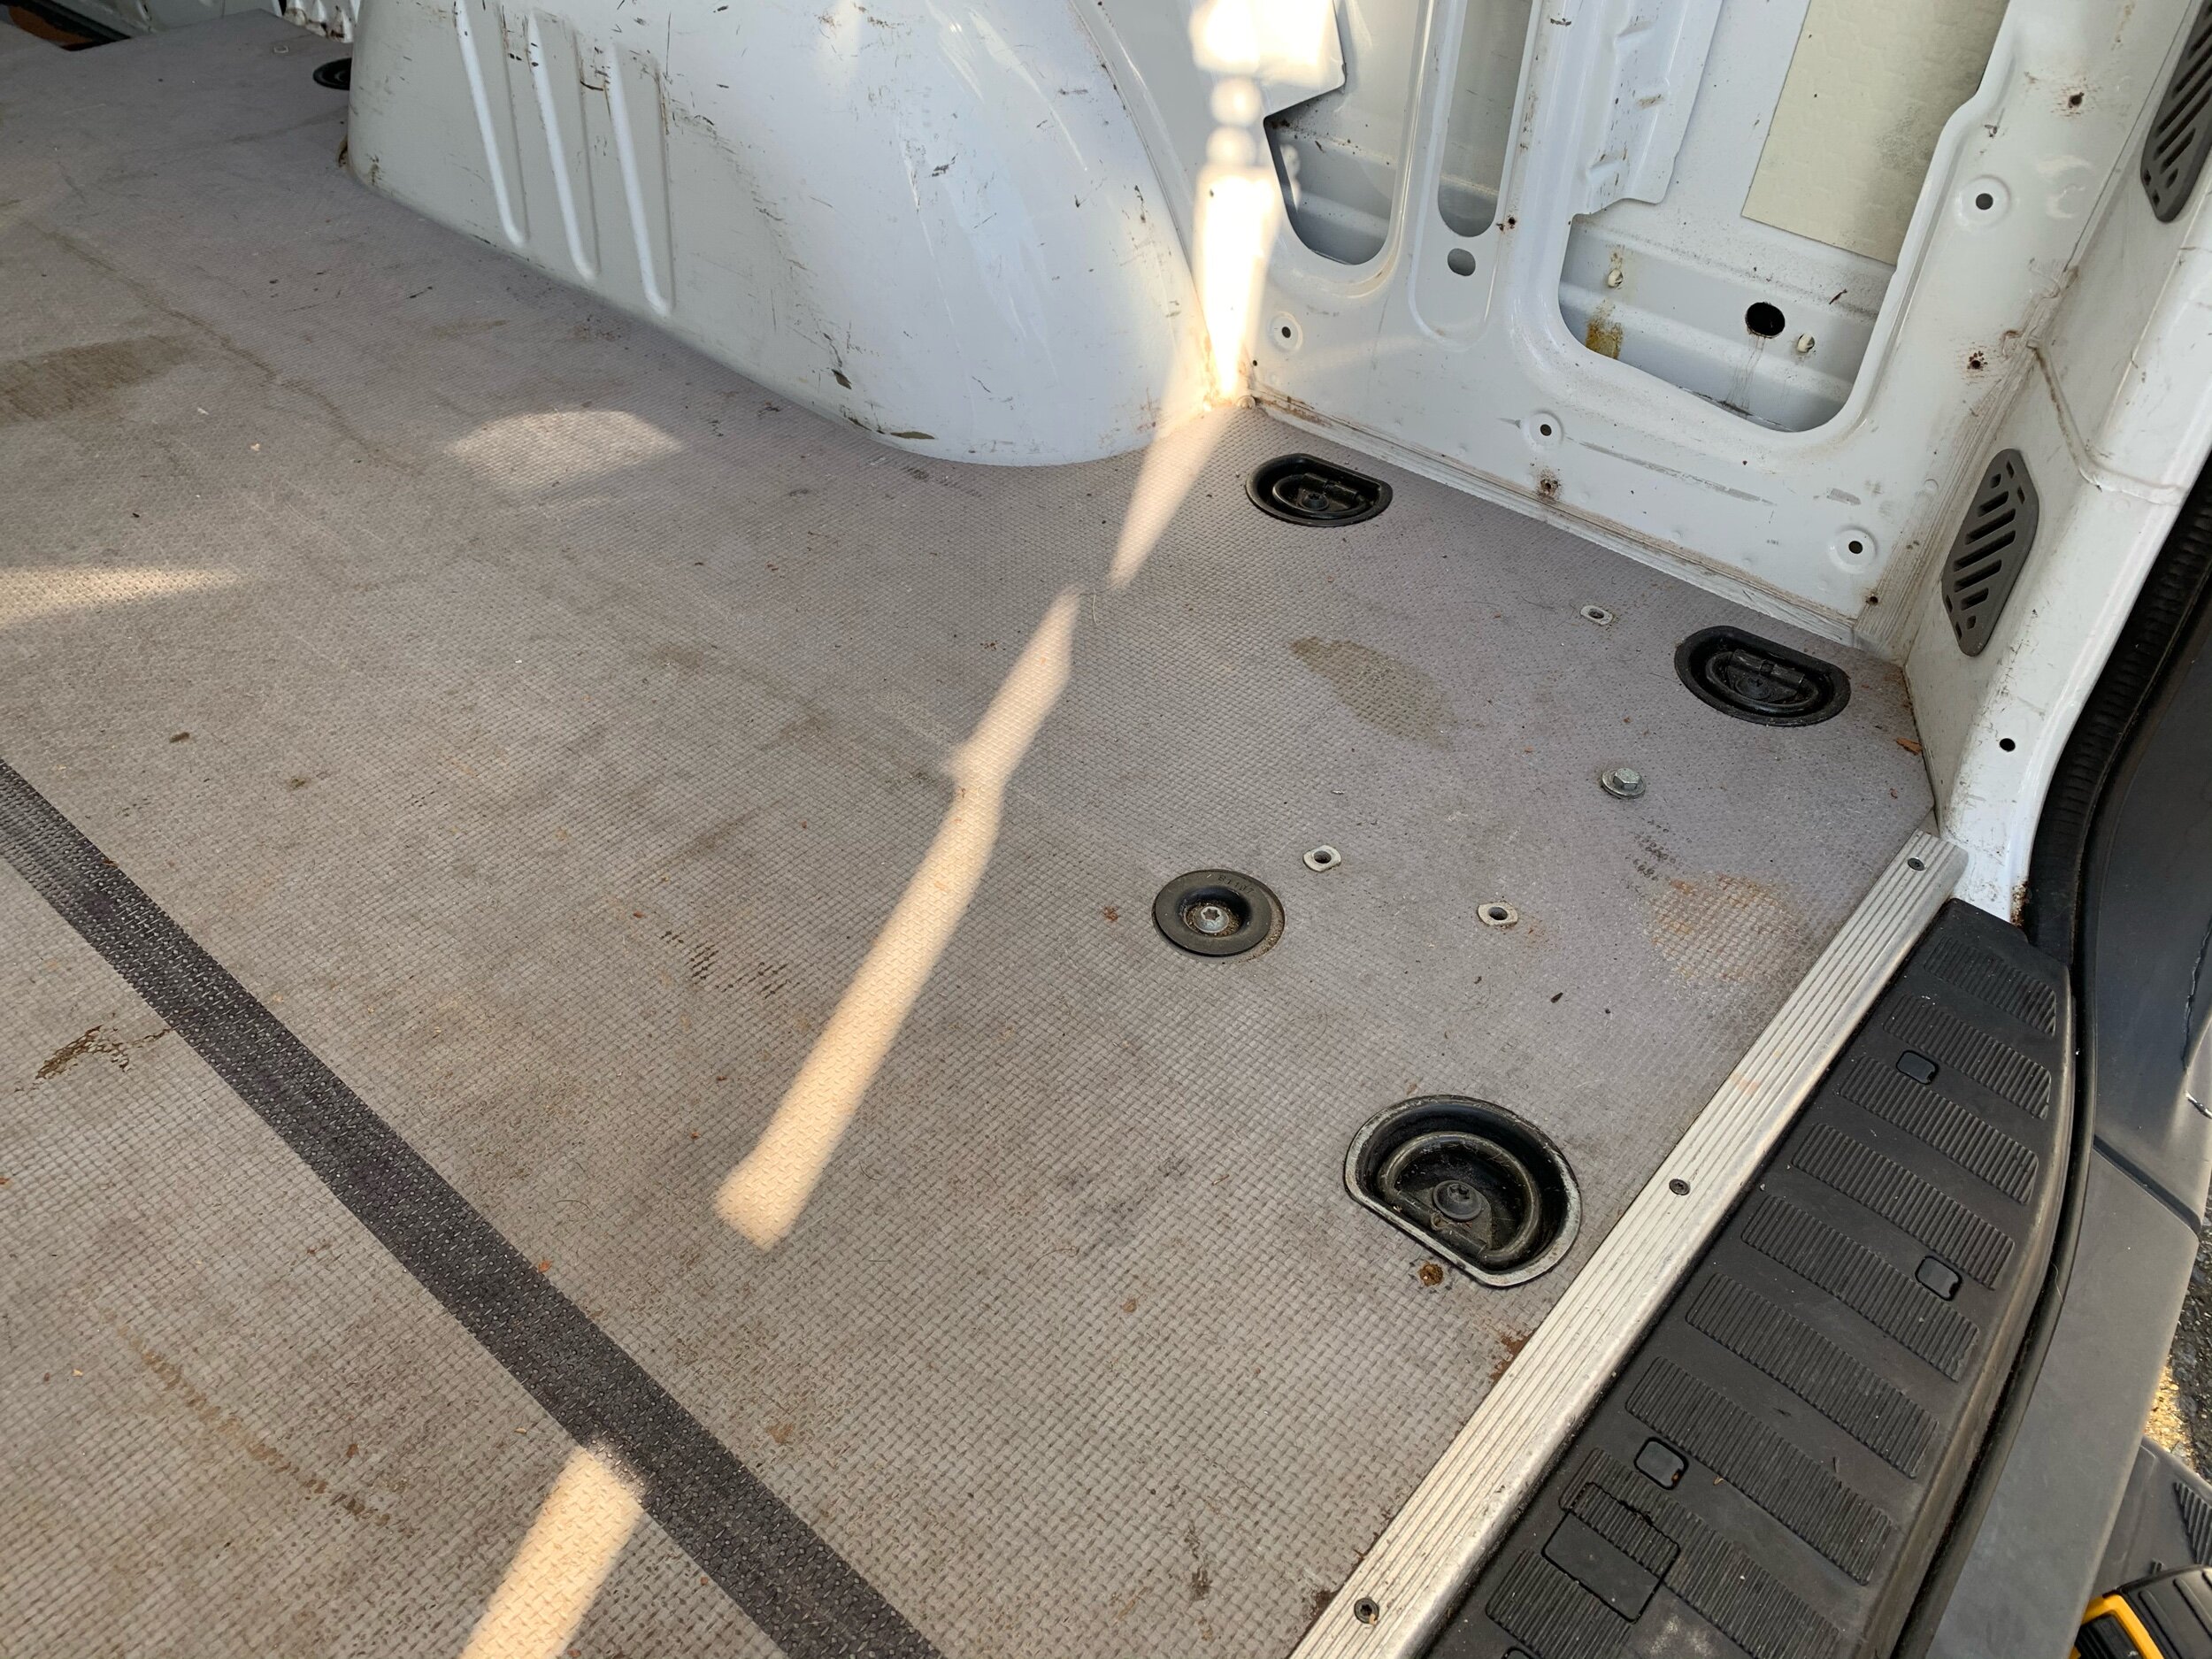
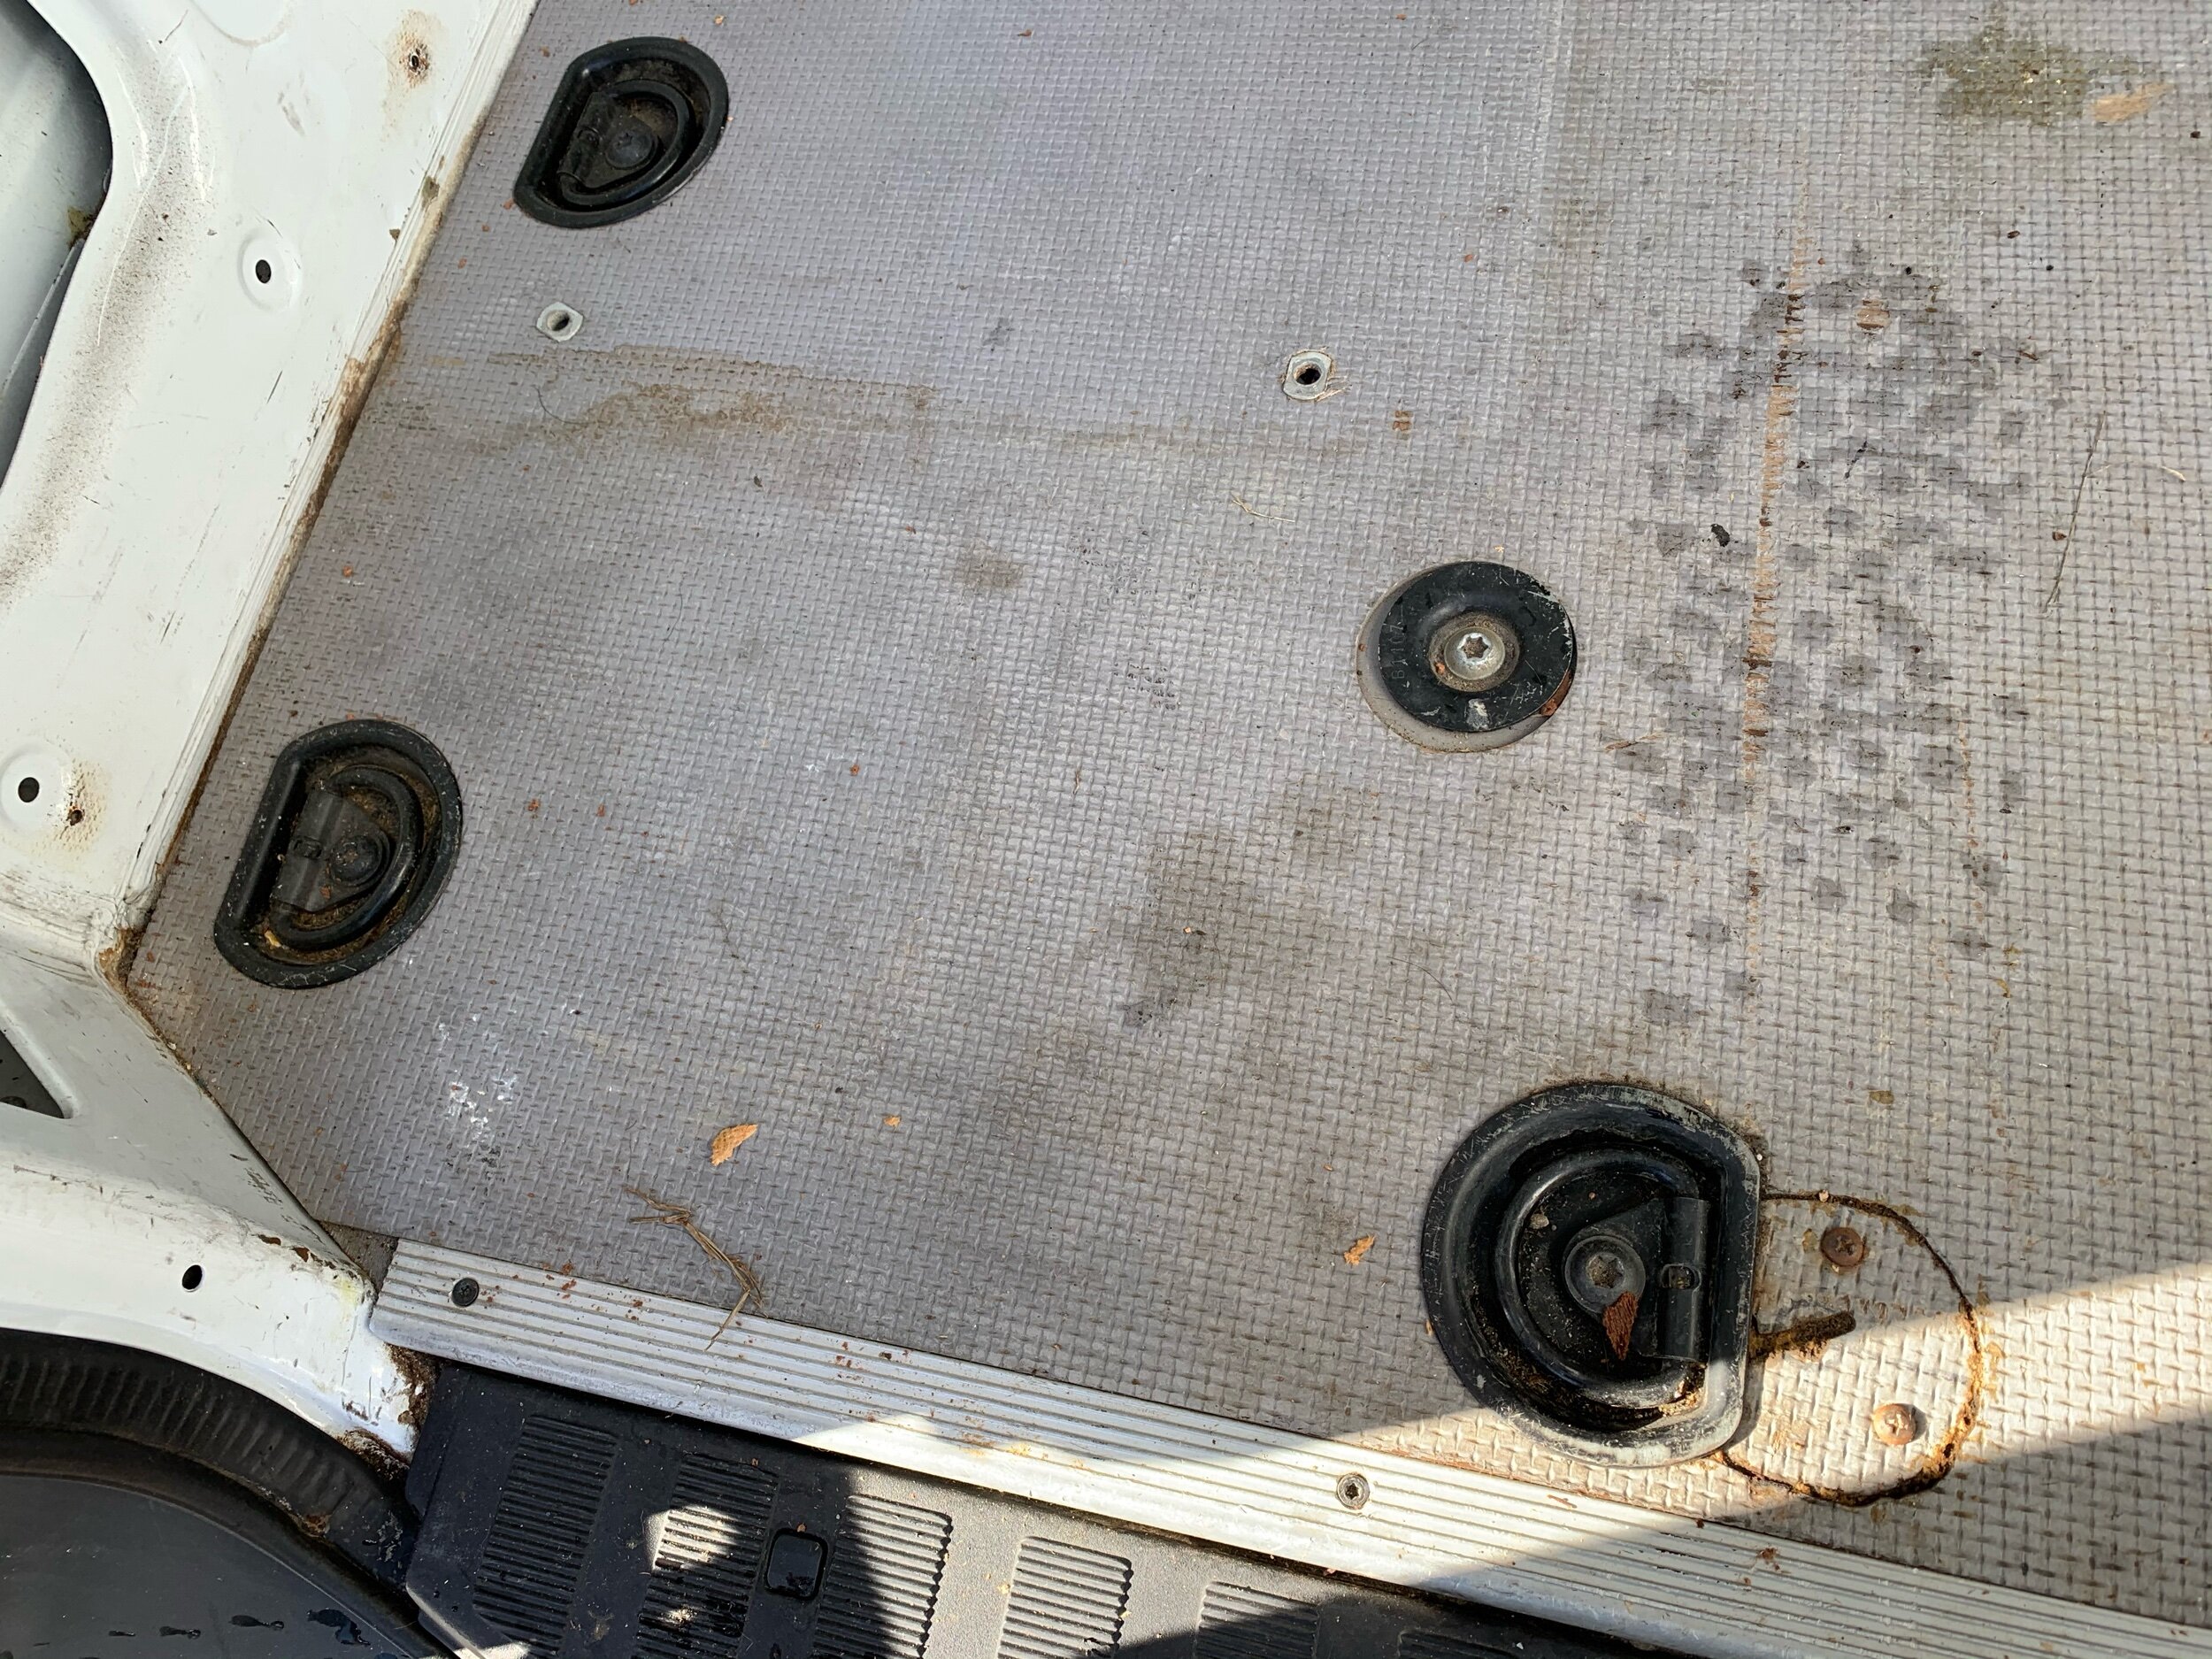
The original floor in our Sprinter came apart in two parts. The floor was screwed through to the metal with D-rings and automotive bolts. We used a star bit to remove the bolts and kept everything organized in bags since we planned to reuse the bolts to hold our new floor in place.
In addition to the bolts, the floor was also held in place with heavy duty velcro along the walls. I had never seen this in any YouTube van videos, so I was surprised to see this. We had to pull pretty hard to separate the velcro but eventually the floor came apart and in two pieces we took it out. I'd also like to note our floor was on the heavier side, so at least two people for tackling this job.

Matt holding the original van floor.
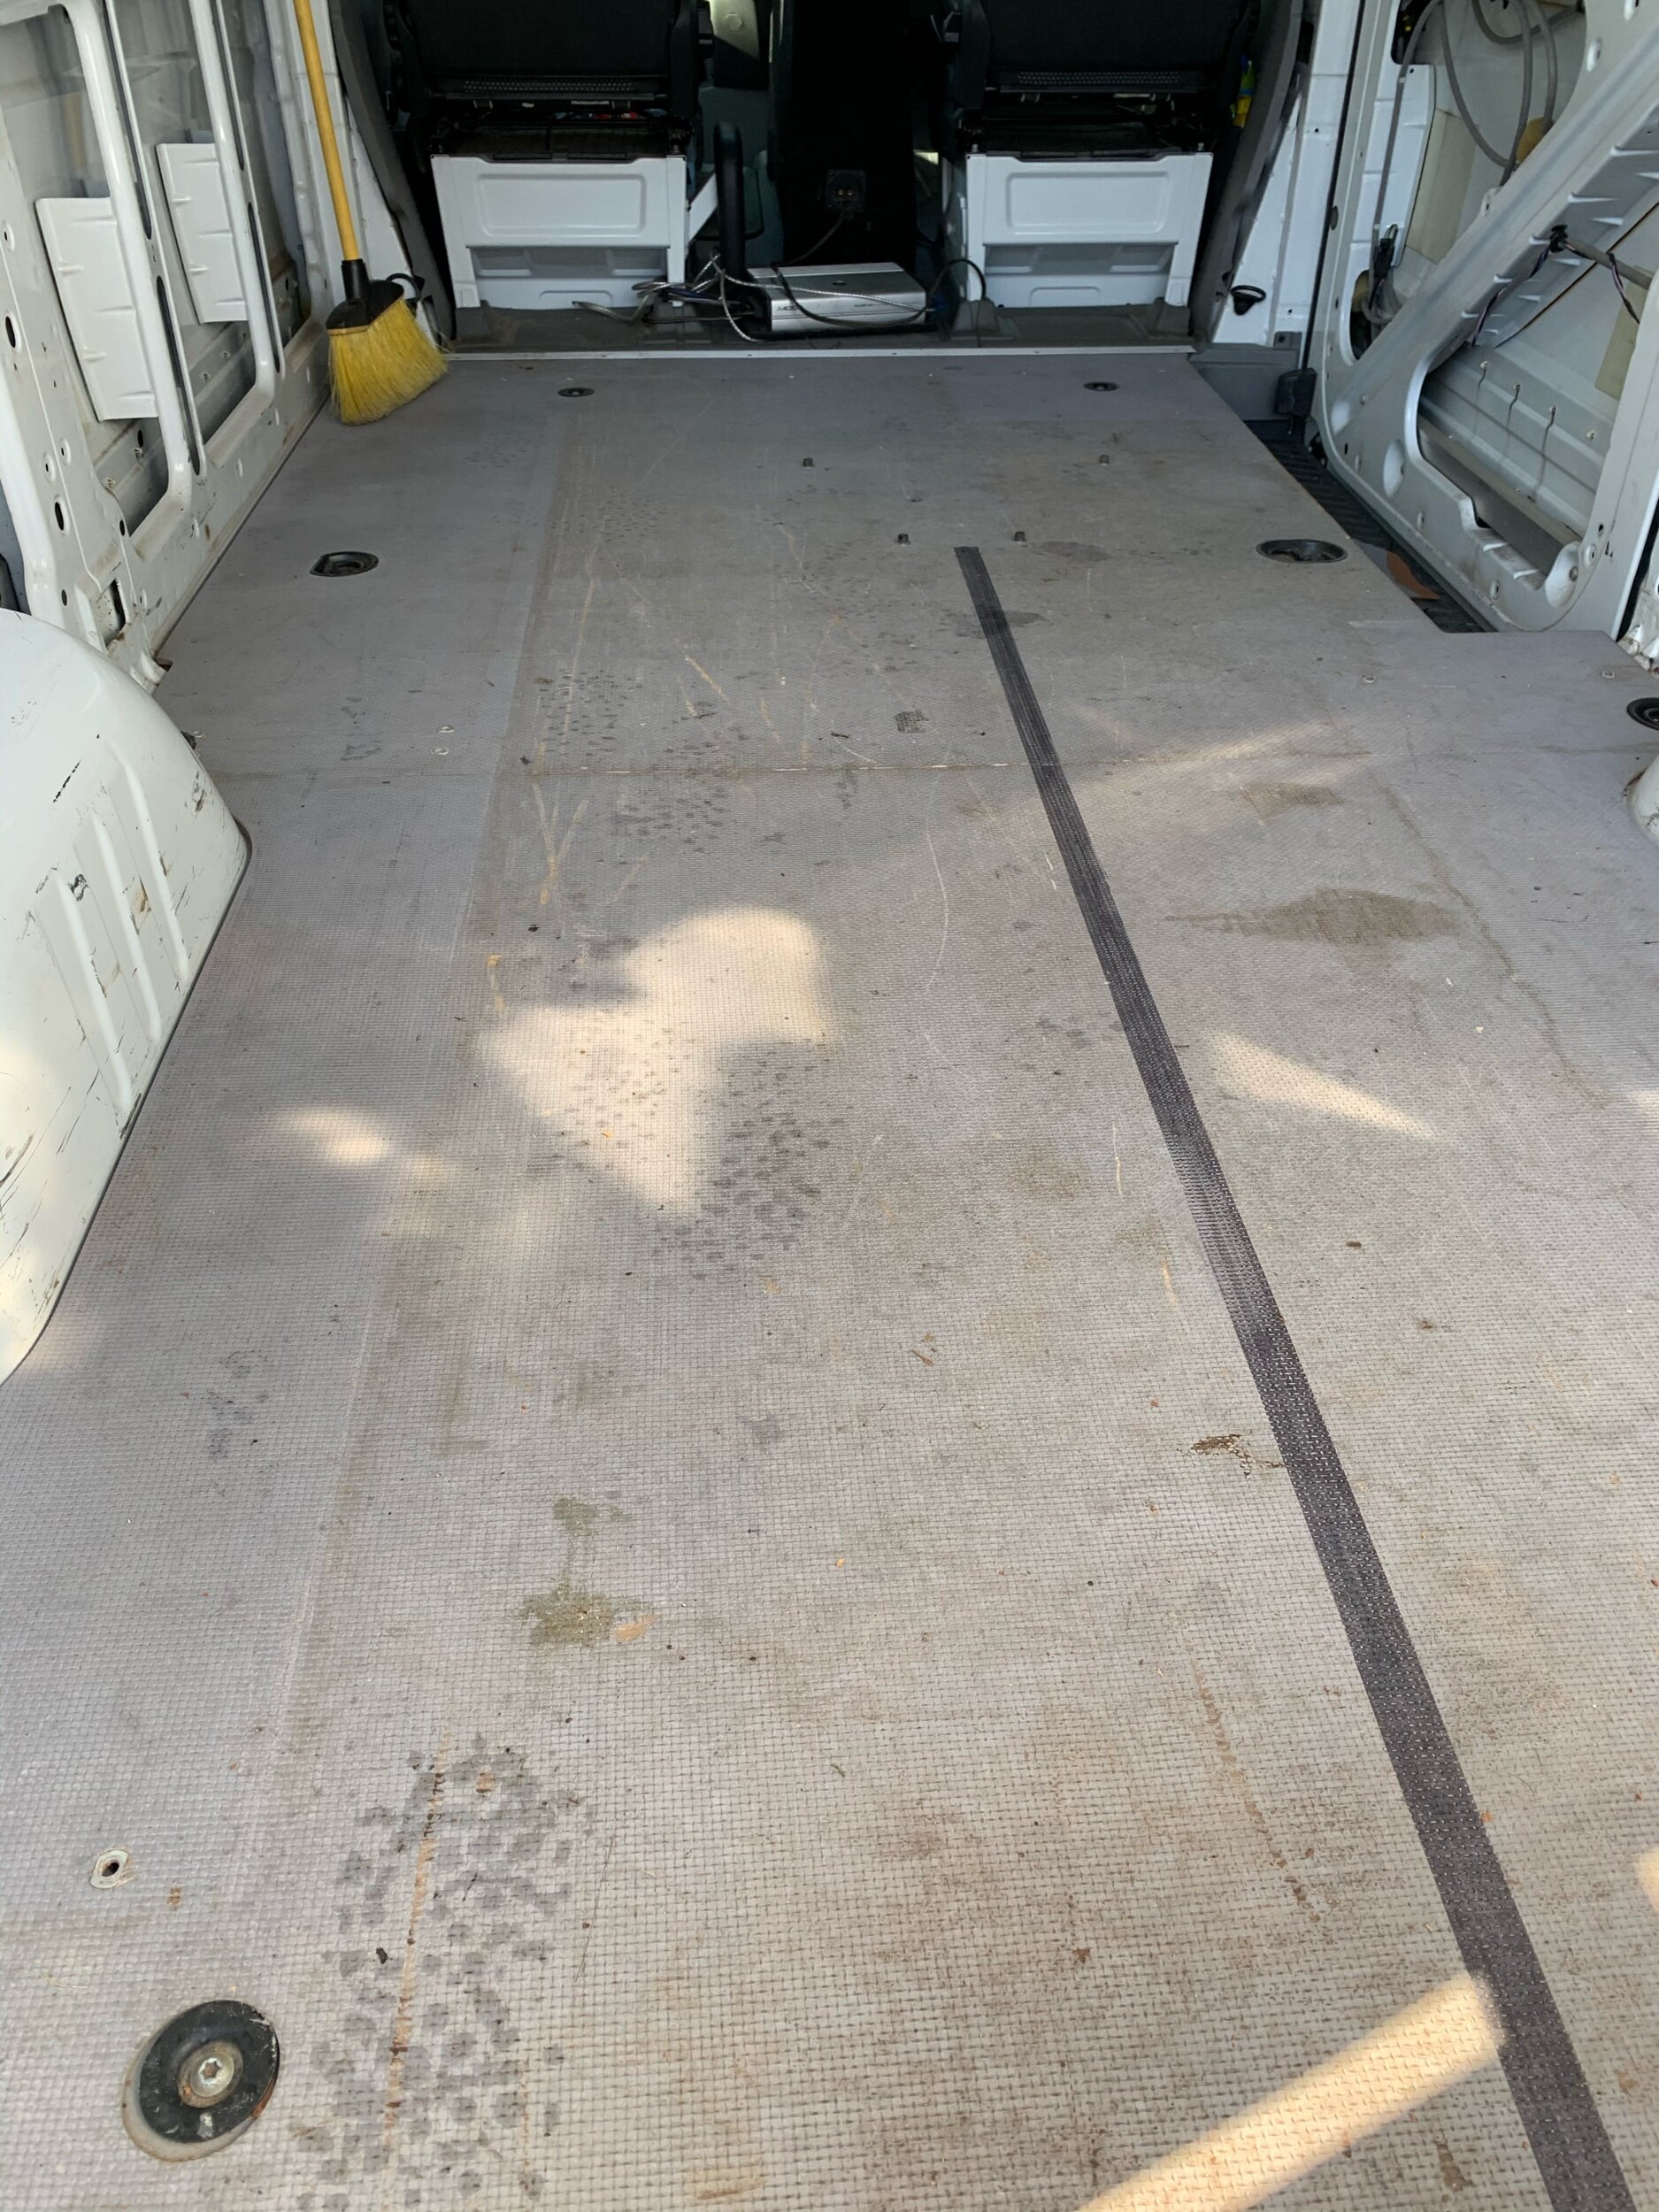
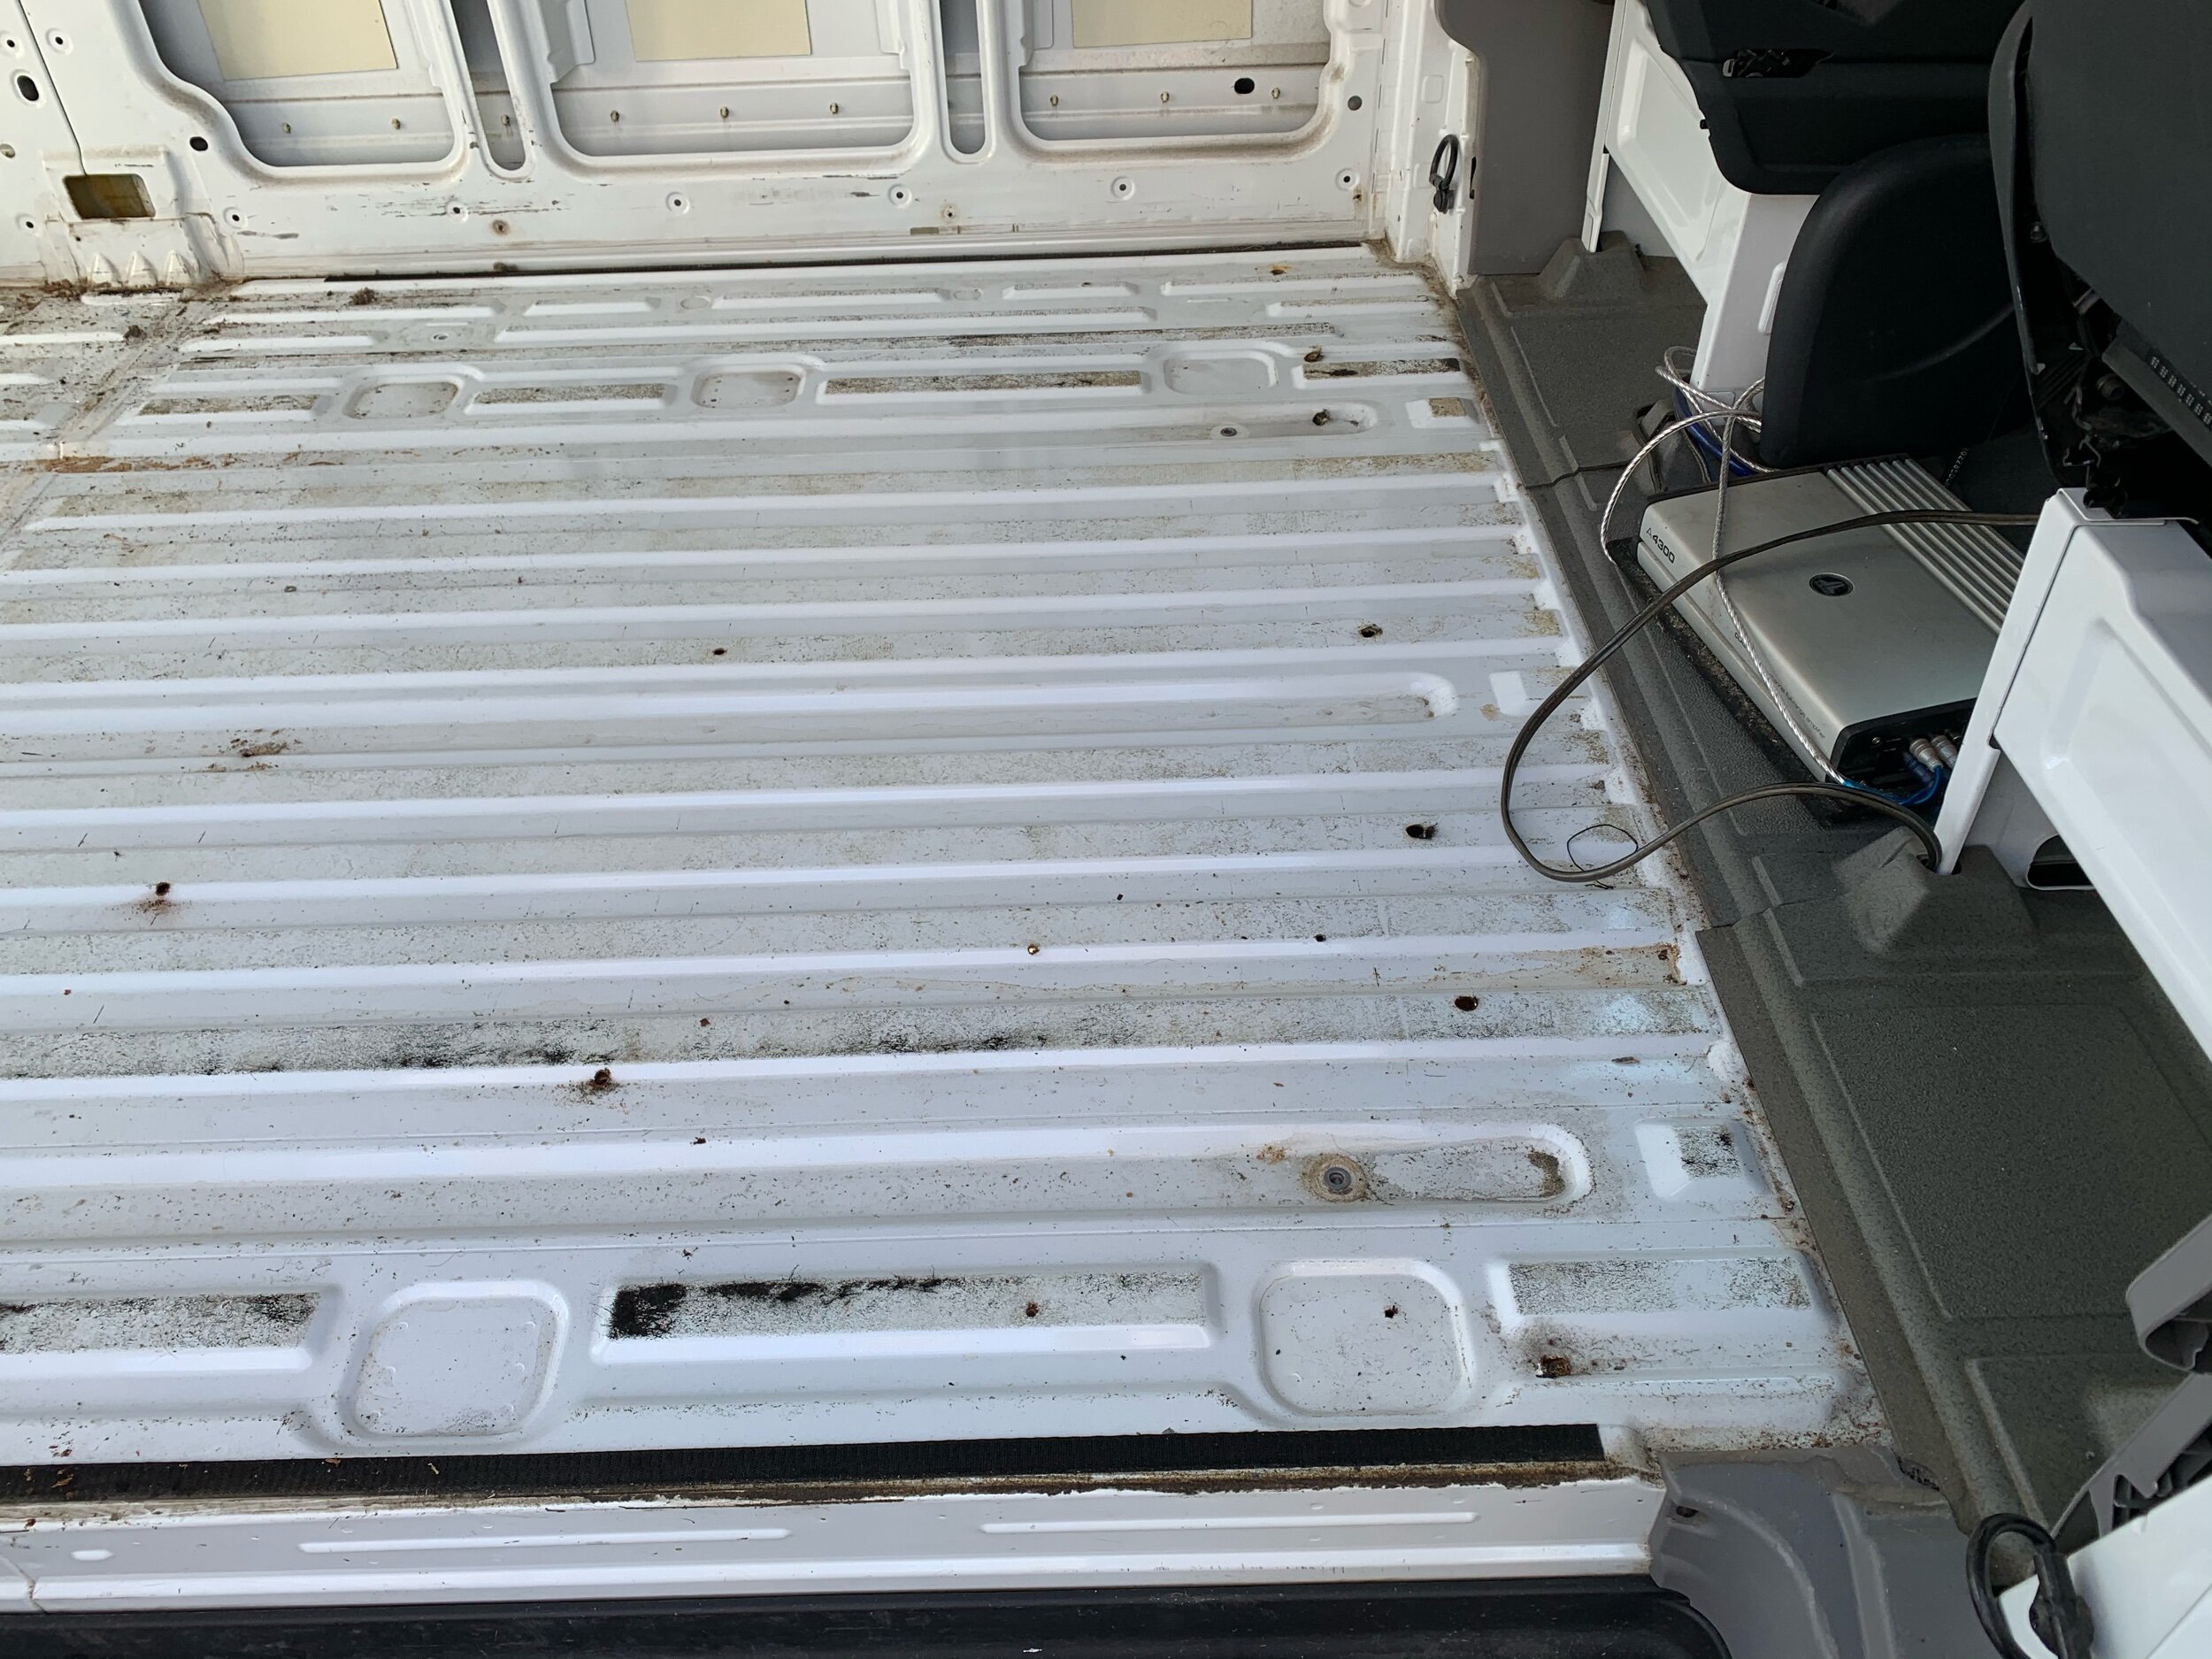
Sweep and clean
Once the floor was removed, we could really start to see how much dirt and debris had collected over time. A good sweep and vaccum followed by a good cleaning was next. My mom introduced us to LA's Totally Awesome All-Purpose Cleaner and it worked wonders on every surface in the van. A small amount of this cleaner and degreaser goes a long way so we knew this would be a staple cleaning product in the van. We used microfiber towels with the Awesome cleaner and rinsed them with water at the end of the day to reduce our waste and use for the next day. Matt and I prefer not to use single-use paper towels, so microfiber towels are a must-have for van life.
Repair and fill holes

Prepping to fill the holes in the van floor with J-B Weld.
After the floor was cleaned, we could see the holes and areas we needed to patch. My dad recommended J-B Weld, a two-part steel and hardener combination to fill the holes. For only $5.50, I thought this was an affordable and effective solution. Matt taped the holes from underneath the van with aluminum tape and then I filled the holes from inside the van with J-B Weld. An old gift card was a great tool to mix and apply the material and then scrape away the excess.

We discovered a small area of rust underneath the van floor.
When we removed the floor, we noticed a palm-size area with rust damage. We used a sander tool to buff the area to the bare metal, added aluminum tape to the underside, and then filled the holes with J-B Weld.
J-B Weld requires a curing temperature of at least 60 degrees. With no insulation in the van and mid-December temperatures in the 40s, we ran into an issue with keeping the van warm enough to let the welding dry. We borrowed a friend's portable heater and set it up in the van to help. We let the J-B Weld fully cure and dry overnight before moving on to the next step, applying the Rustoleum Primer and Paint.
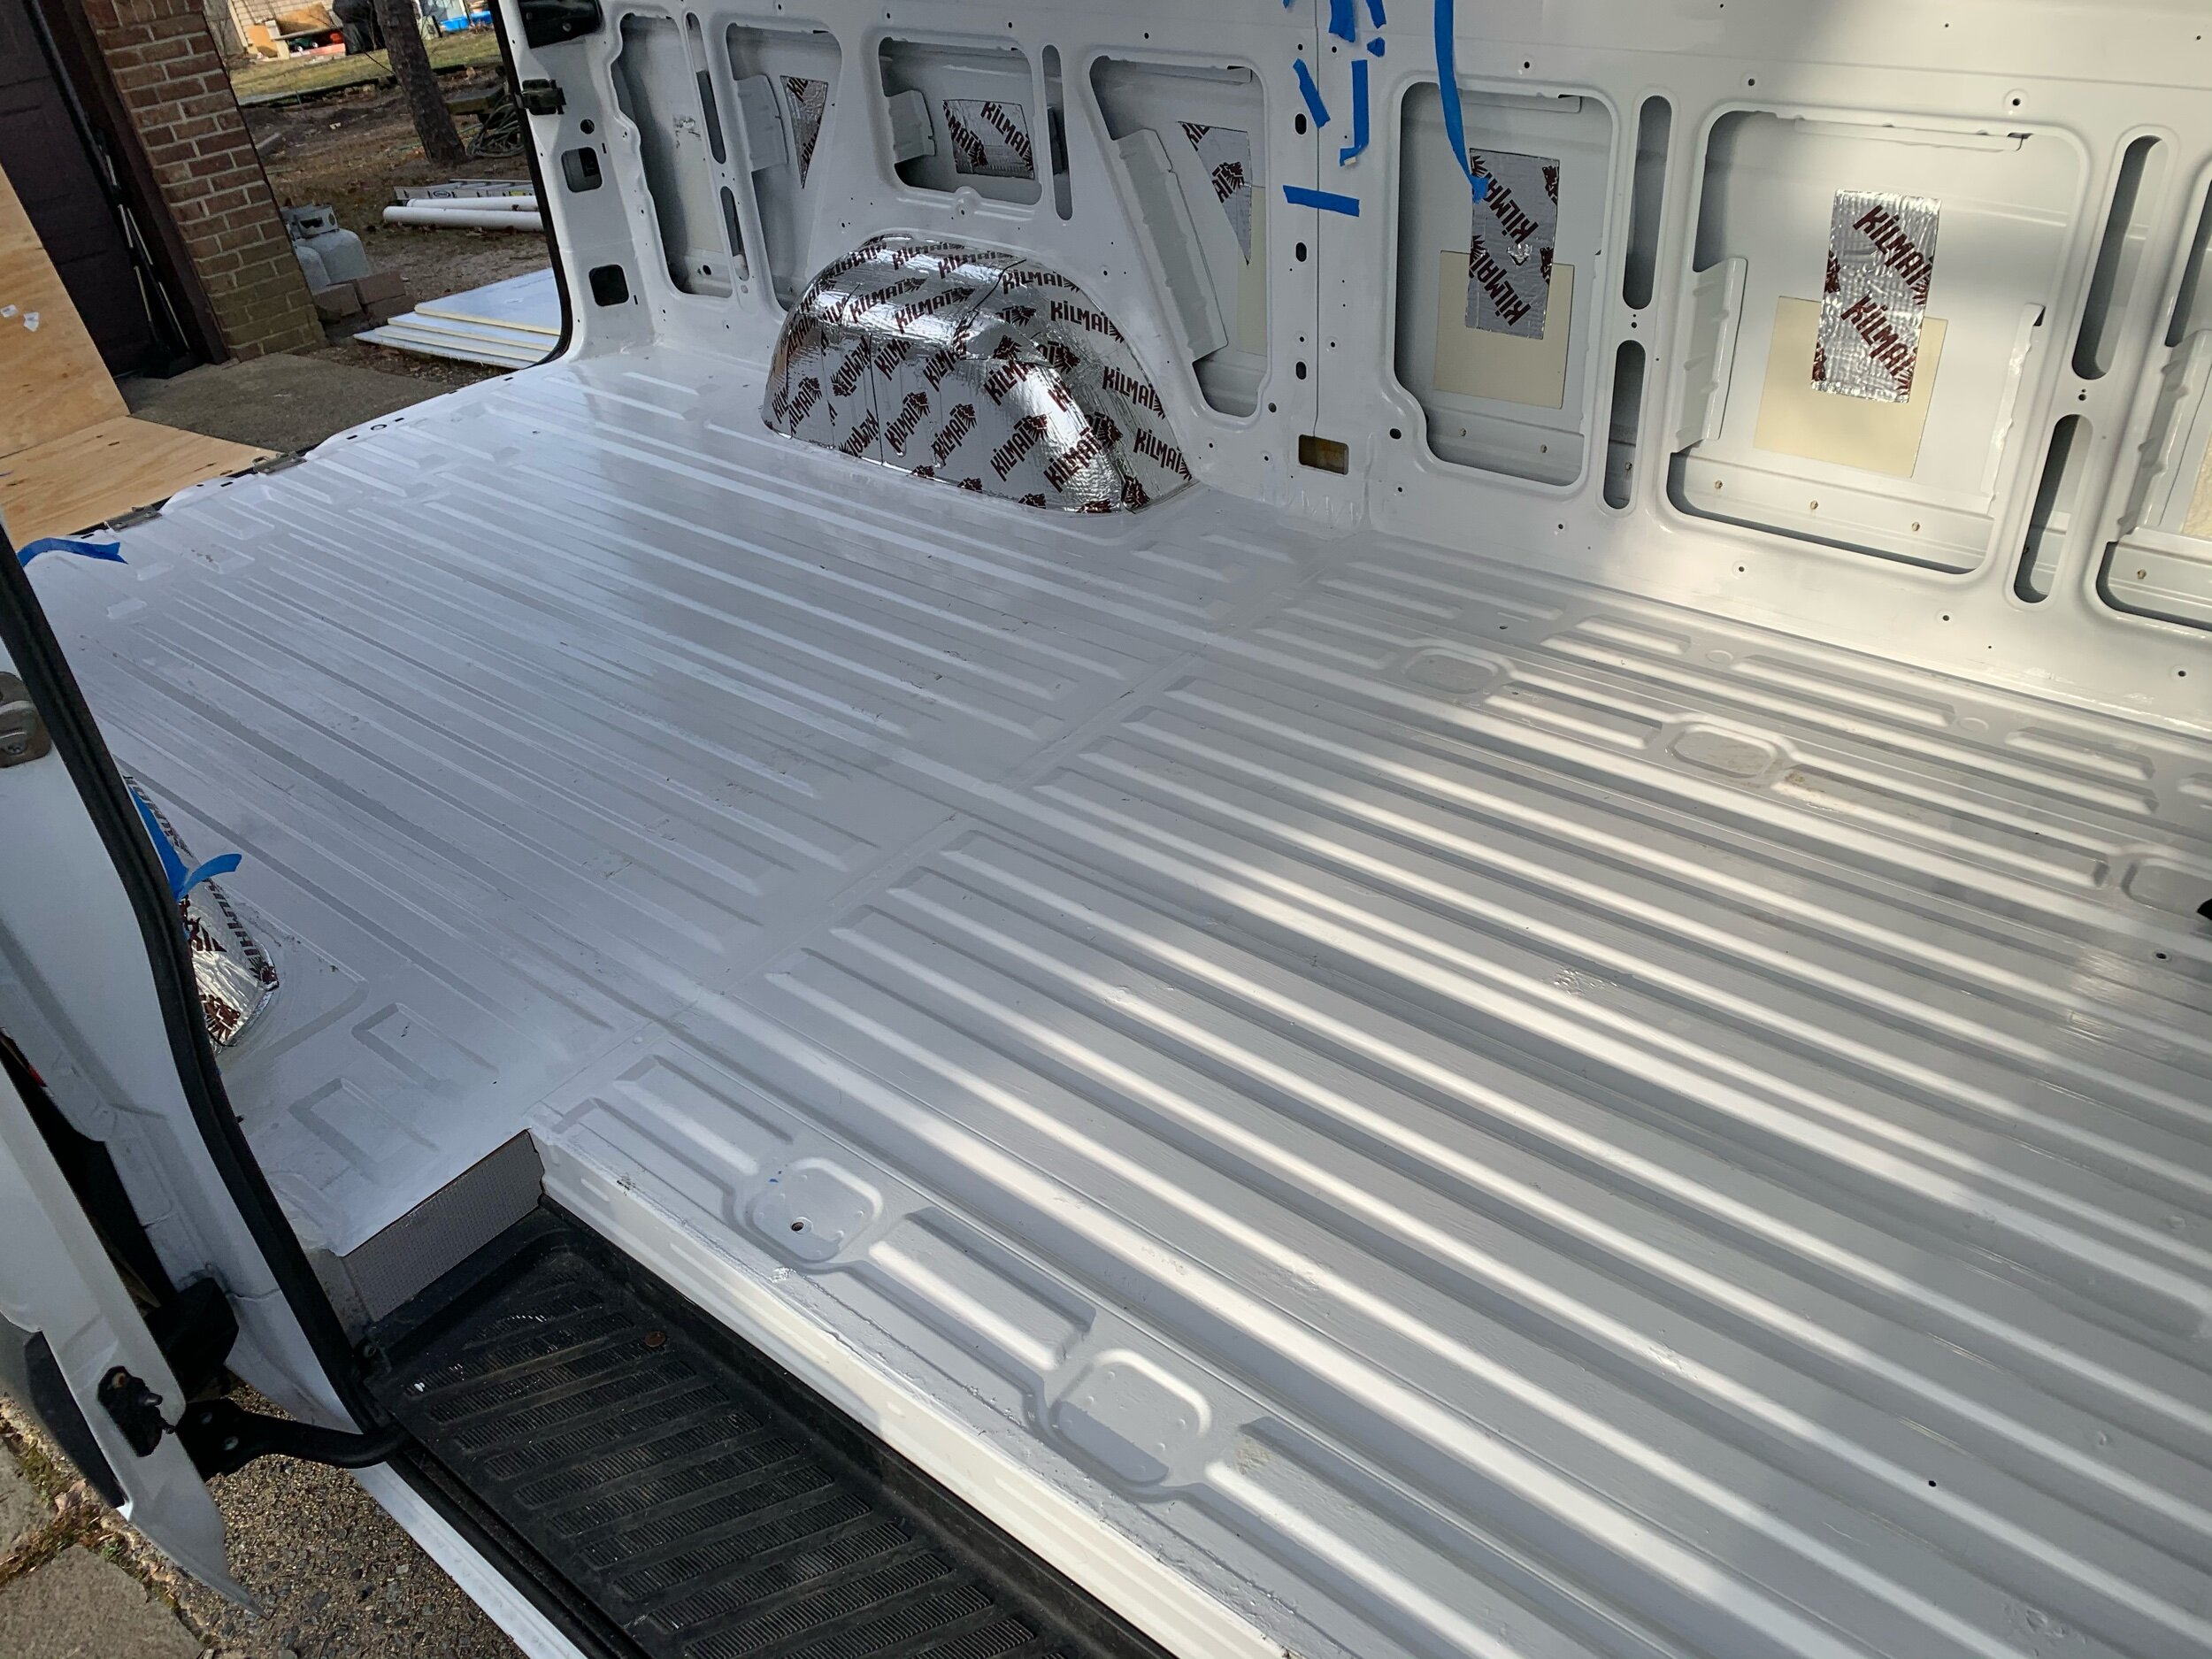
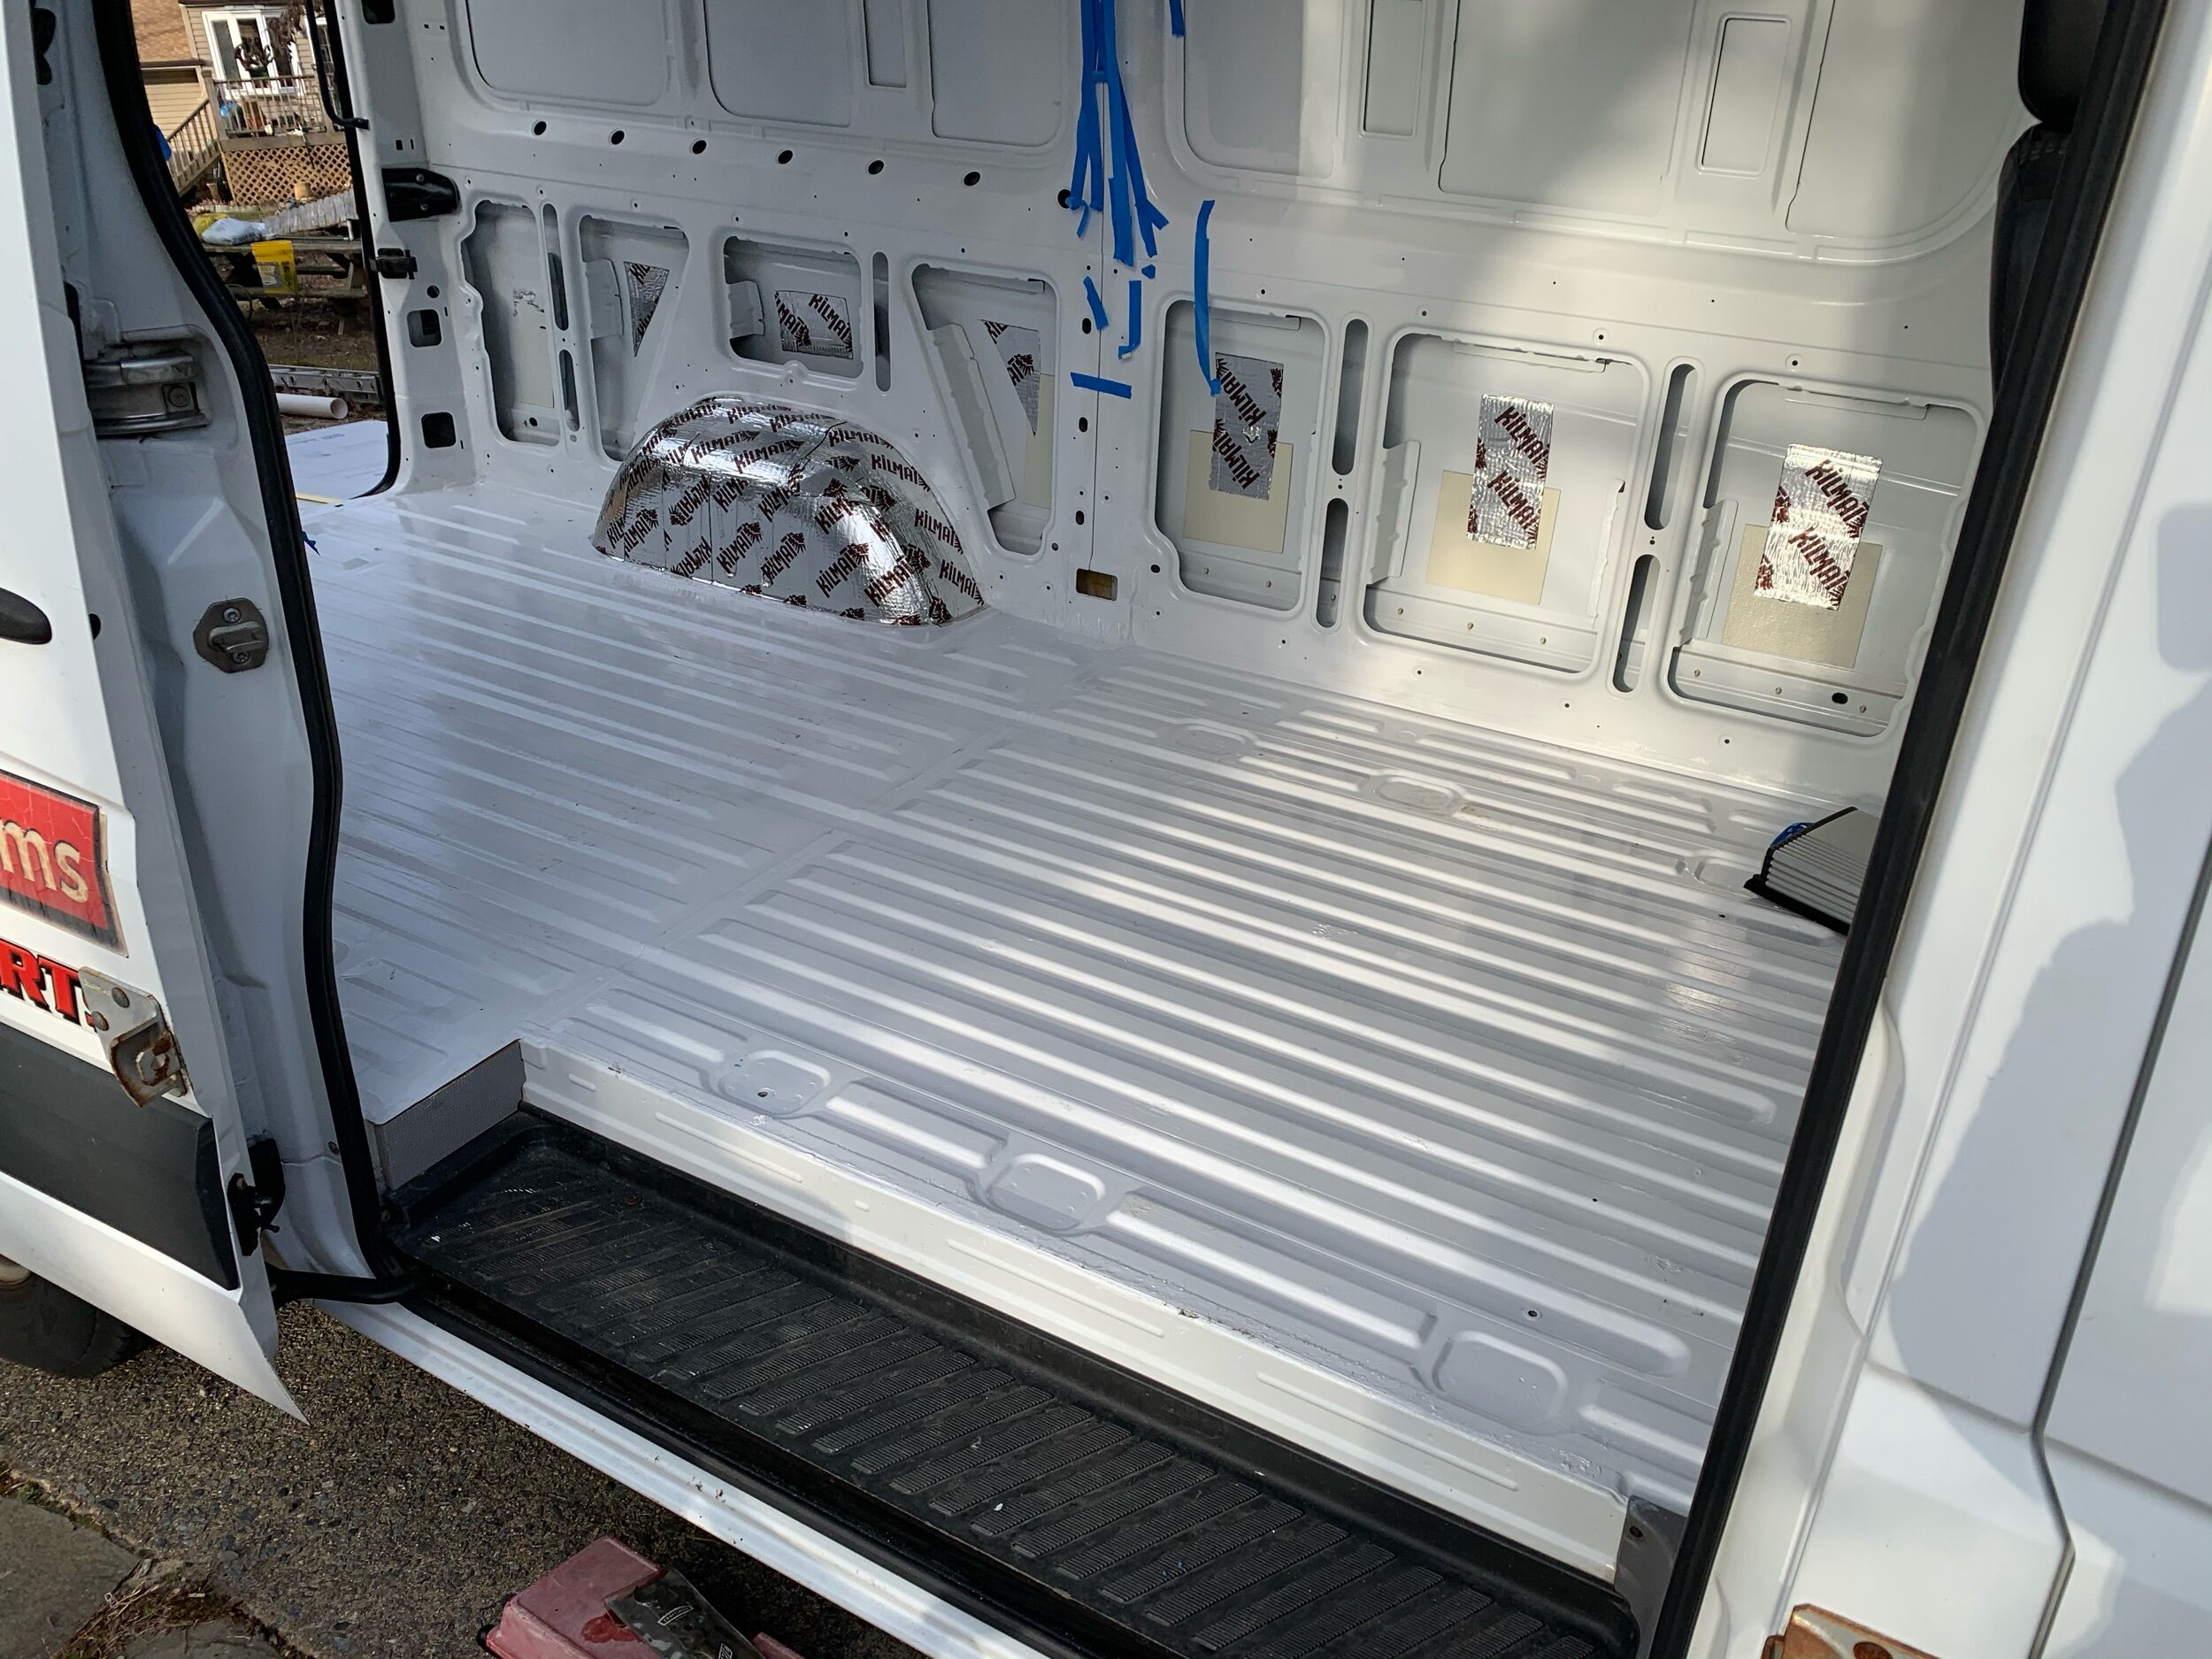
Primer and Paint
We knew we would cover more than just the floor, so we opted for the half-pint Rust-Oleum primer and paint cans. To protect us from potential rust damage, we coated the entire floor with Rust-Oleum Stops Rust Clean Metal Brush On Primer. After the primer dried, we added a coat of Rust-Oleum Stops Rust Brush On Paint in Gloss White to further protect the floor. We wanted the peace of mind of a fresh and protected floor before we started building.