
Stage 2: Sound Dampening, Subfloor, and Insulation
After we finished painting from Stage 1: Demo, Clean, and Prepare the Van, we felt like we had a brand new van! We painted over all the scuffs and had a clean slate. The next stage includes building a subfloor, adding sound dampening material, and insulating the van.

Sound Dampening

Unboxing the Kilmat Sound Dampener
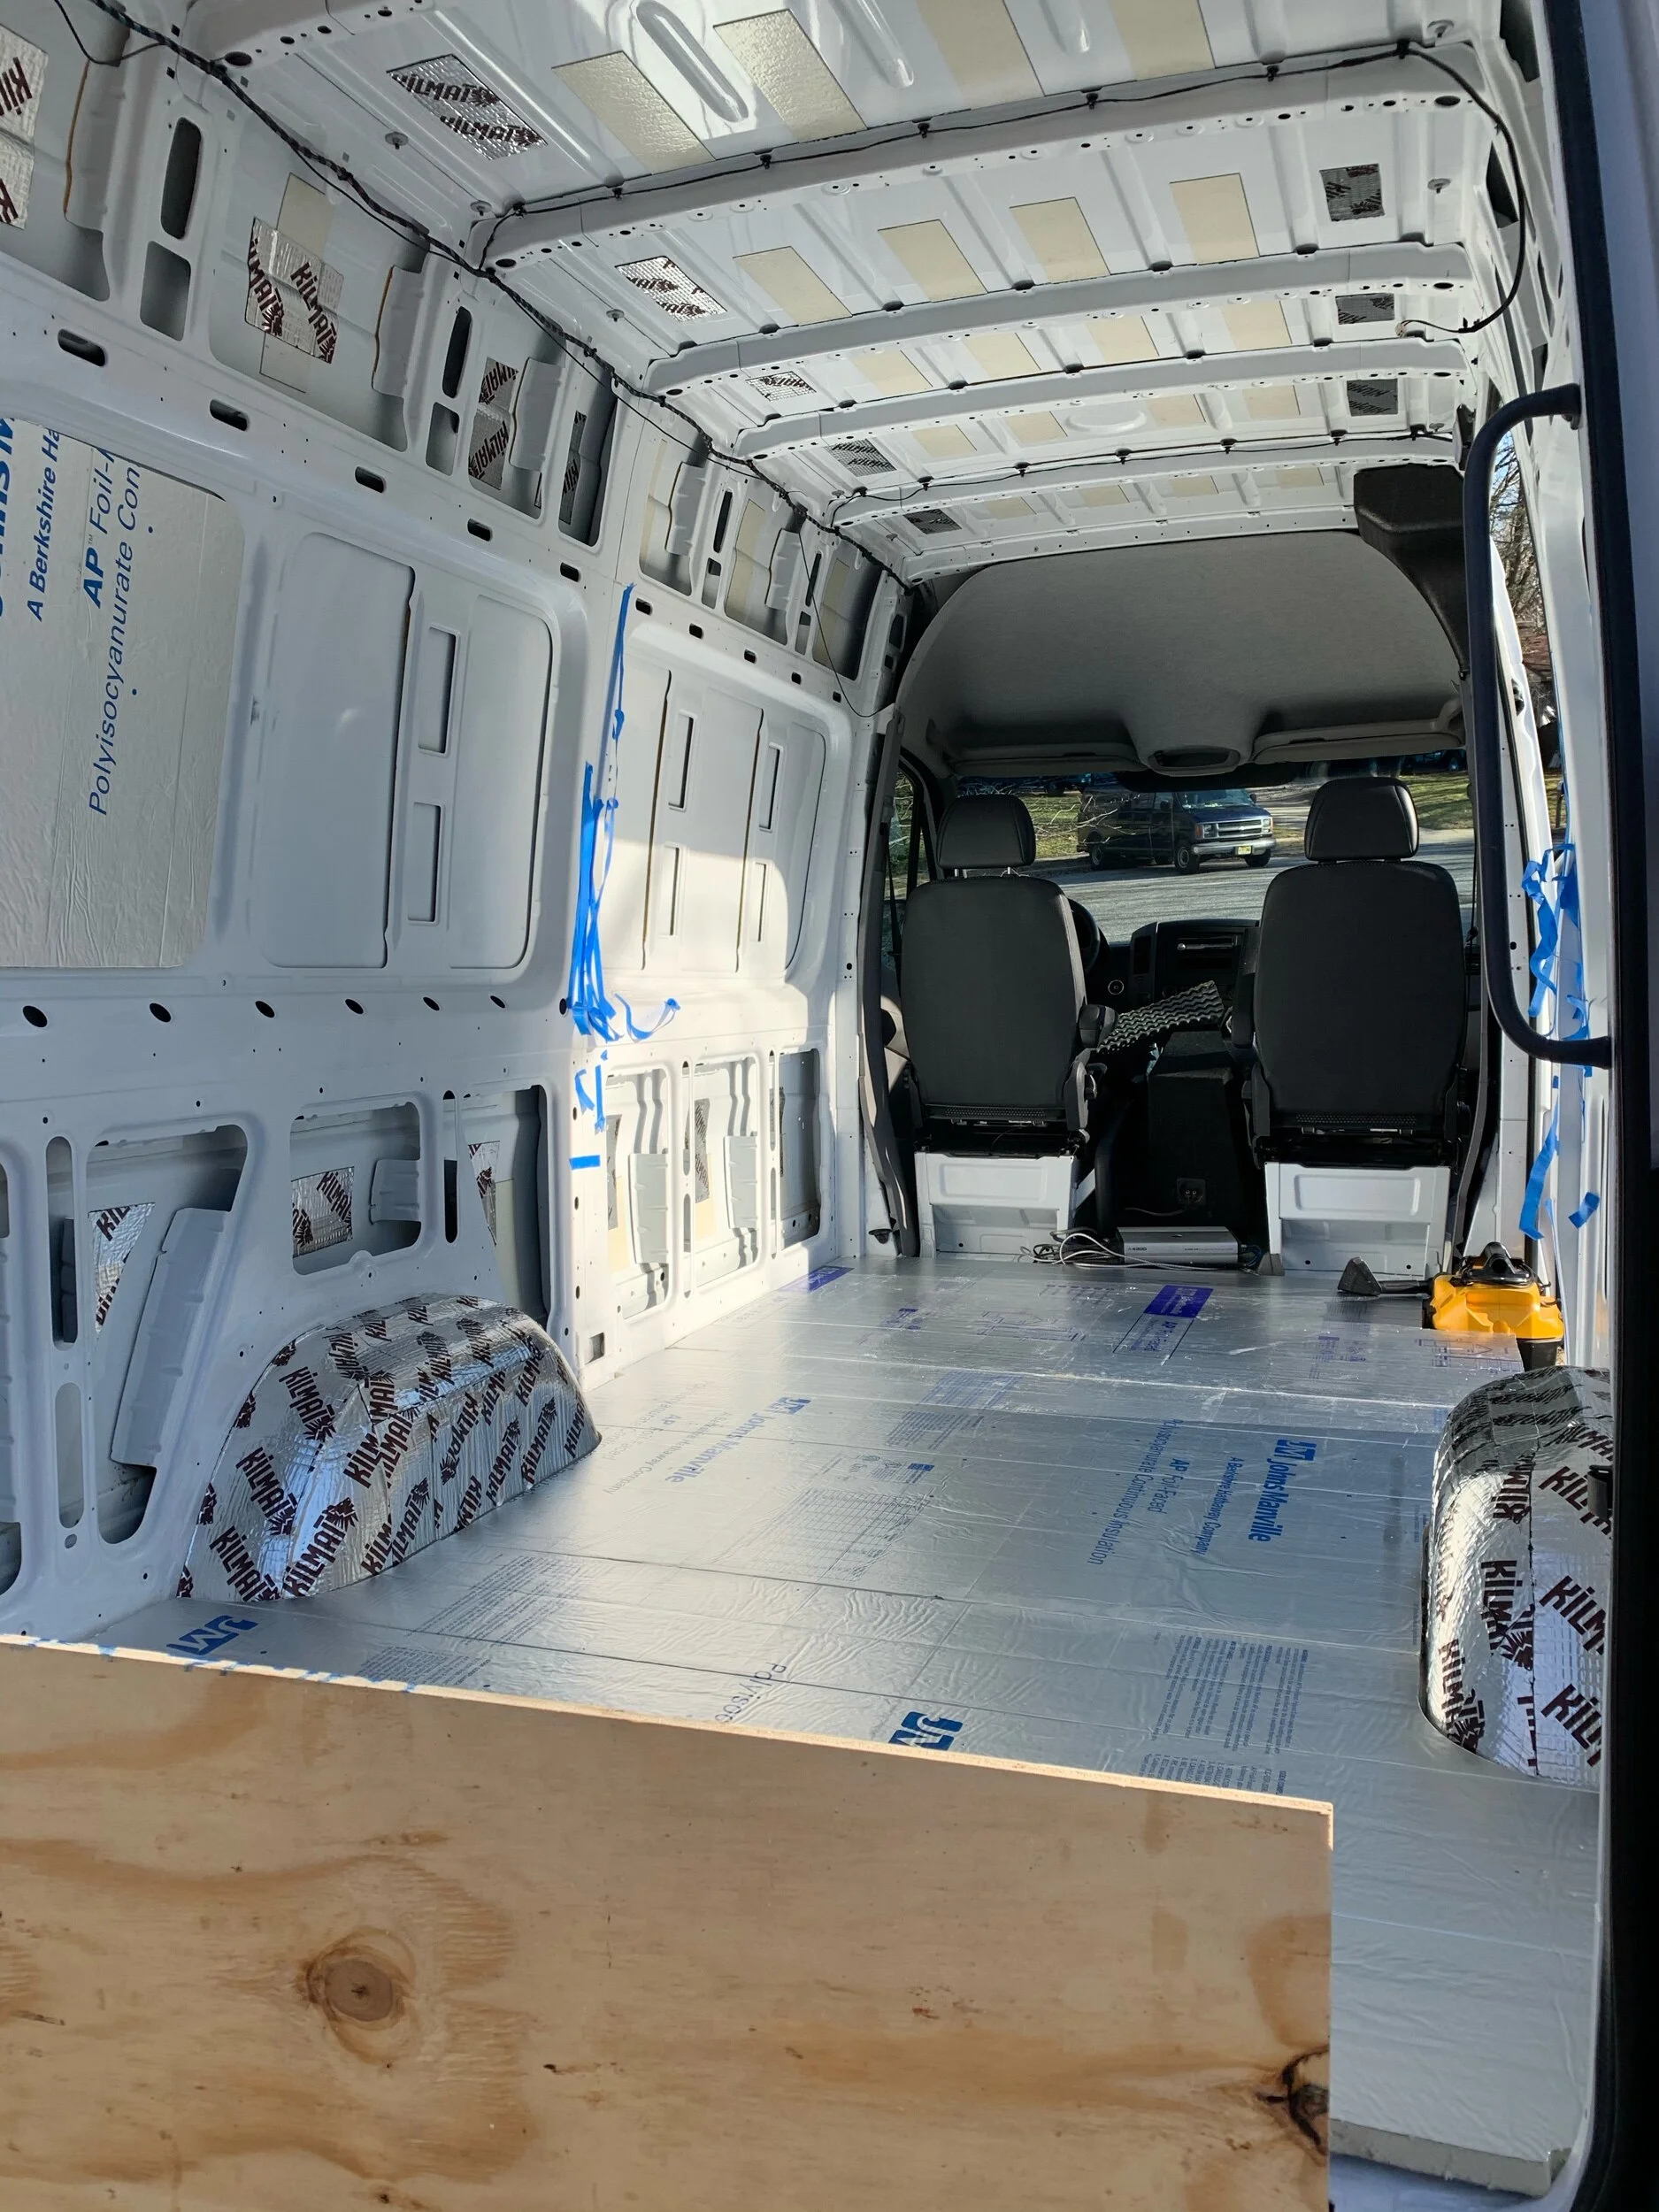
After we bought our van, we quickly learned that Sprinters can be pretty loud from revving the diesel engine to any rattling cargo components or the vibrating sheet metal. Therefore, we decided to minimize the noise with automotive sound dampening material. We went with the Kilmat brand, though others like Rattletrap seemed to work just as well based on reviews. We also bought the roller to complete the installation which is absolutely necessary for the product to function.
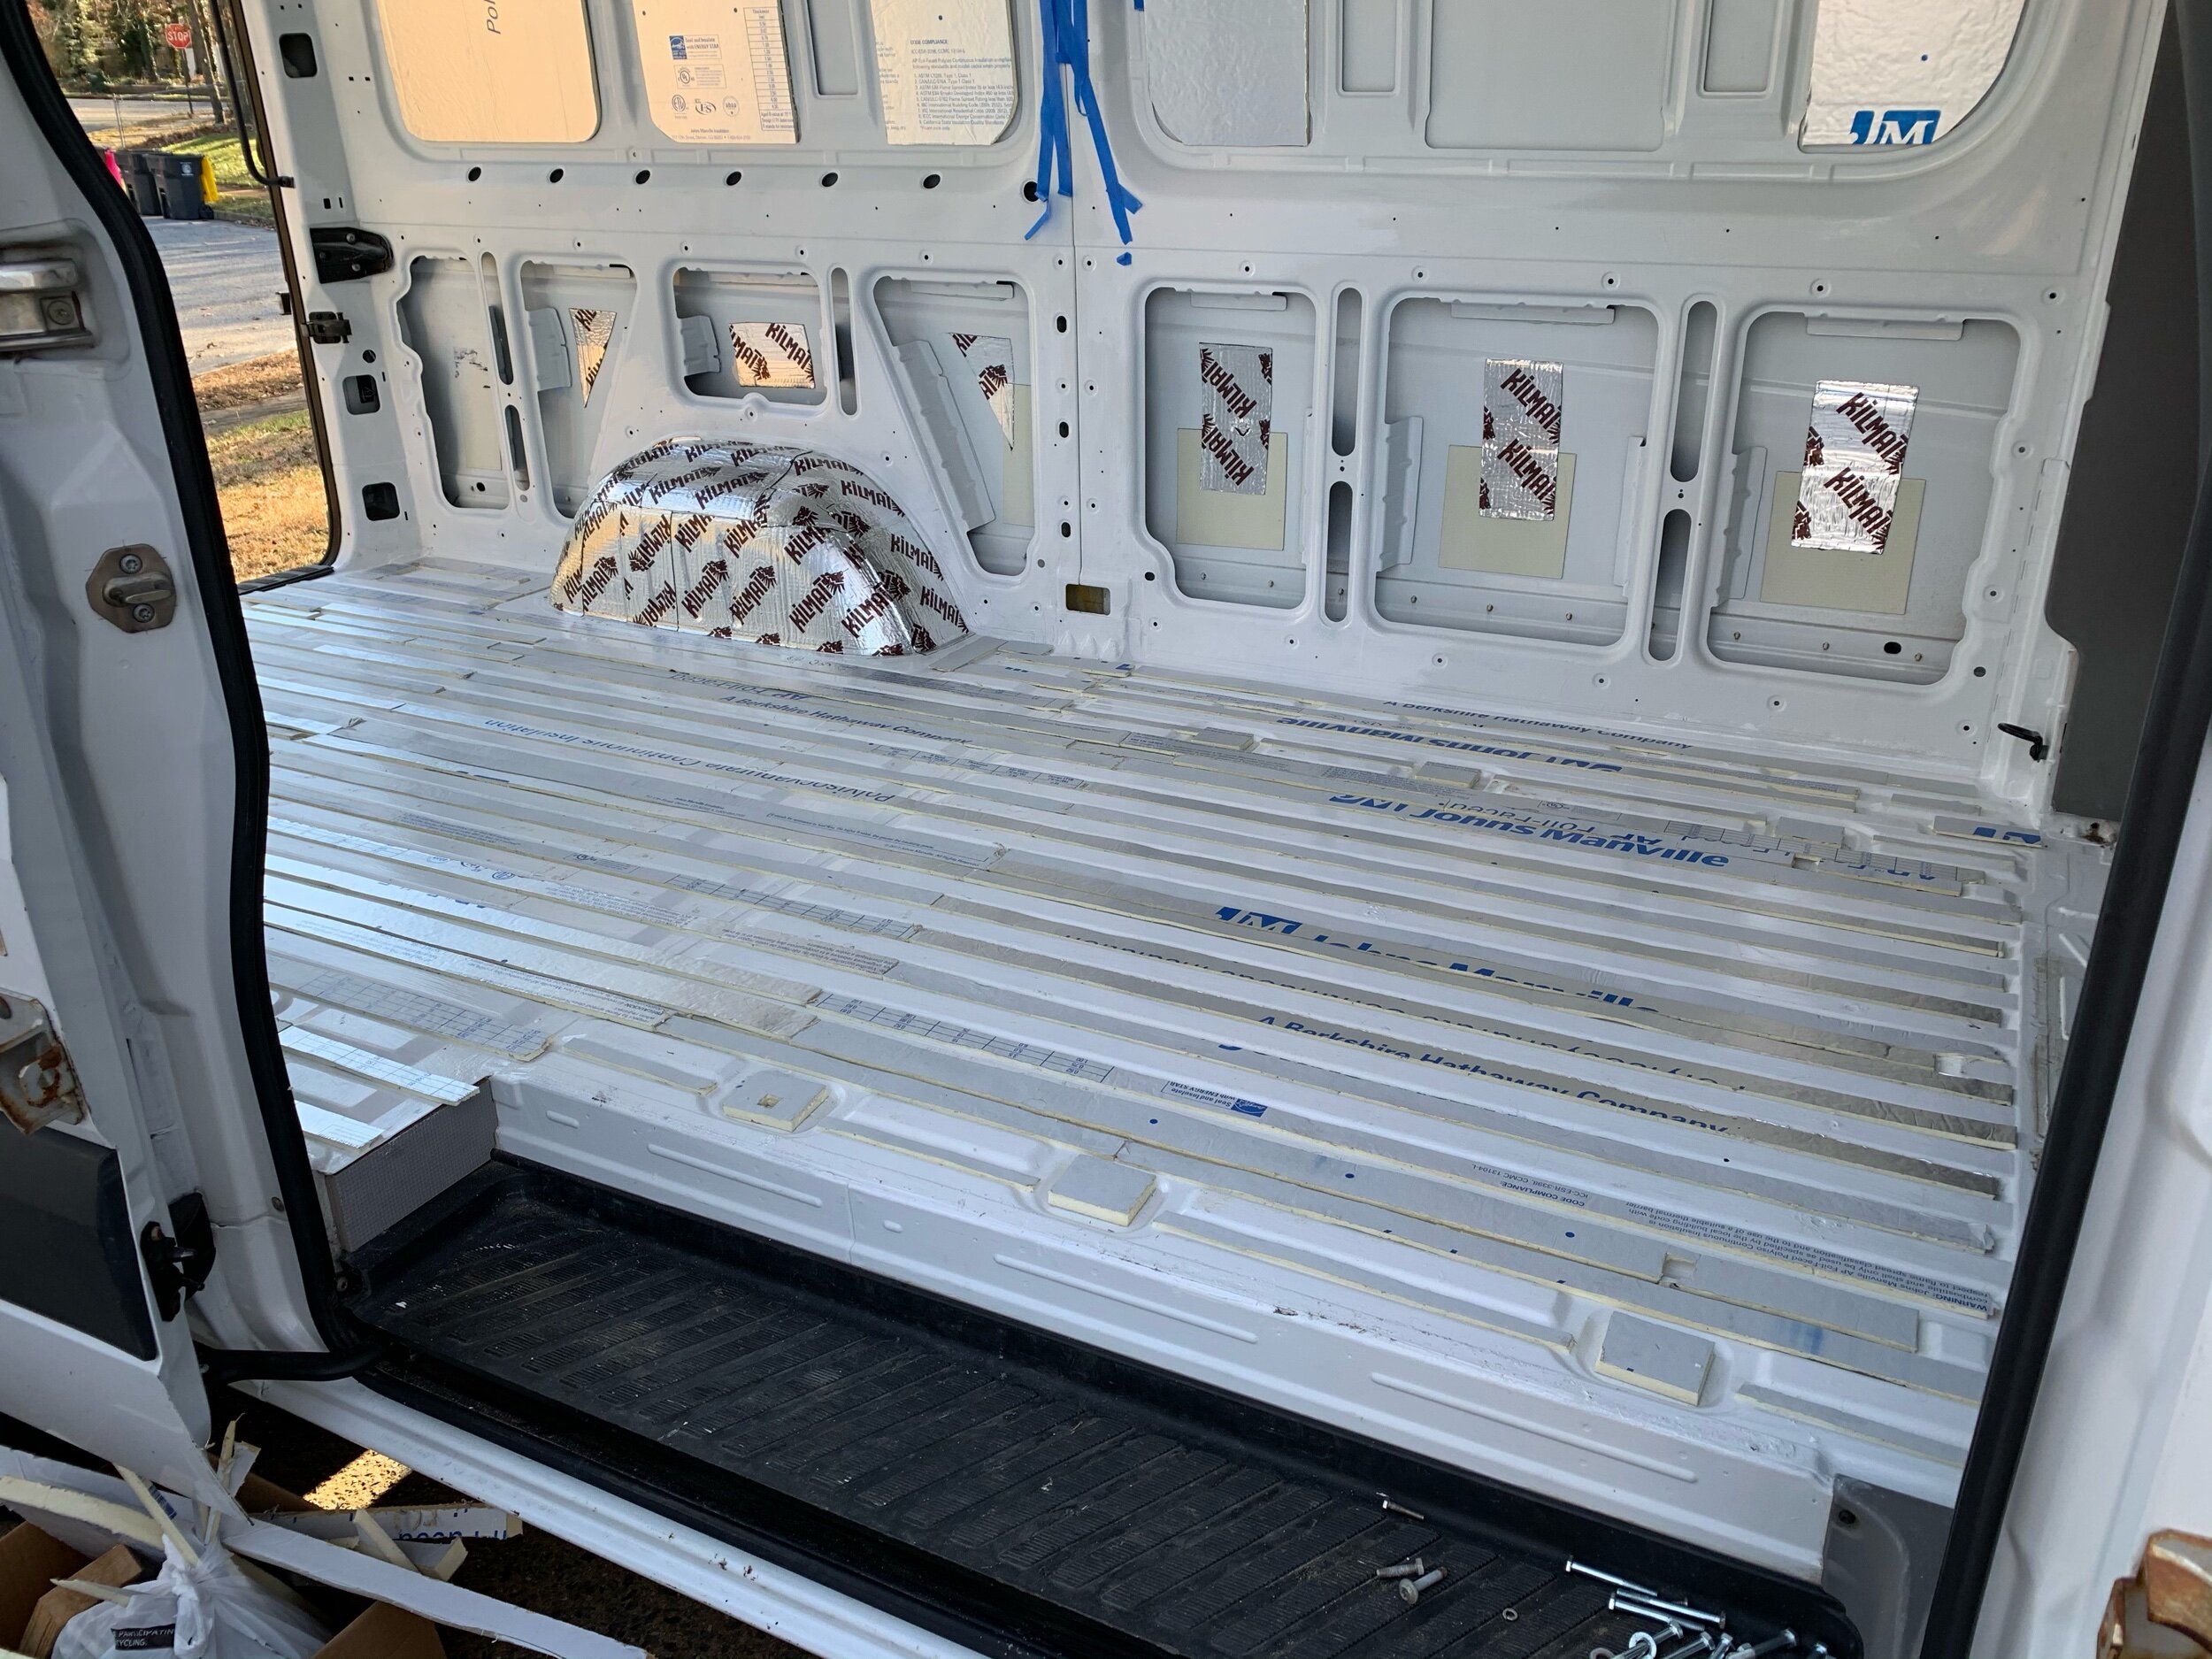
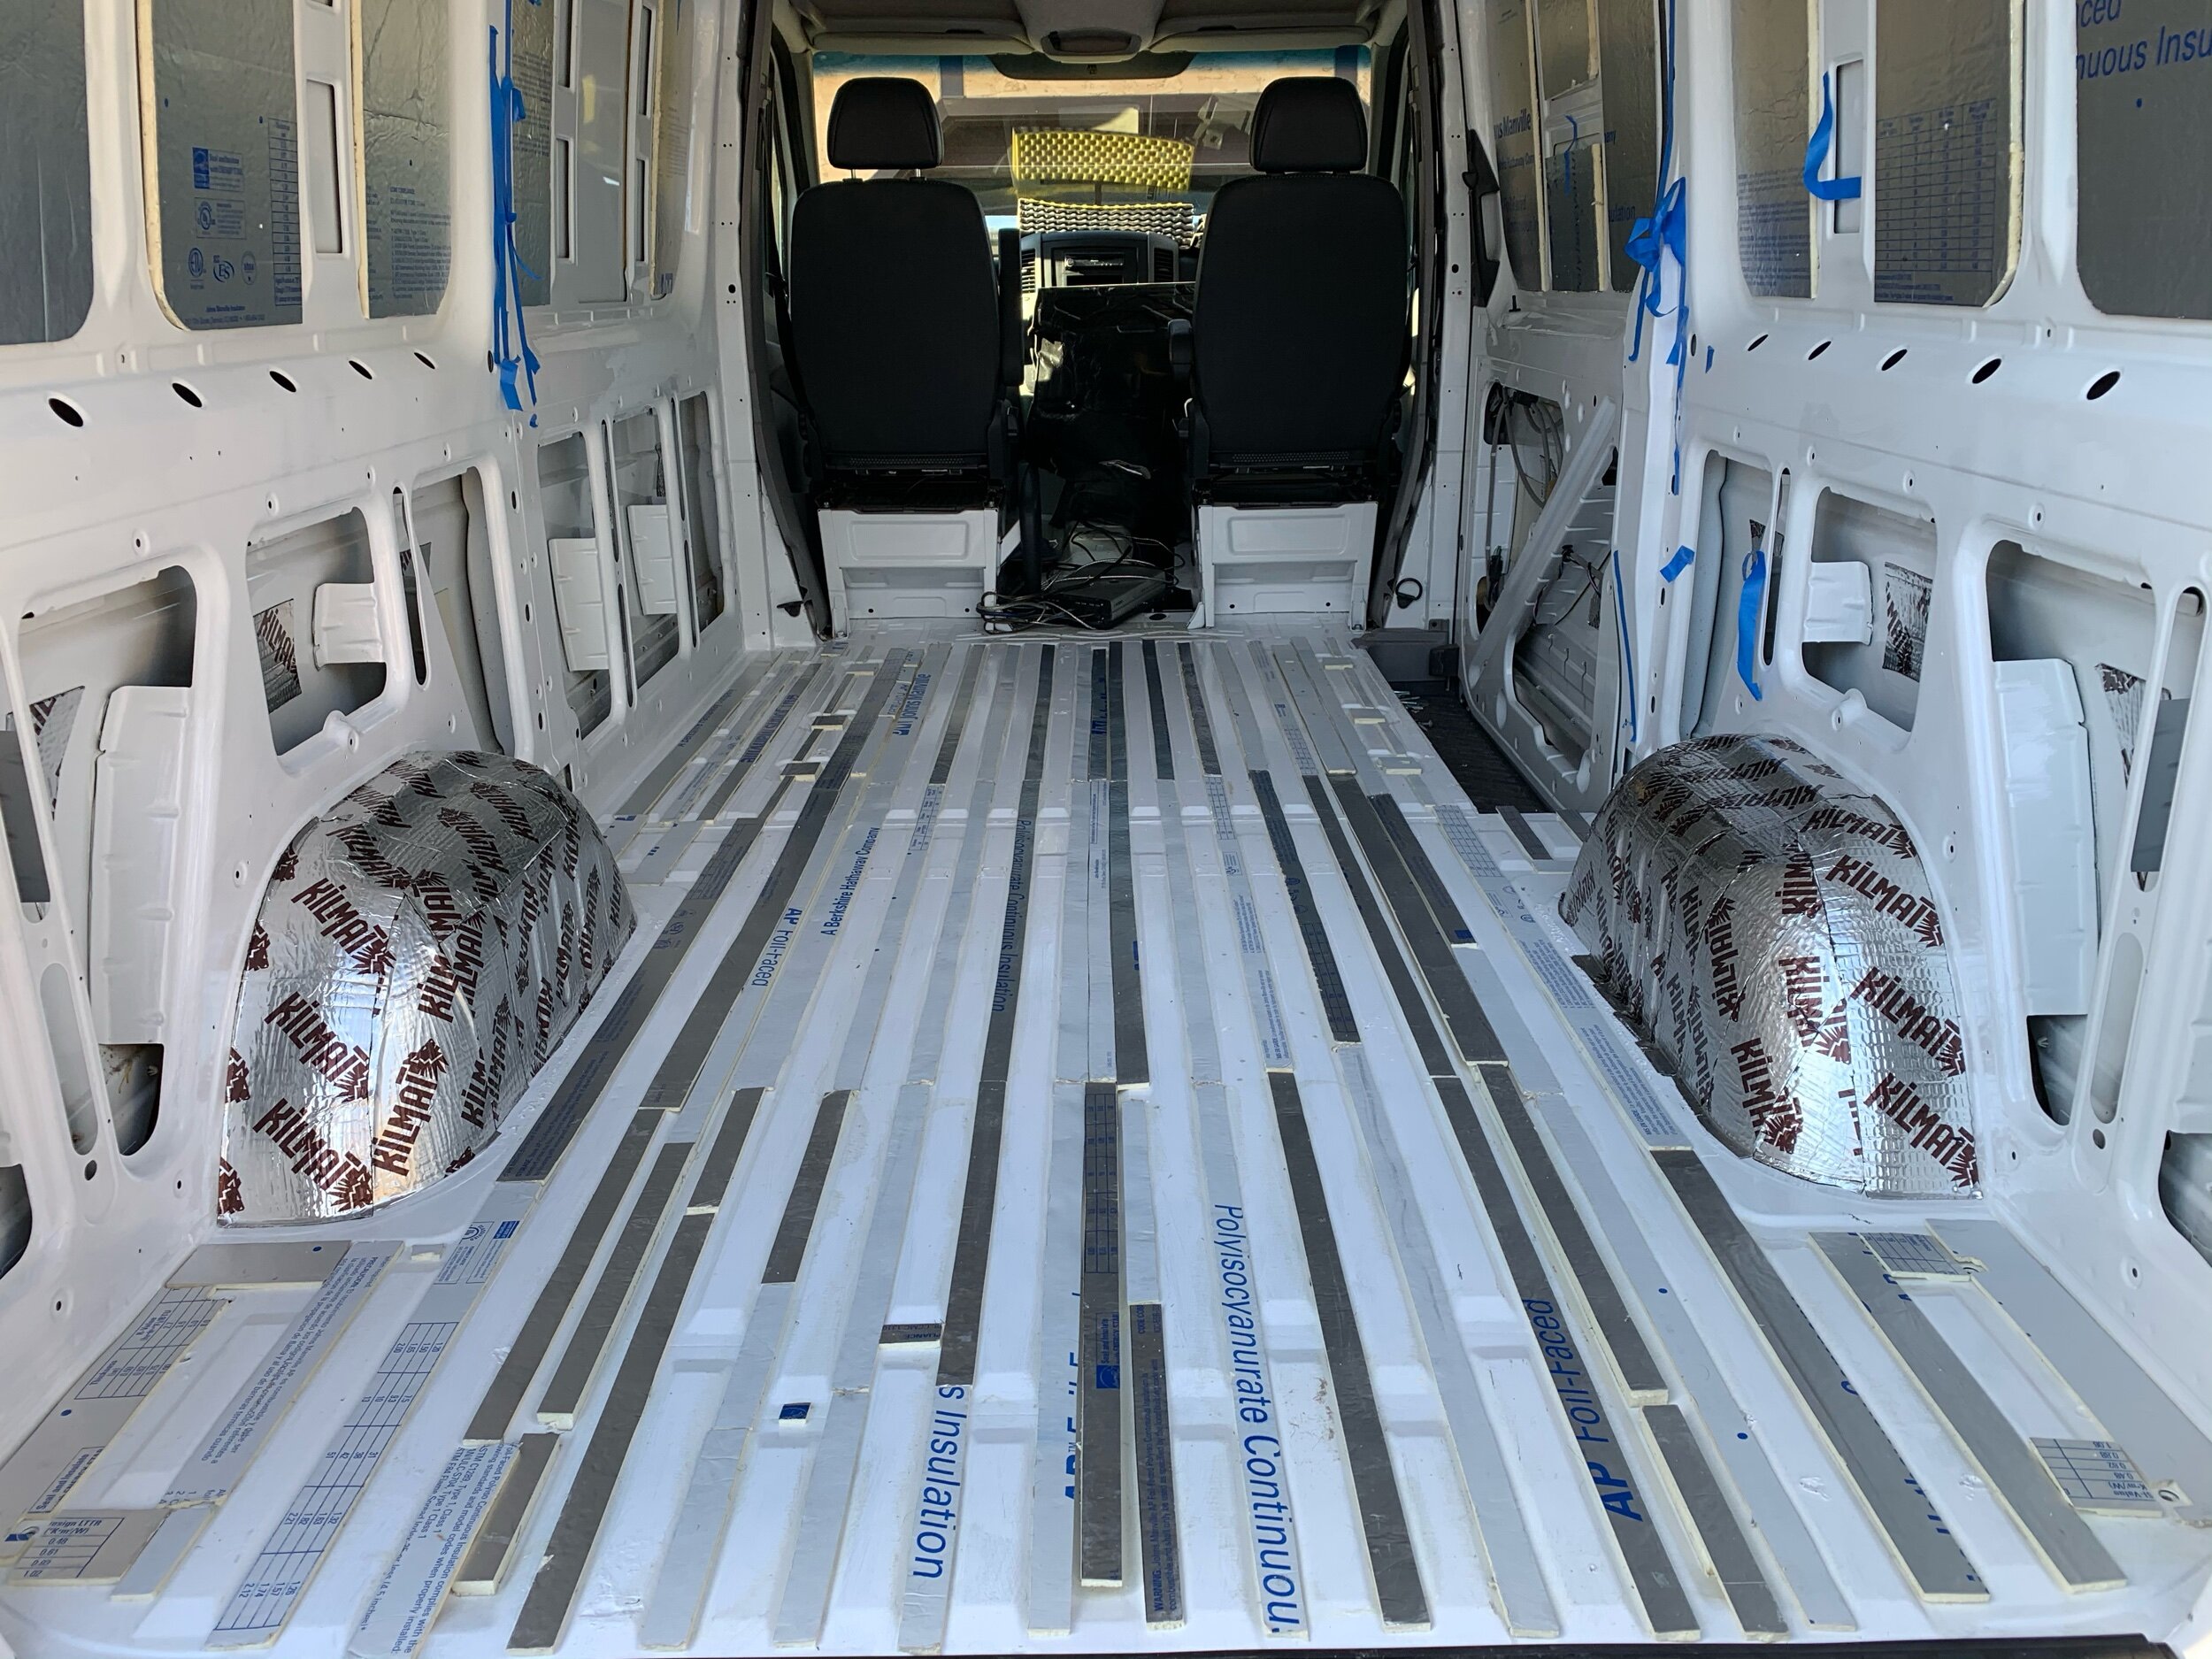
We covered both of the wheel wells and went with a 25% coverage strategy for the remainder of the van. Per the installation instructions, the Kilmat works best when it’s not totally covering the metal.
Tools and Materials:
Subfloor
During our research stage, we found numerous methods to create a Sprinter subfloor, either framing it out and adding insulation board or going layer by layer. We went with a layered approach since it seemed the easiest.
tools and materials:

- 1” foam board insulation (3 sheets)
- 1/2” foam board insulation (2 sheets)
- 1/2” plywood (3 sheets)
- 3M High Strength 90 Contact Spray Adhesive
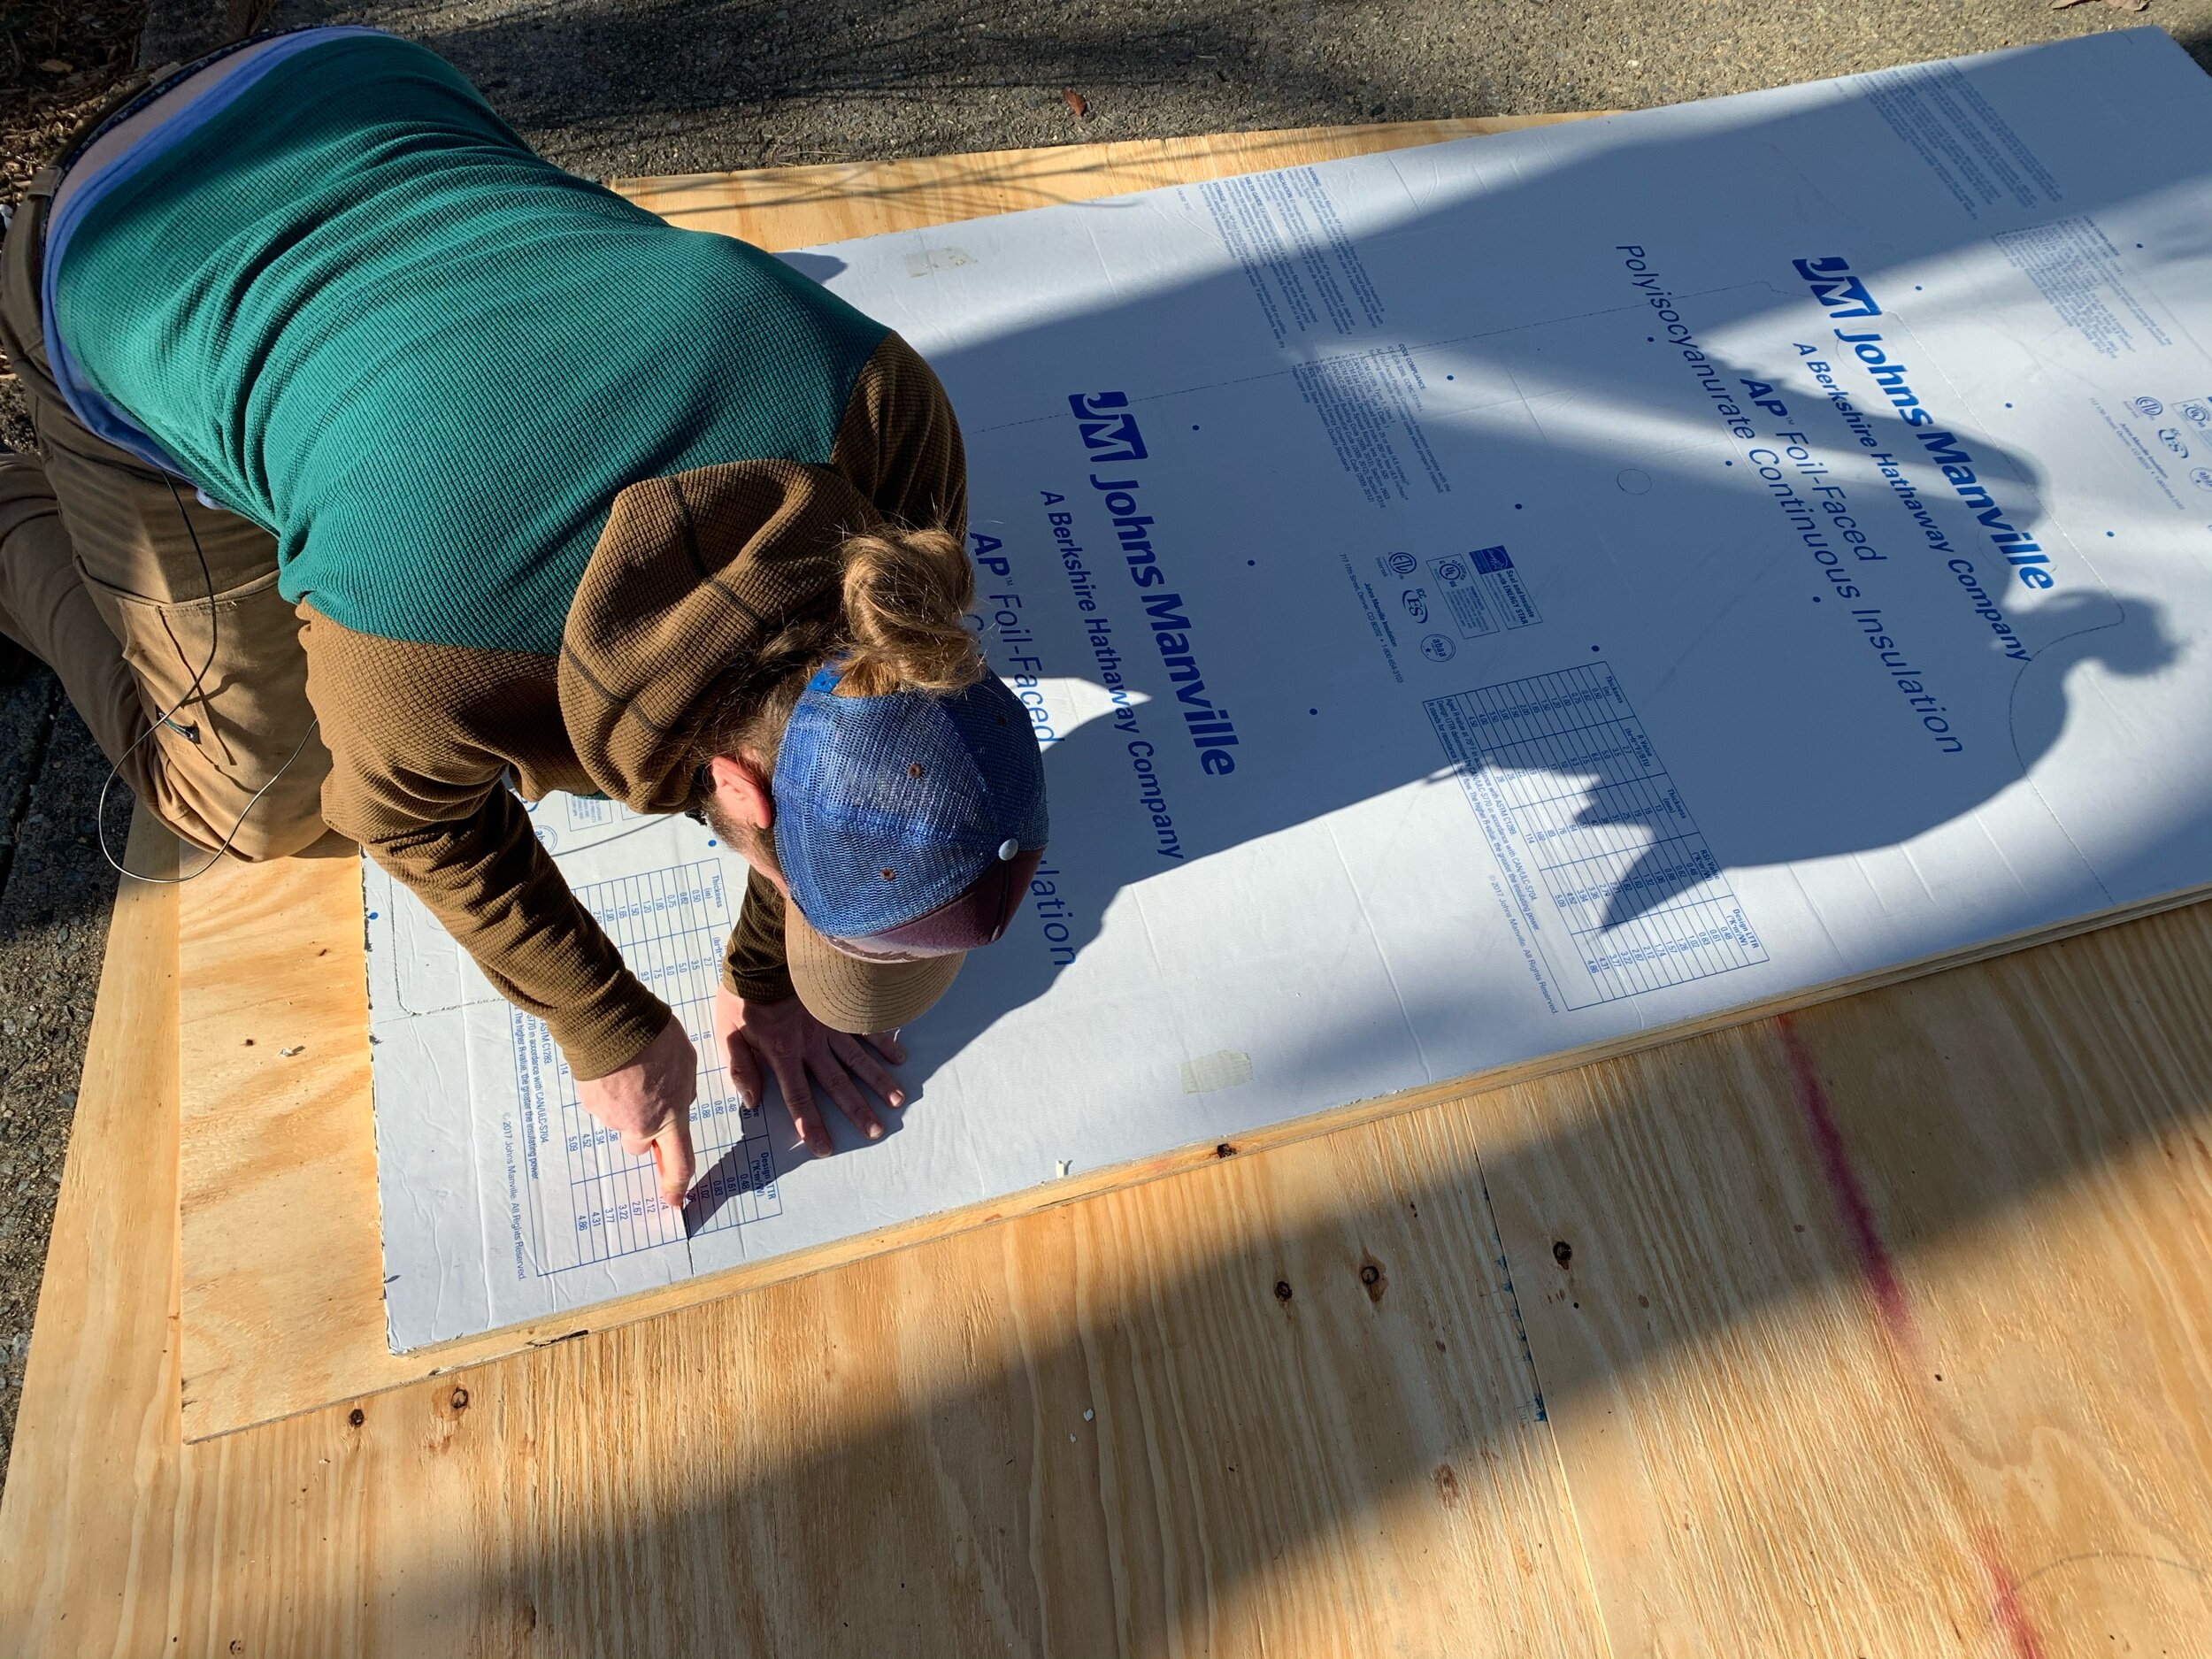
Foam Board Insulation
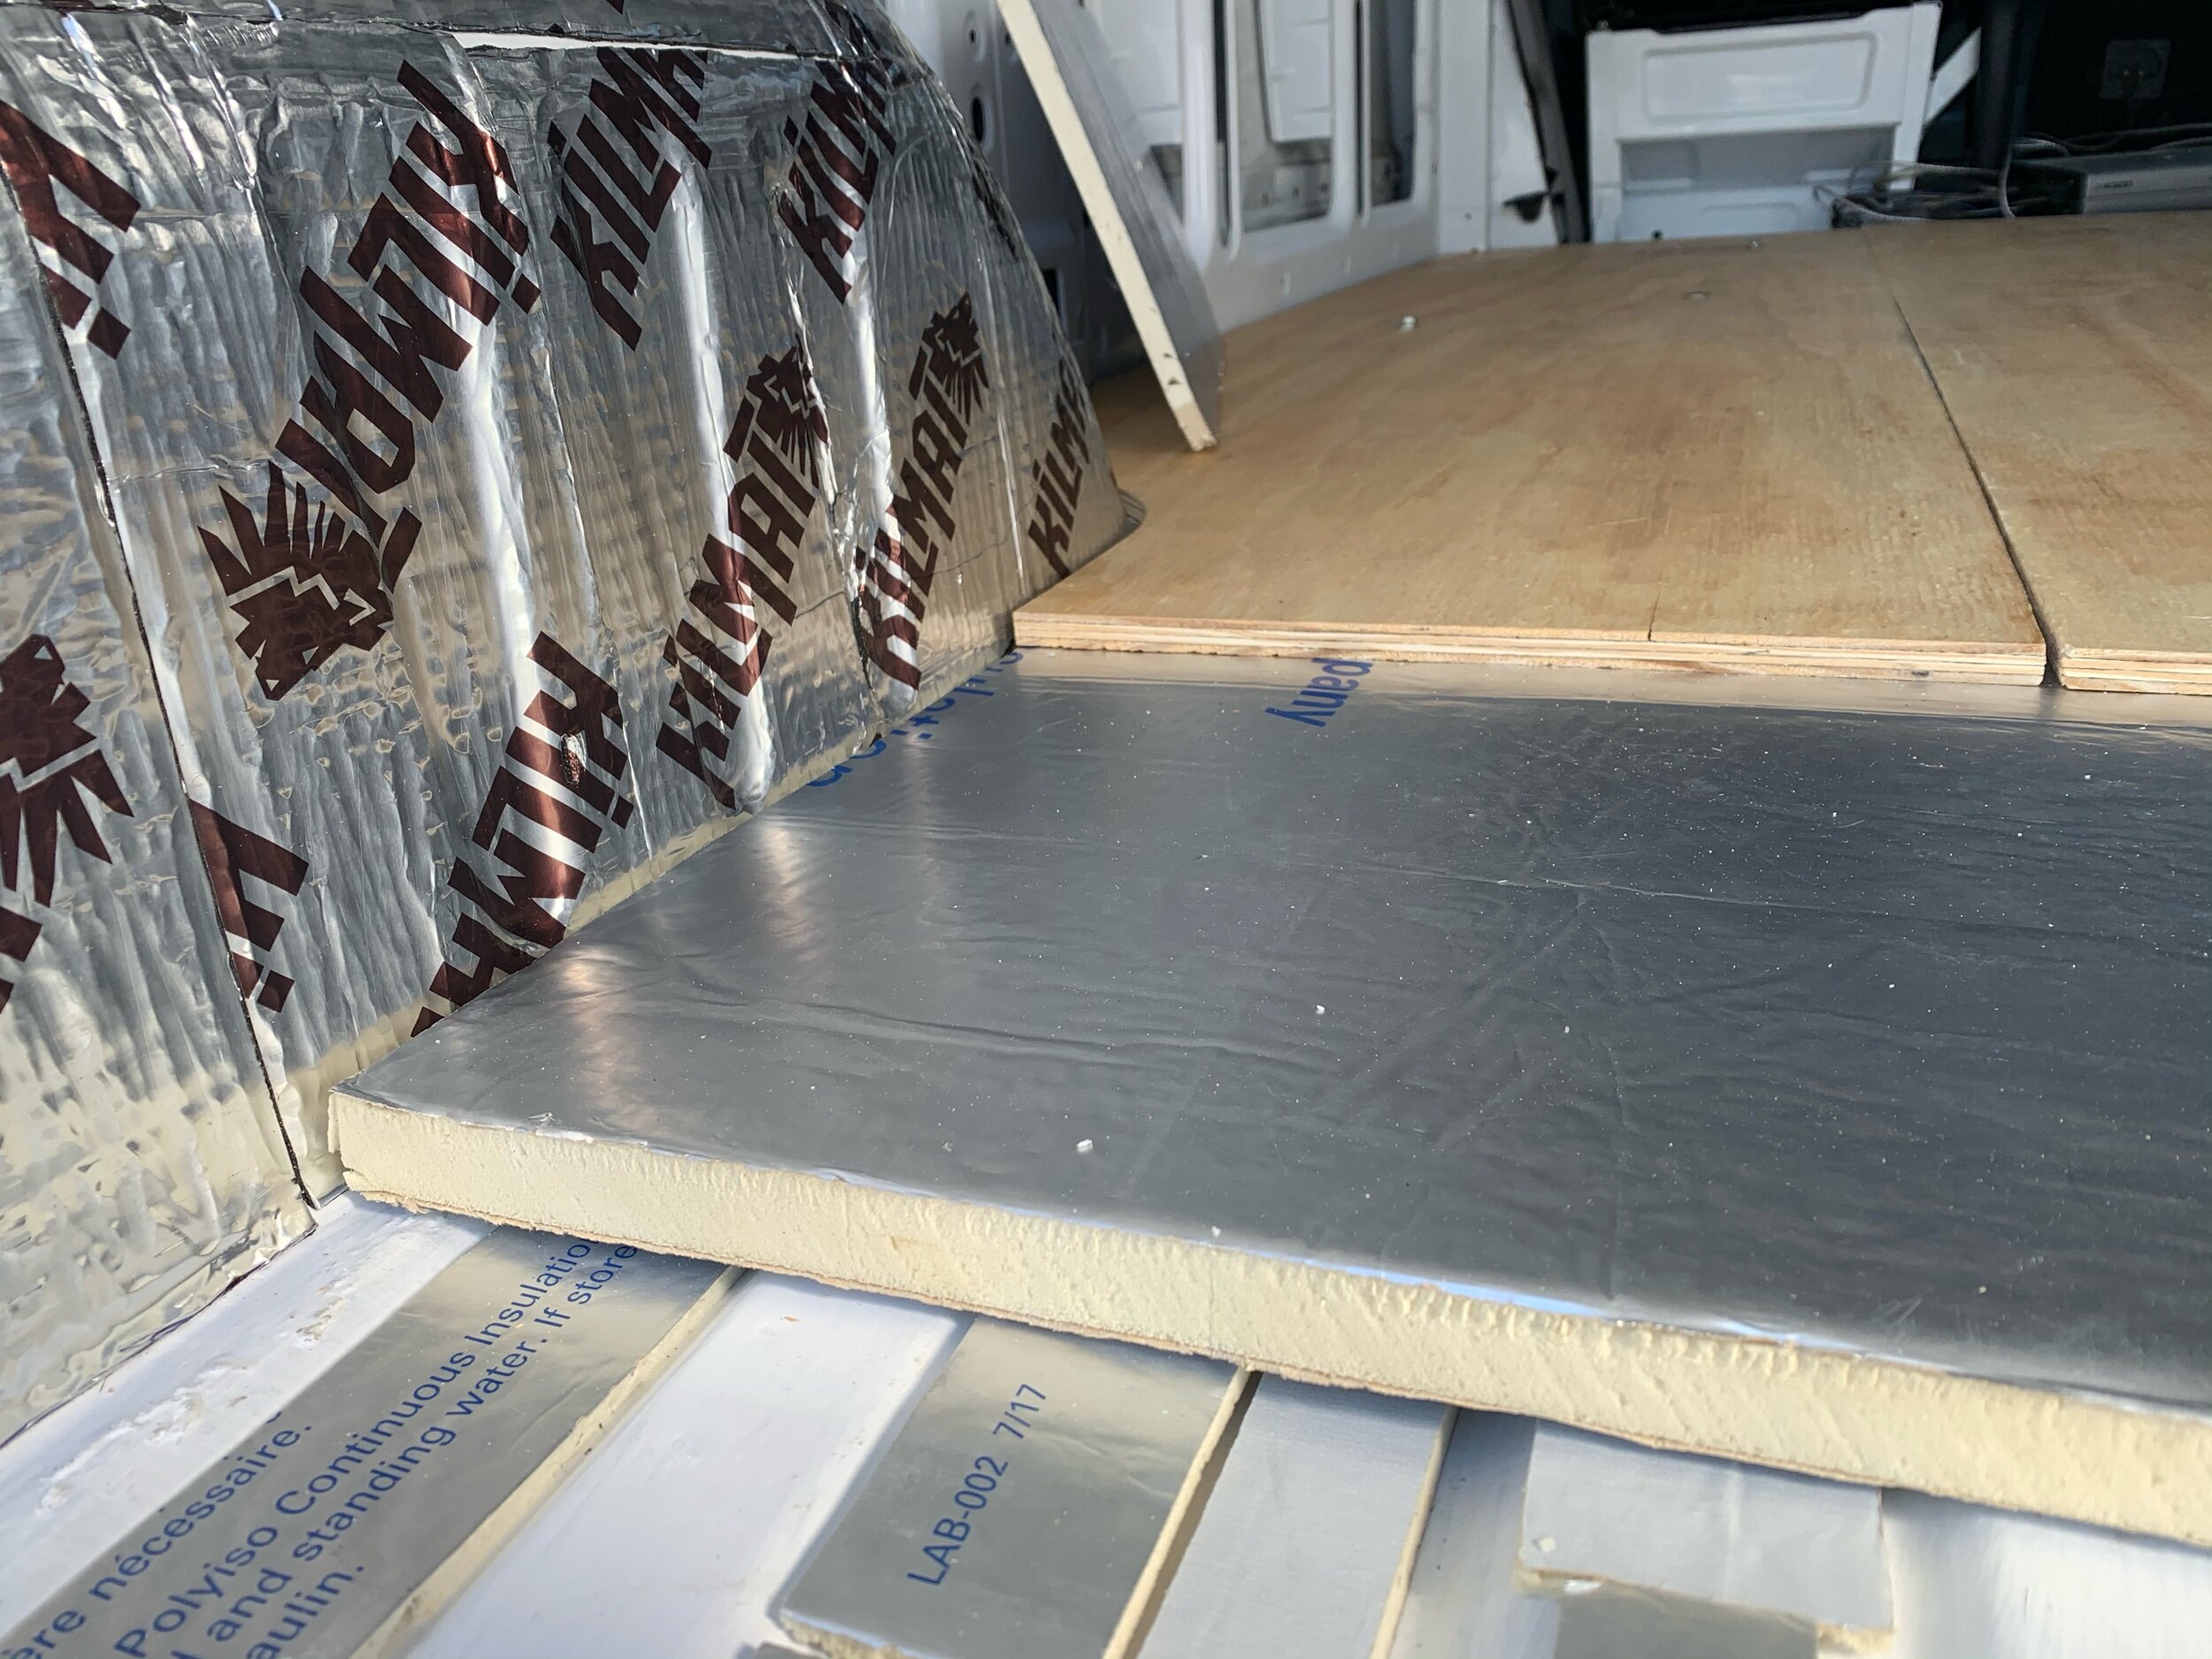
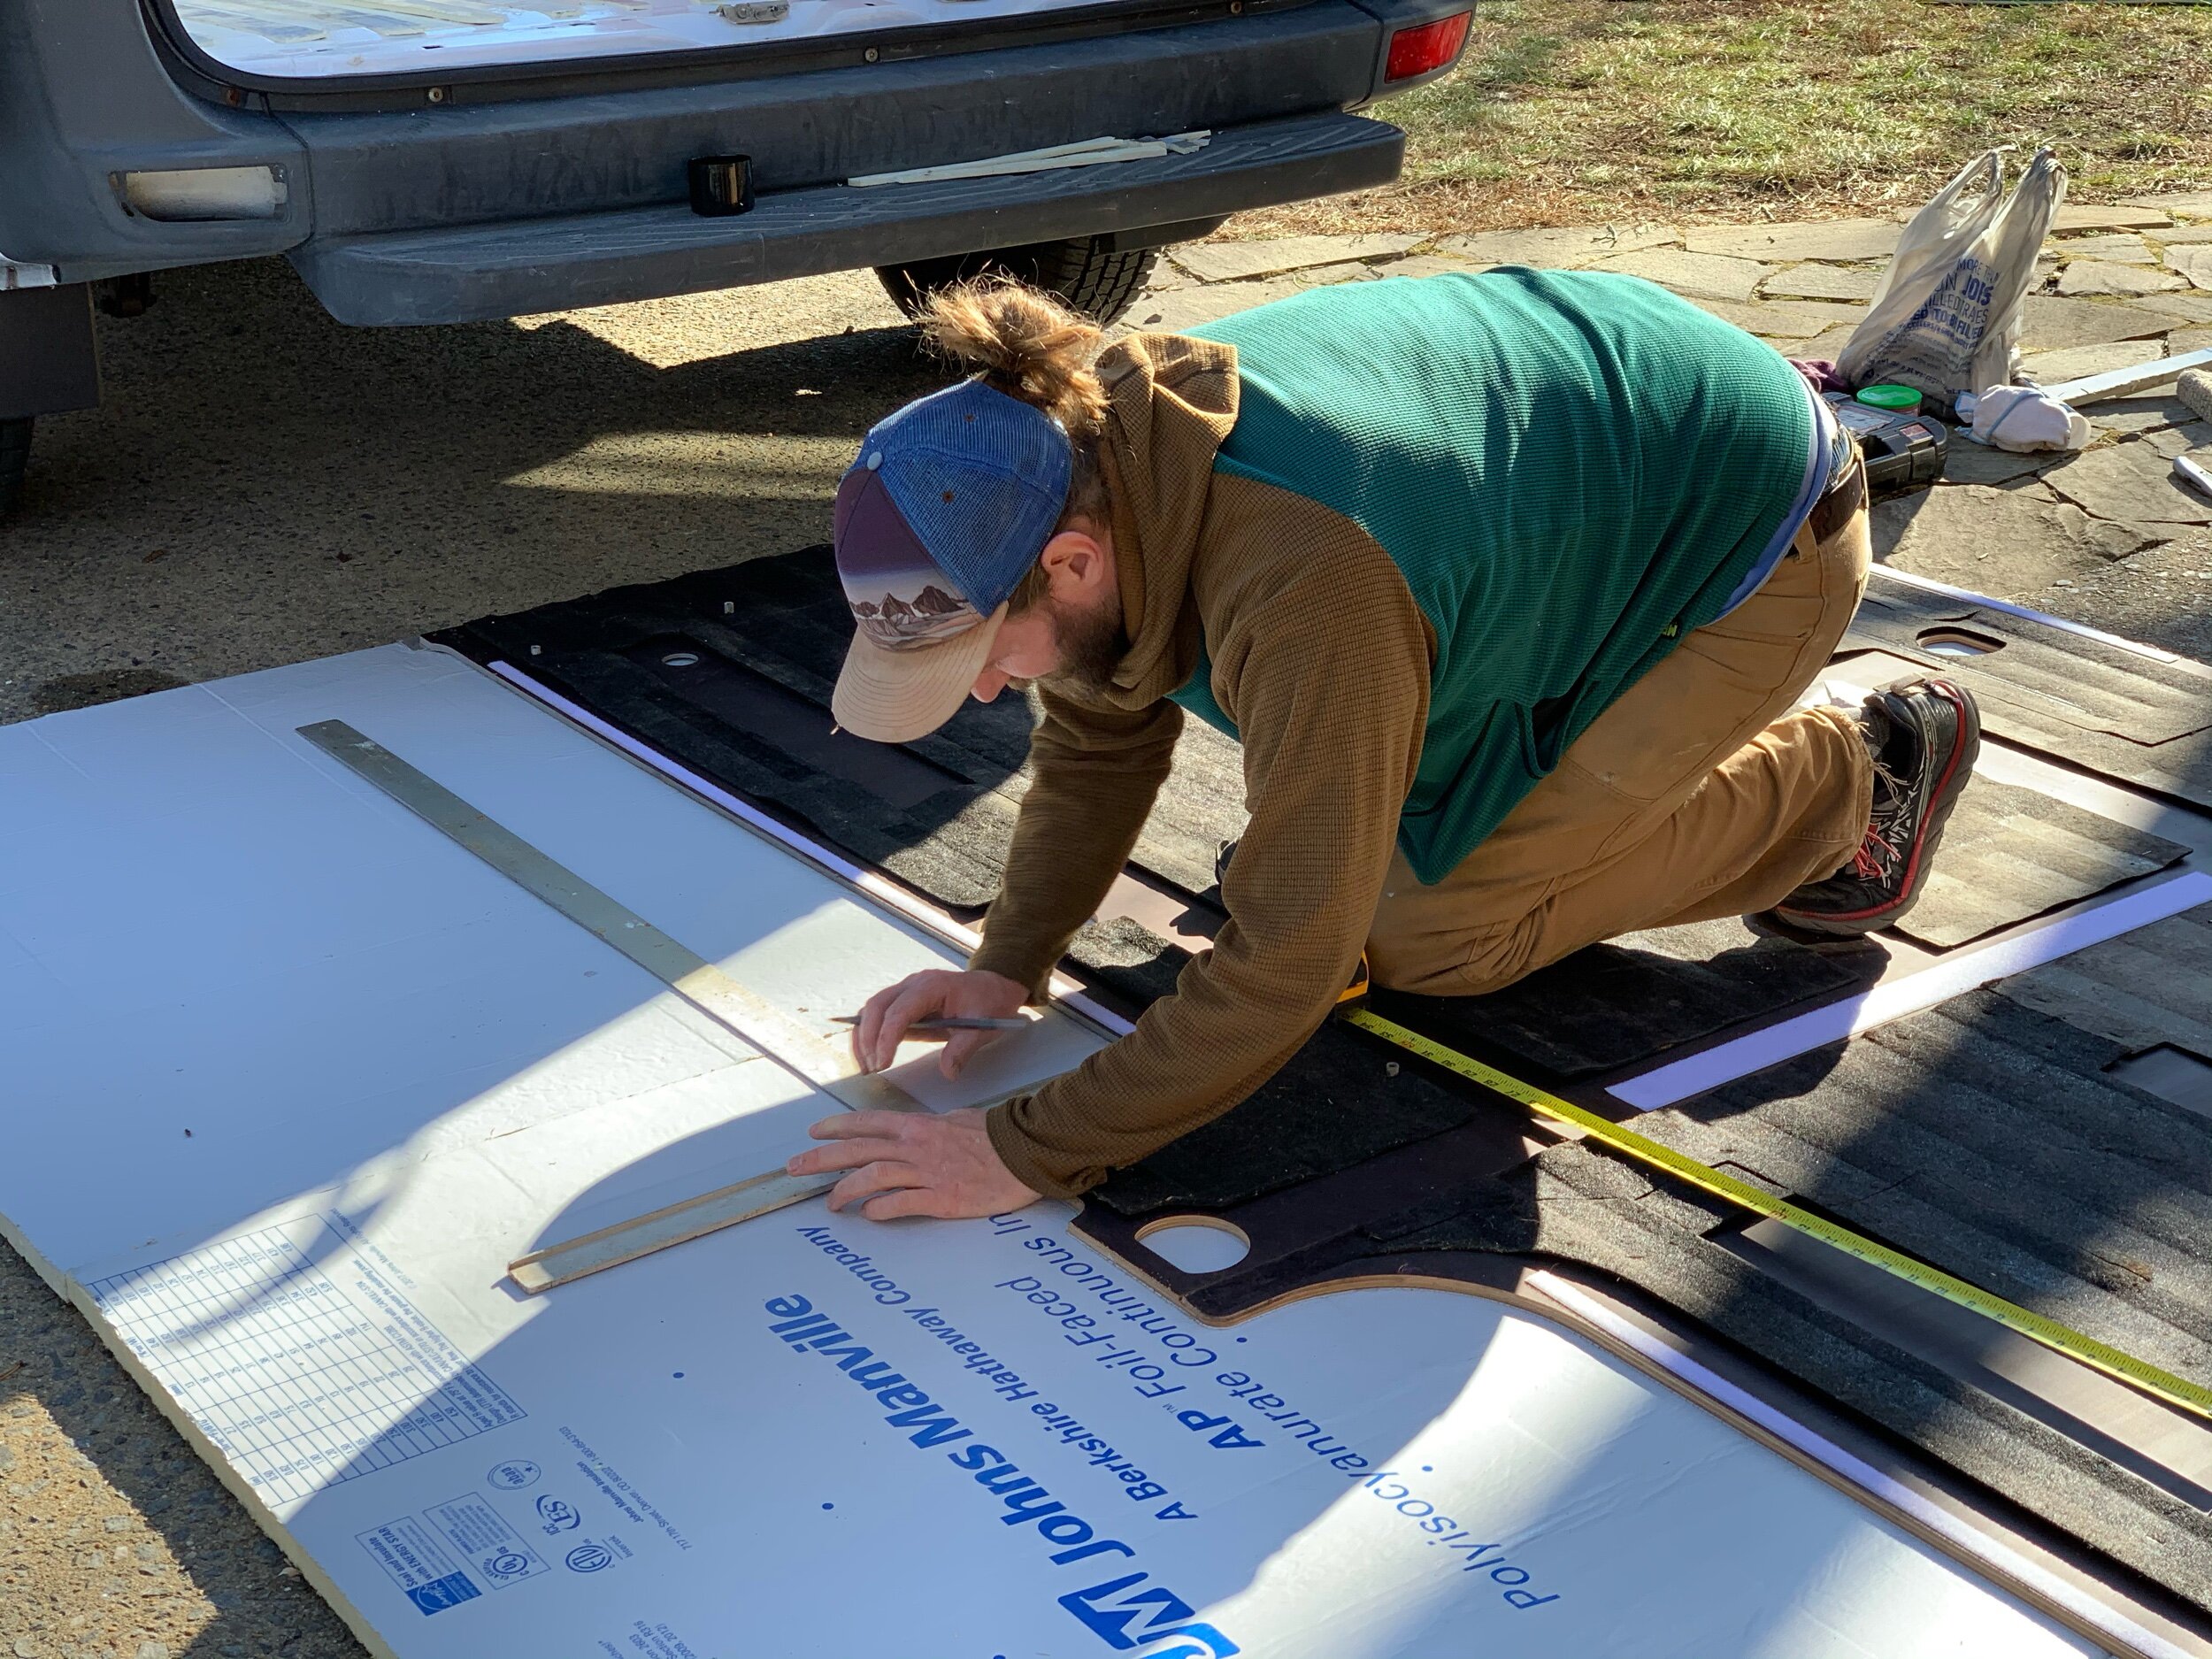
First, Matt cut strips of the 1/2” foam board into 1/4” to fill the lower ribs in the floor. That was followed by large sheets of 1” foam board which were traced and cut from the original floor template. We didn’t want any air gaps flowing through the walkable space, therefore, we placed the foam board so we wouldn’t have any seems in our kitchen/livable space. We covered any seems in the garage area and in the middle with aluminum tape.
We marked and drilled holes for bolts later that would align with the new plywood subfloor and secure through to the van floor. This was sort of tricky because our measurements weren’t perfect so we had to place both layers in and look in from the top to make sure we could see through to the bolt hole.
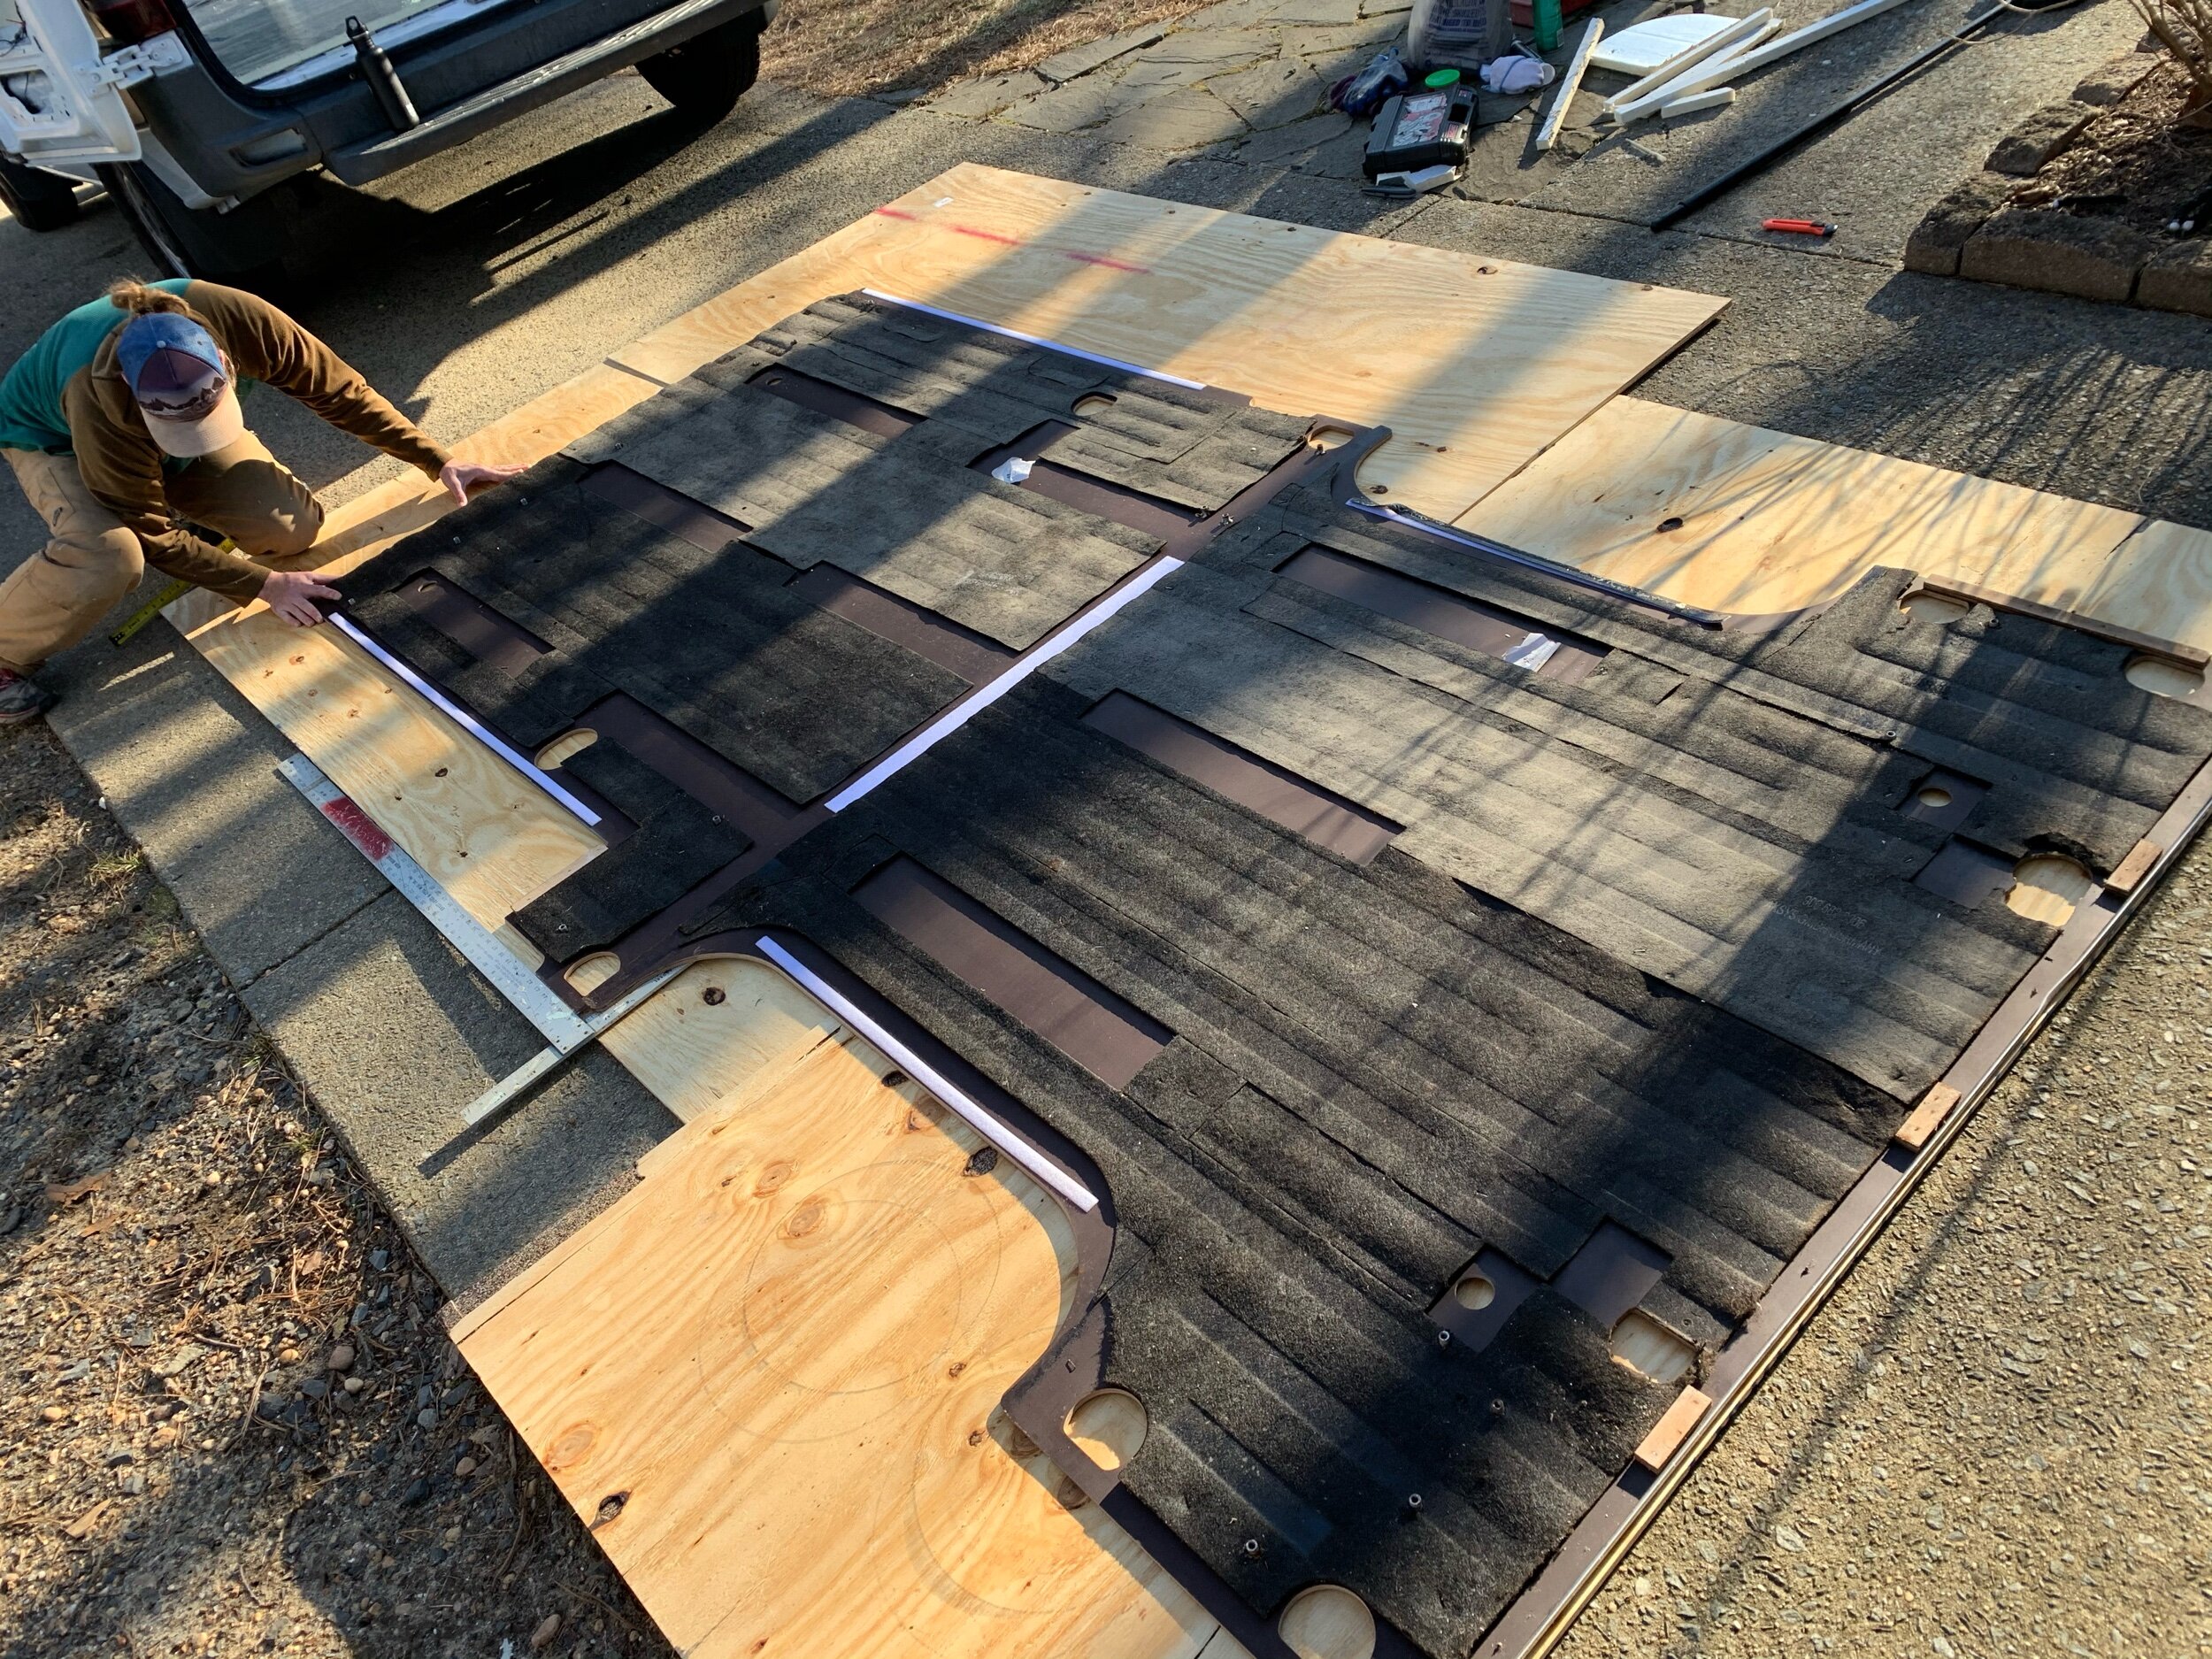
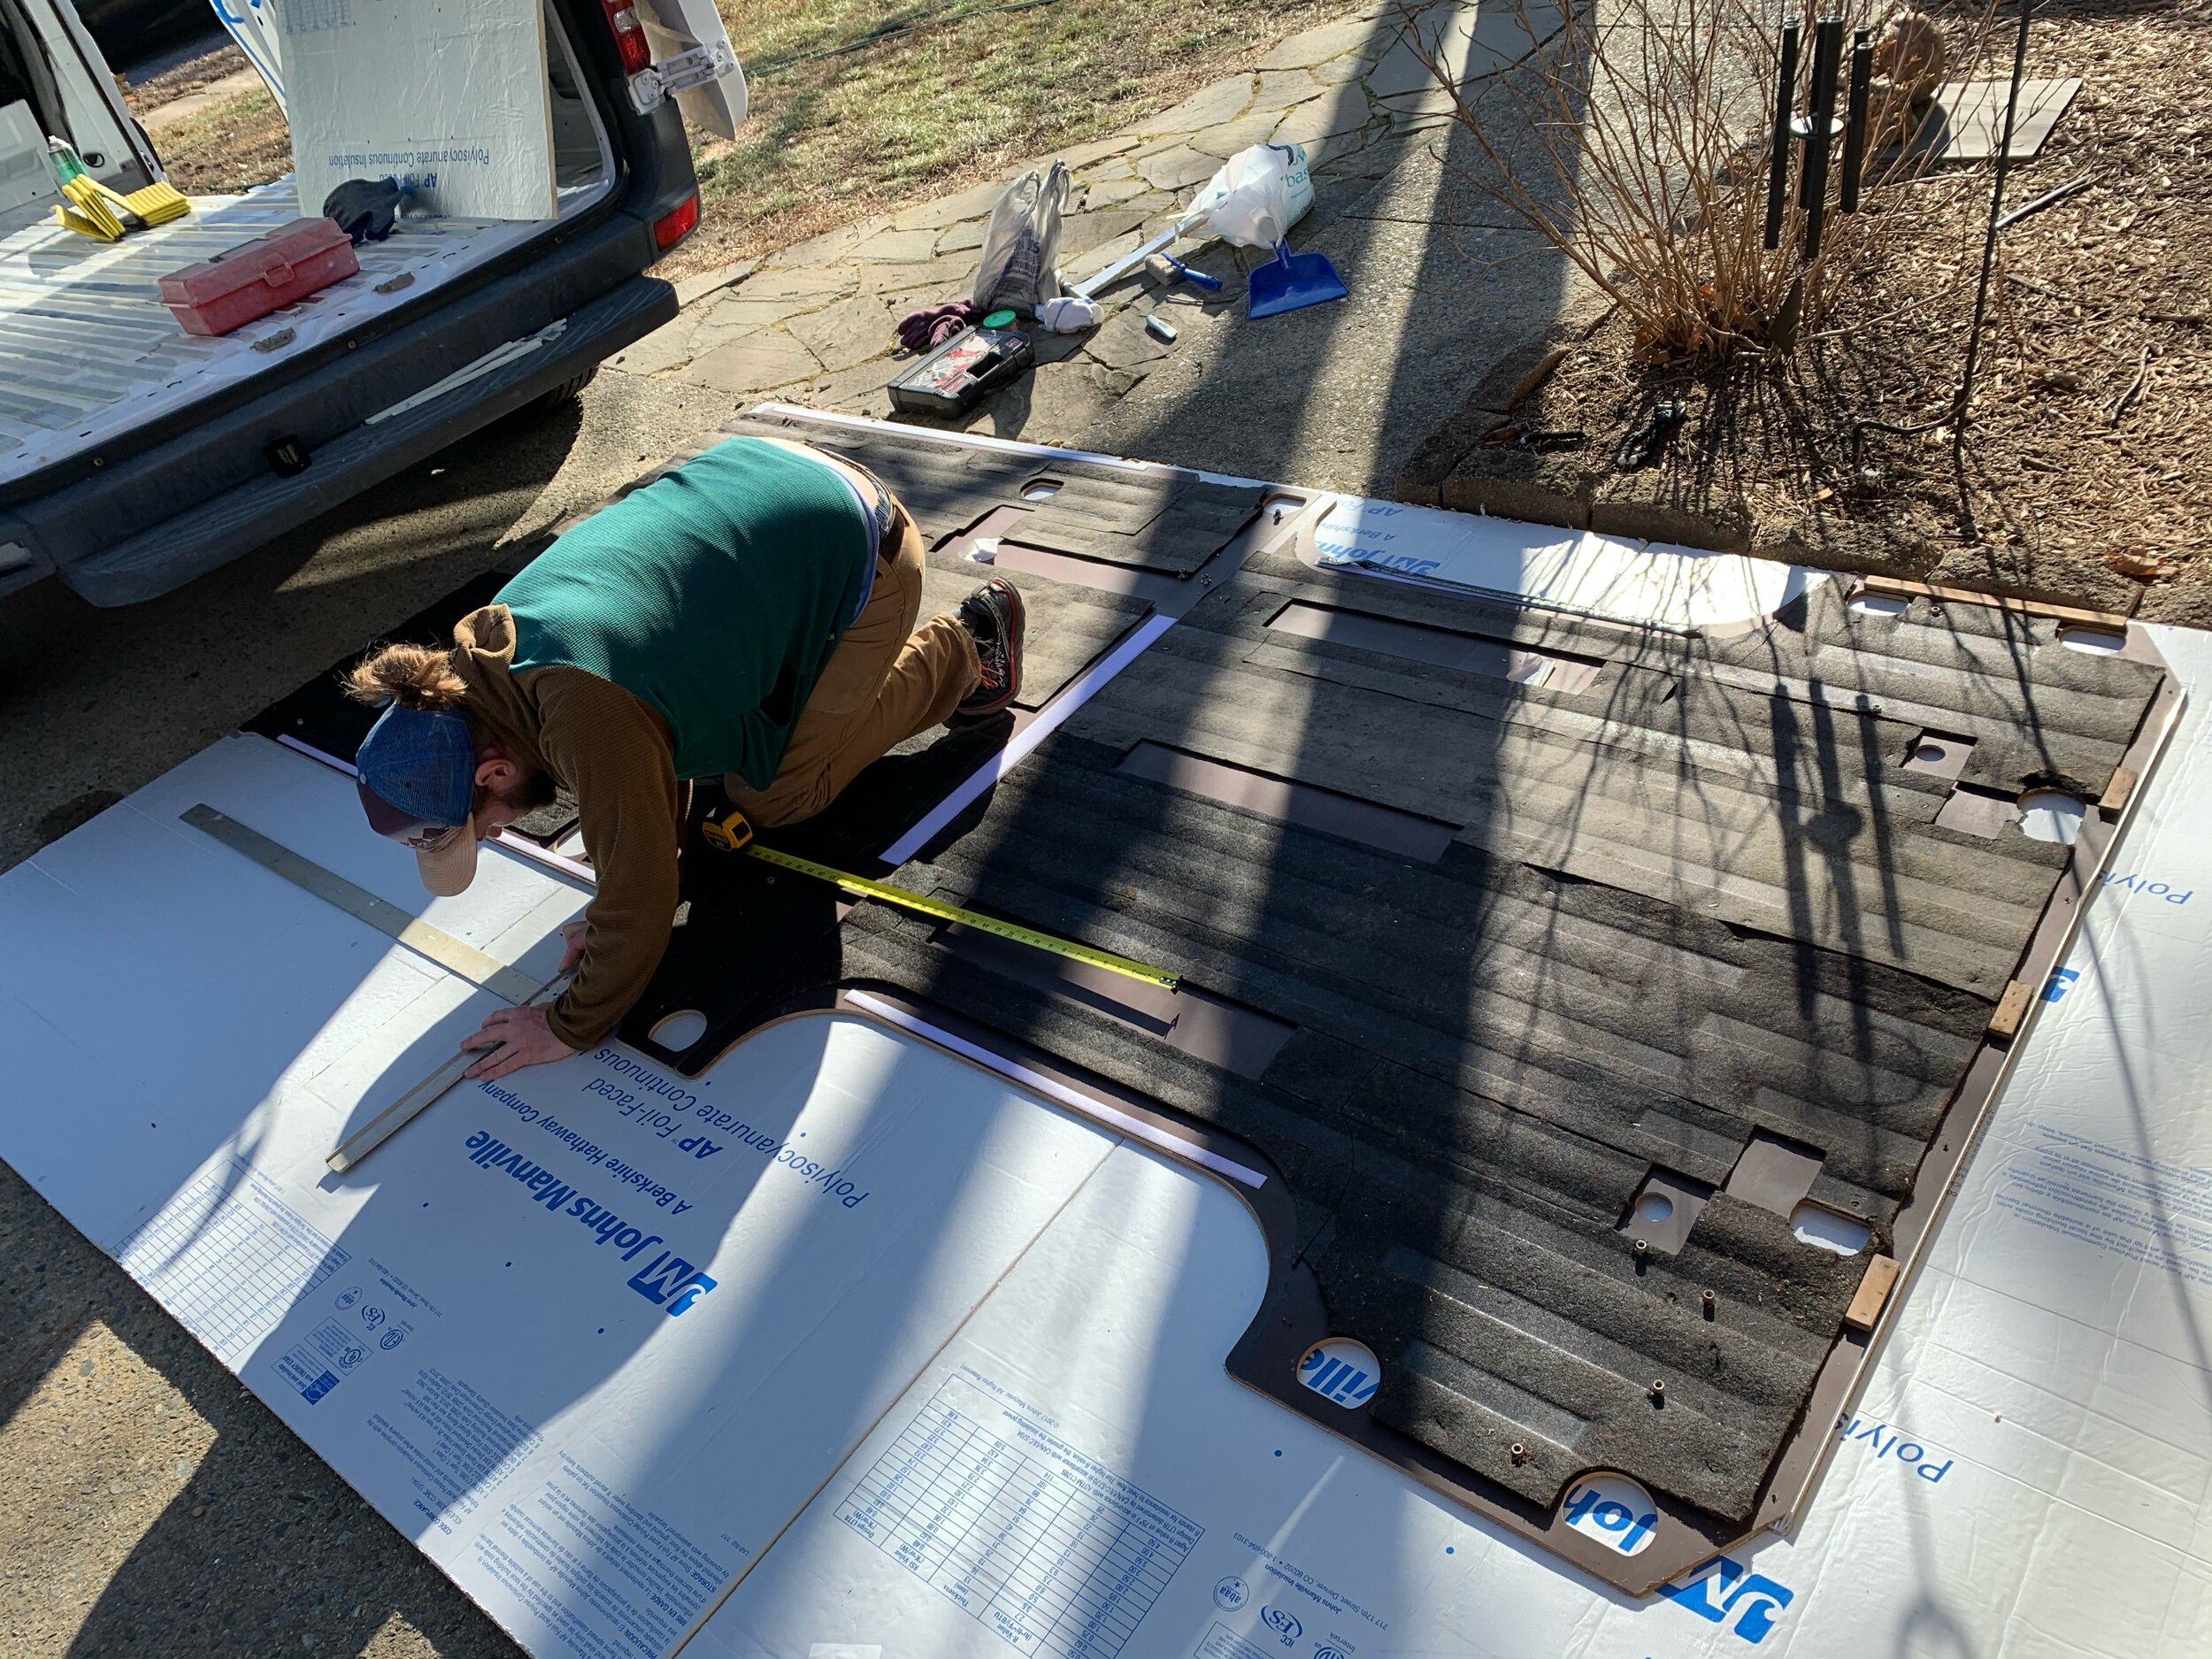
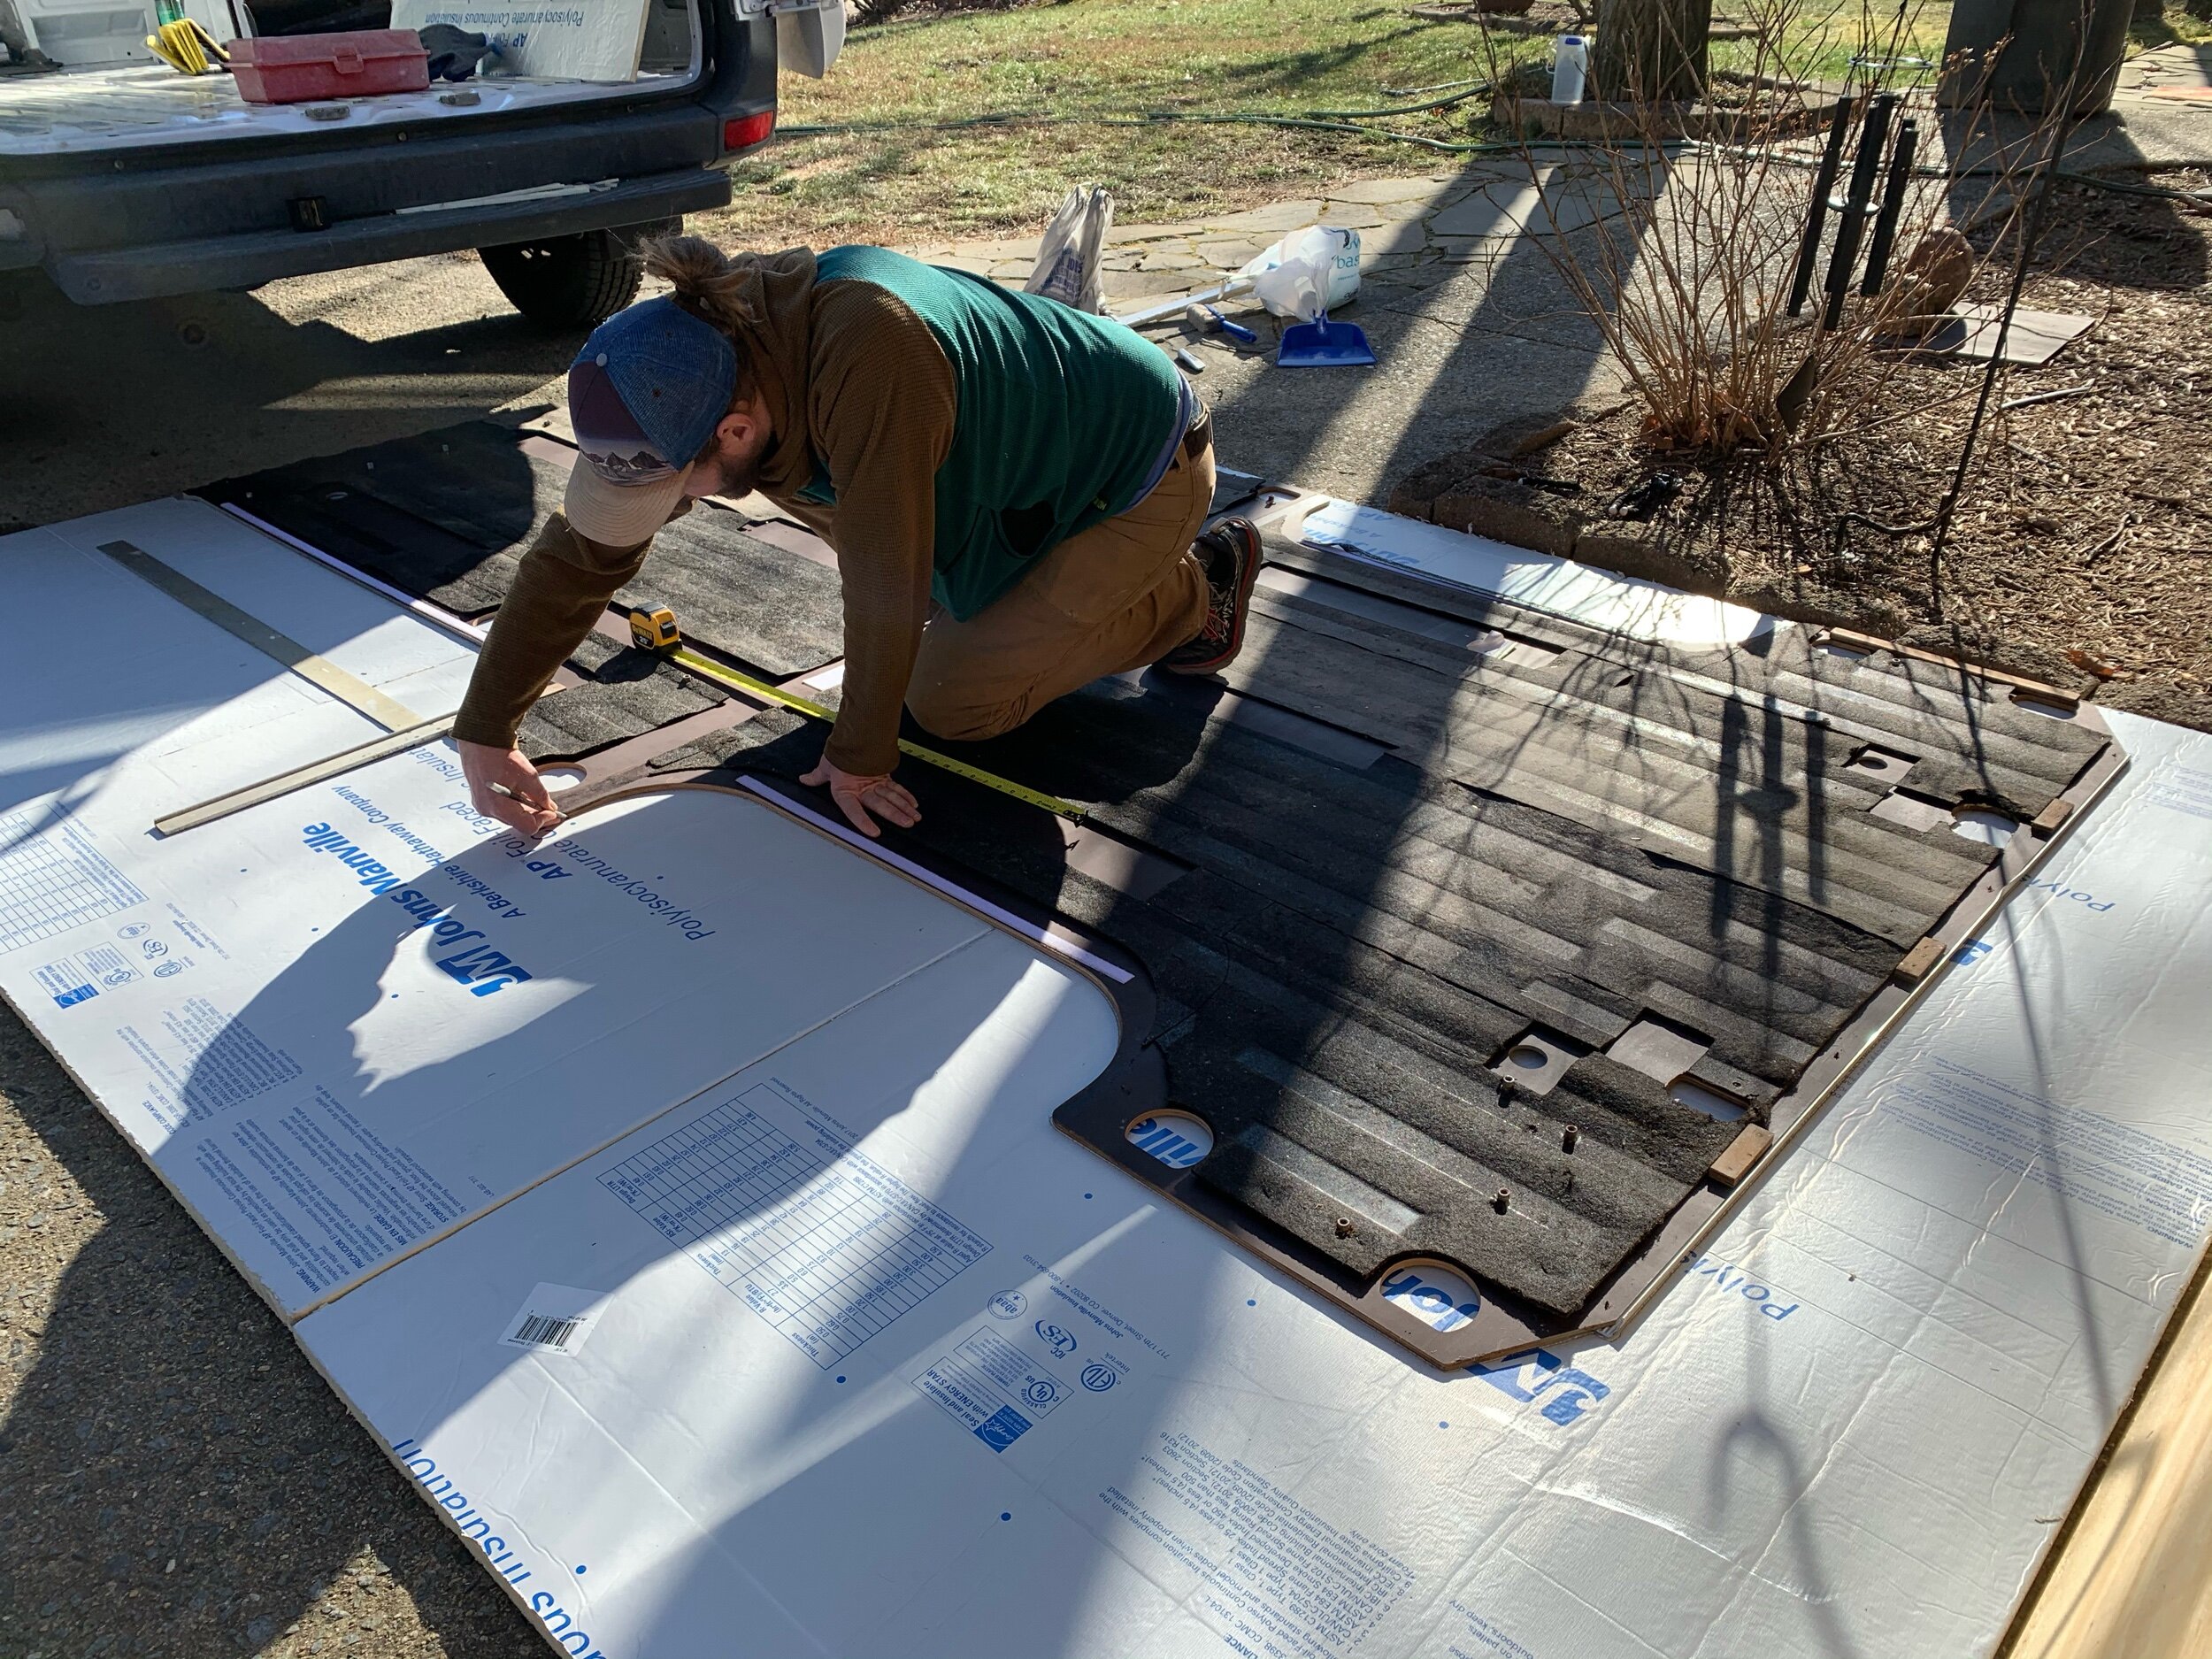
Plywood Flooring
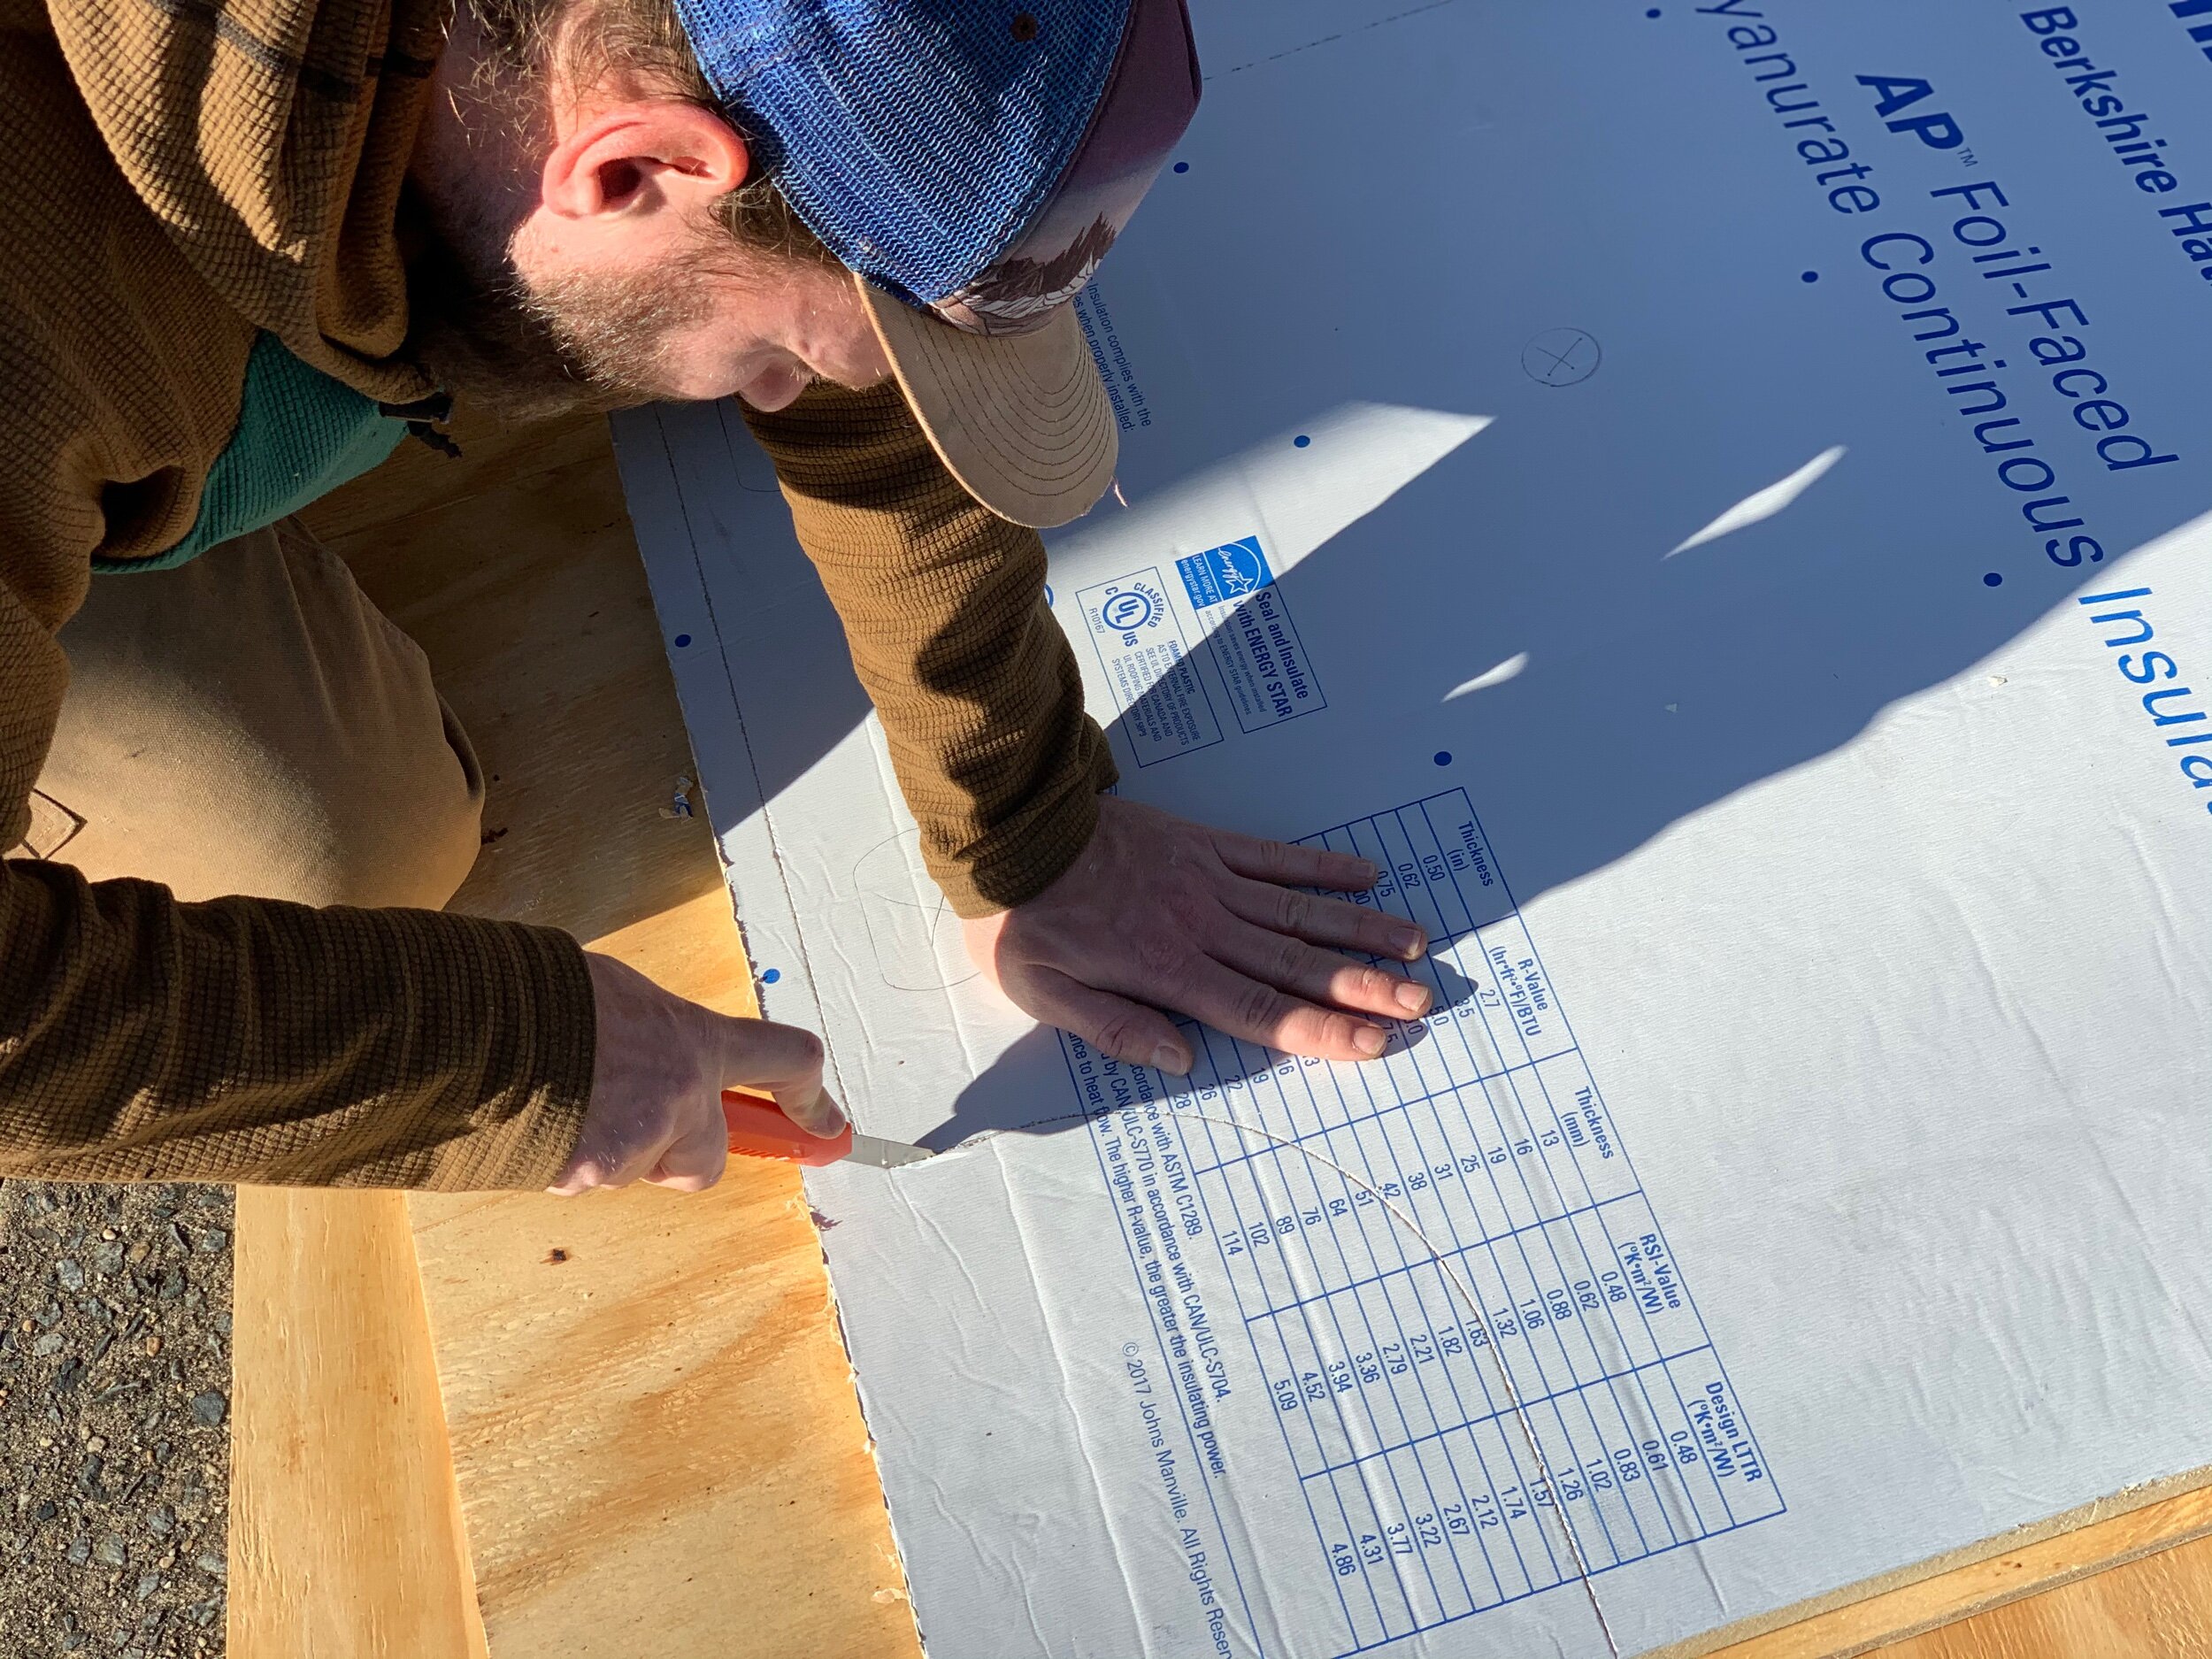
Next came the plywood sheets which were traced from the original floor just like foam board. We laid the plywood on the driveway and covered them with the original floor to trace a template. Using a jigsaw, we cut the outline and connected all three pieces to cover the van floor. We planned to secure the new plywood subfloor using the original Sprinter bolts that went through the van floor. We marked holes from the template where the bolts would go and lined them up with the foam board insulation so they would go through the new van floor.
We wanted some of the bolts to be flush with the plywood floor so we pre-drilled holes and added washers for a strong hold.
After we cut the foam board insulation and plywood, the next step entailed carefully glueing down the subfloor layers. We first removed all of the layers and then piece-by-piece, glued everything down. Spray adhesive secured the foam board insulation to the metal van floor while Liquid Nails secured the plywood to the foam board. After all the layers were in place, glued and bolted in, we filled the van with heavy items to give some weight to seal the subfloor glue overnight.

van Insulation
Van insulation is a huge subject across the internet with almost too much information. Our research led us to some great blog posts which explored a wide variety of insulating options. Sprinter Van USA does a great job explaining the R-value and different types of insulation along with the costs per square foot. This was helpful since we considered spray foam insulation but the cost was a little out of our budget. The Vankookz also do a nice job explaining why they went with Thinsulate.
We settled on a mid-market price option with a good R-value, 3M Thinsulate Insulation. We picked up a good pair of fabric sheers to cut the Thinsulate to size and used spray adhesive to apply the insulation. Since we had leftover insulation board, we decided to use it on flat surfaces on the van in combination with the 3M Thinsulate.
Tools and Materials:
Stage 2 Gallery

Read more
Check out how we wired the Got It Wired van!