Stage 3: Maxxair Roof Fan Install and Sunroof Install

Highlight is super excited about cutting the first of many holes in the van roof.
In this post, we discuss how we installed two major accessories in our van, the Maxxair ceiling fan and the C.R. Laurence sunroof. Both projects required carefully cutting permanent holes in our roof, an inevitable and intimidating task for any vanlifer.
We decided to tackle the smaller hole for the fan before we moved on to the sunroof. By the time we got to the sunroof install, we felt pretty comfortable using the jigsaw and how to seal up our new accessories. Cutting holes in your van is most definitely a scary moment, however, it can feel like a powerful right-of-passage as a van owner and DIY-er. Read along to follow our process and good luck if you decide to install fans or windows of your own!
Maxxair 7000K Deluxe Fan with Remote
Features:
- Rain sensor
- Remote control
- 10-speeds
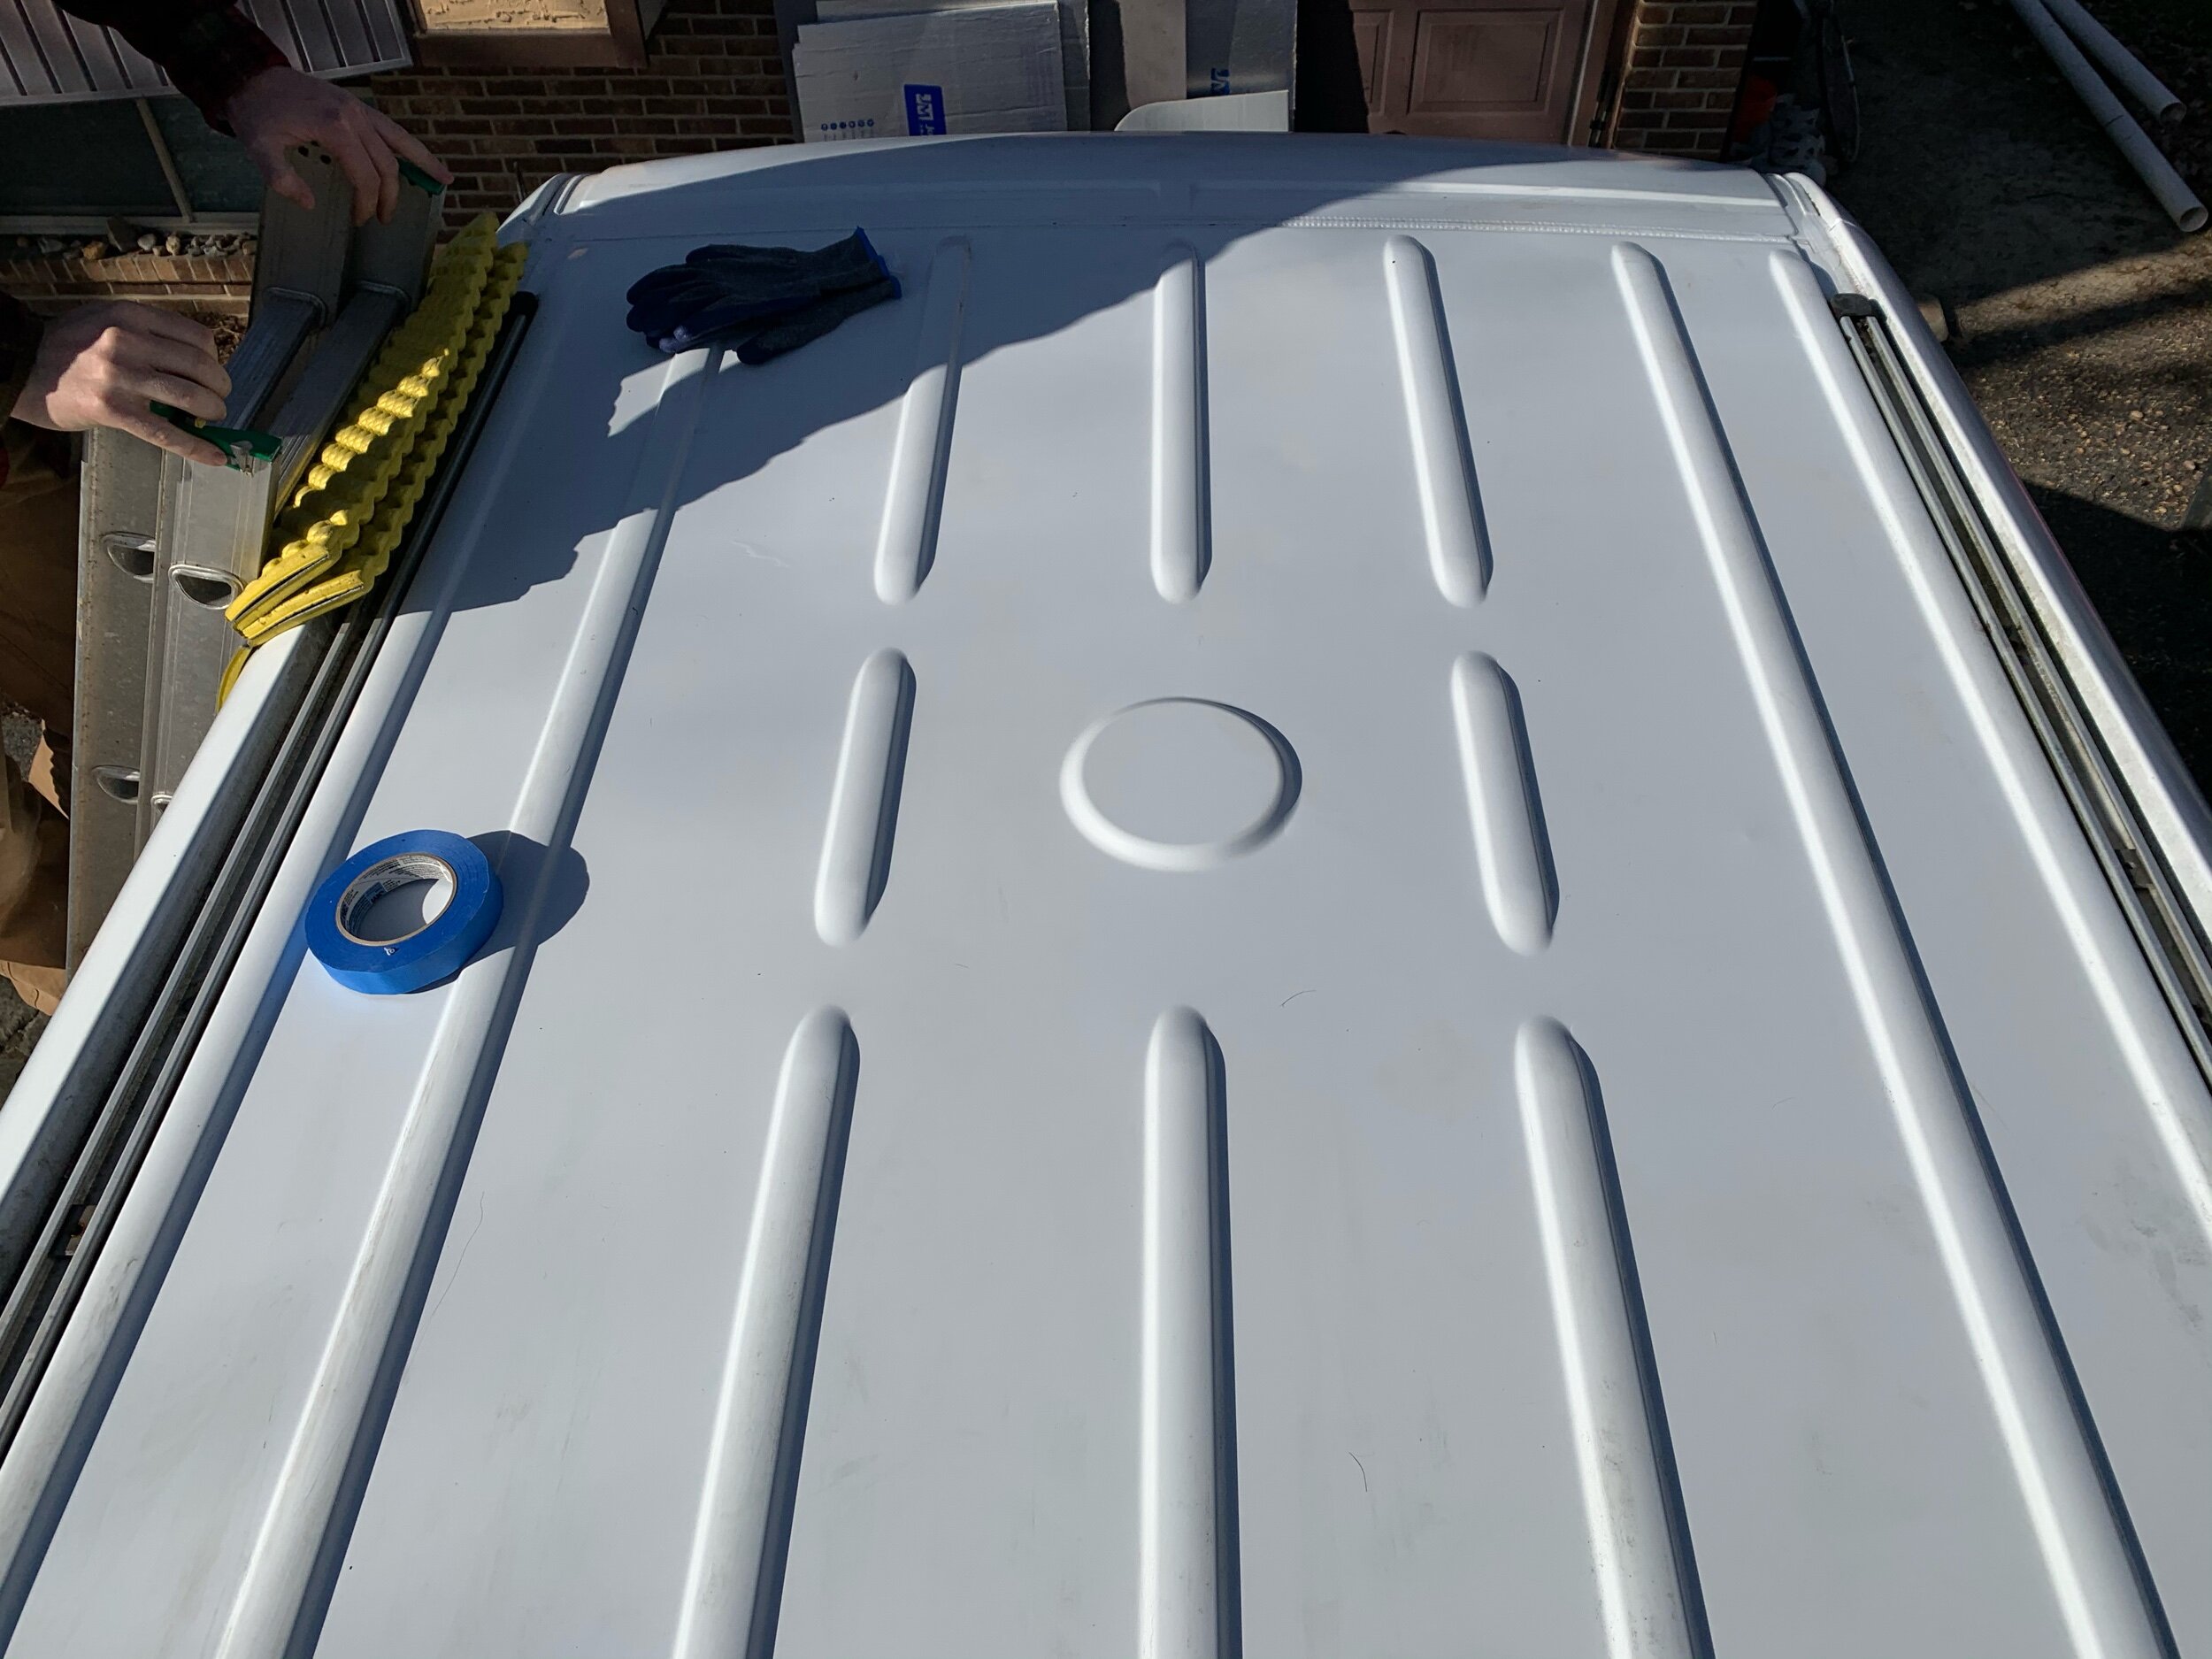
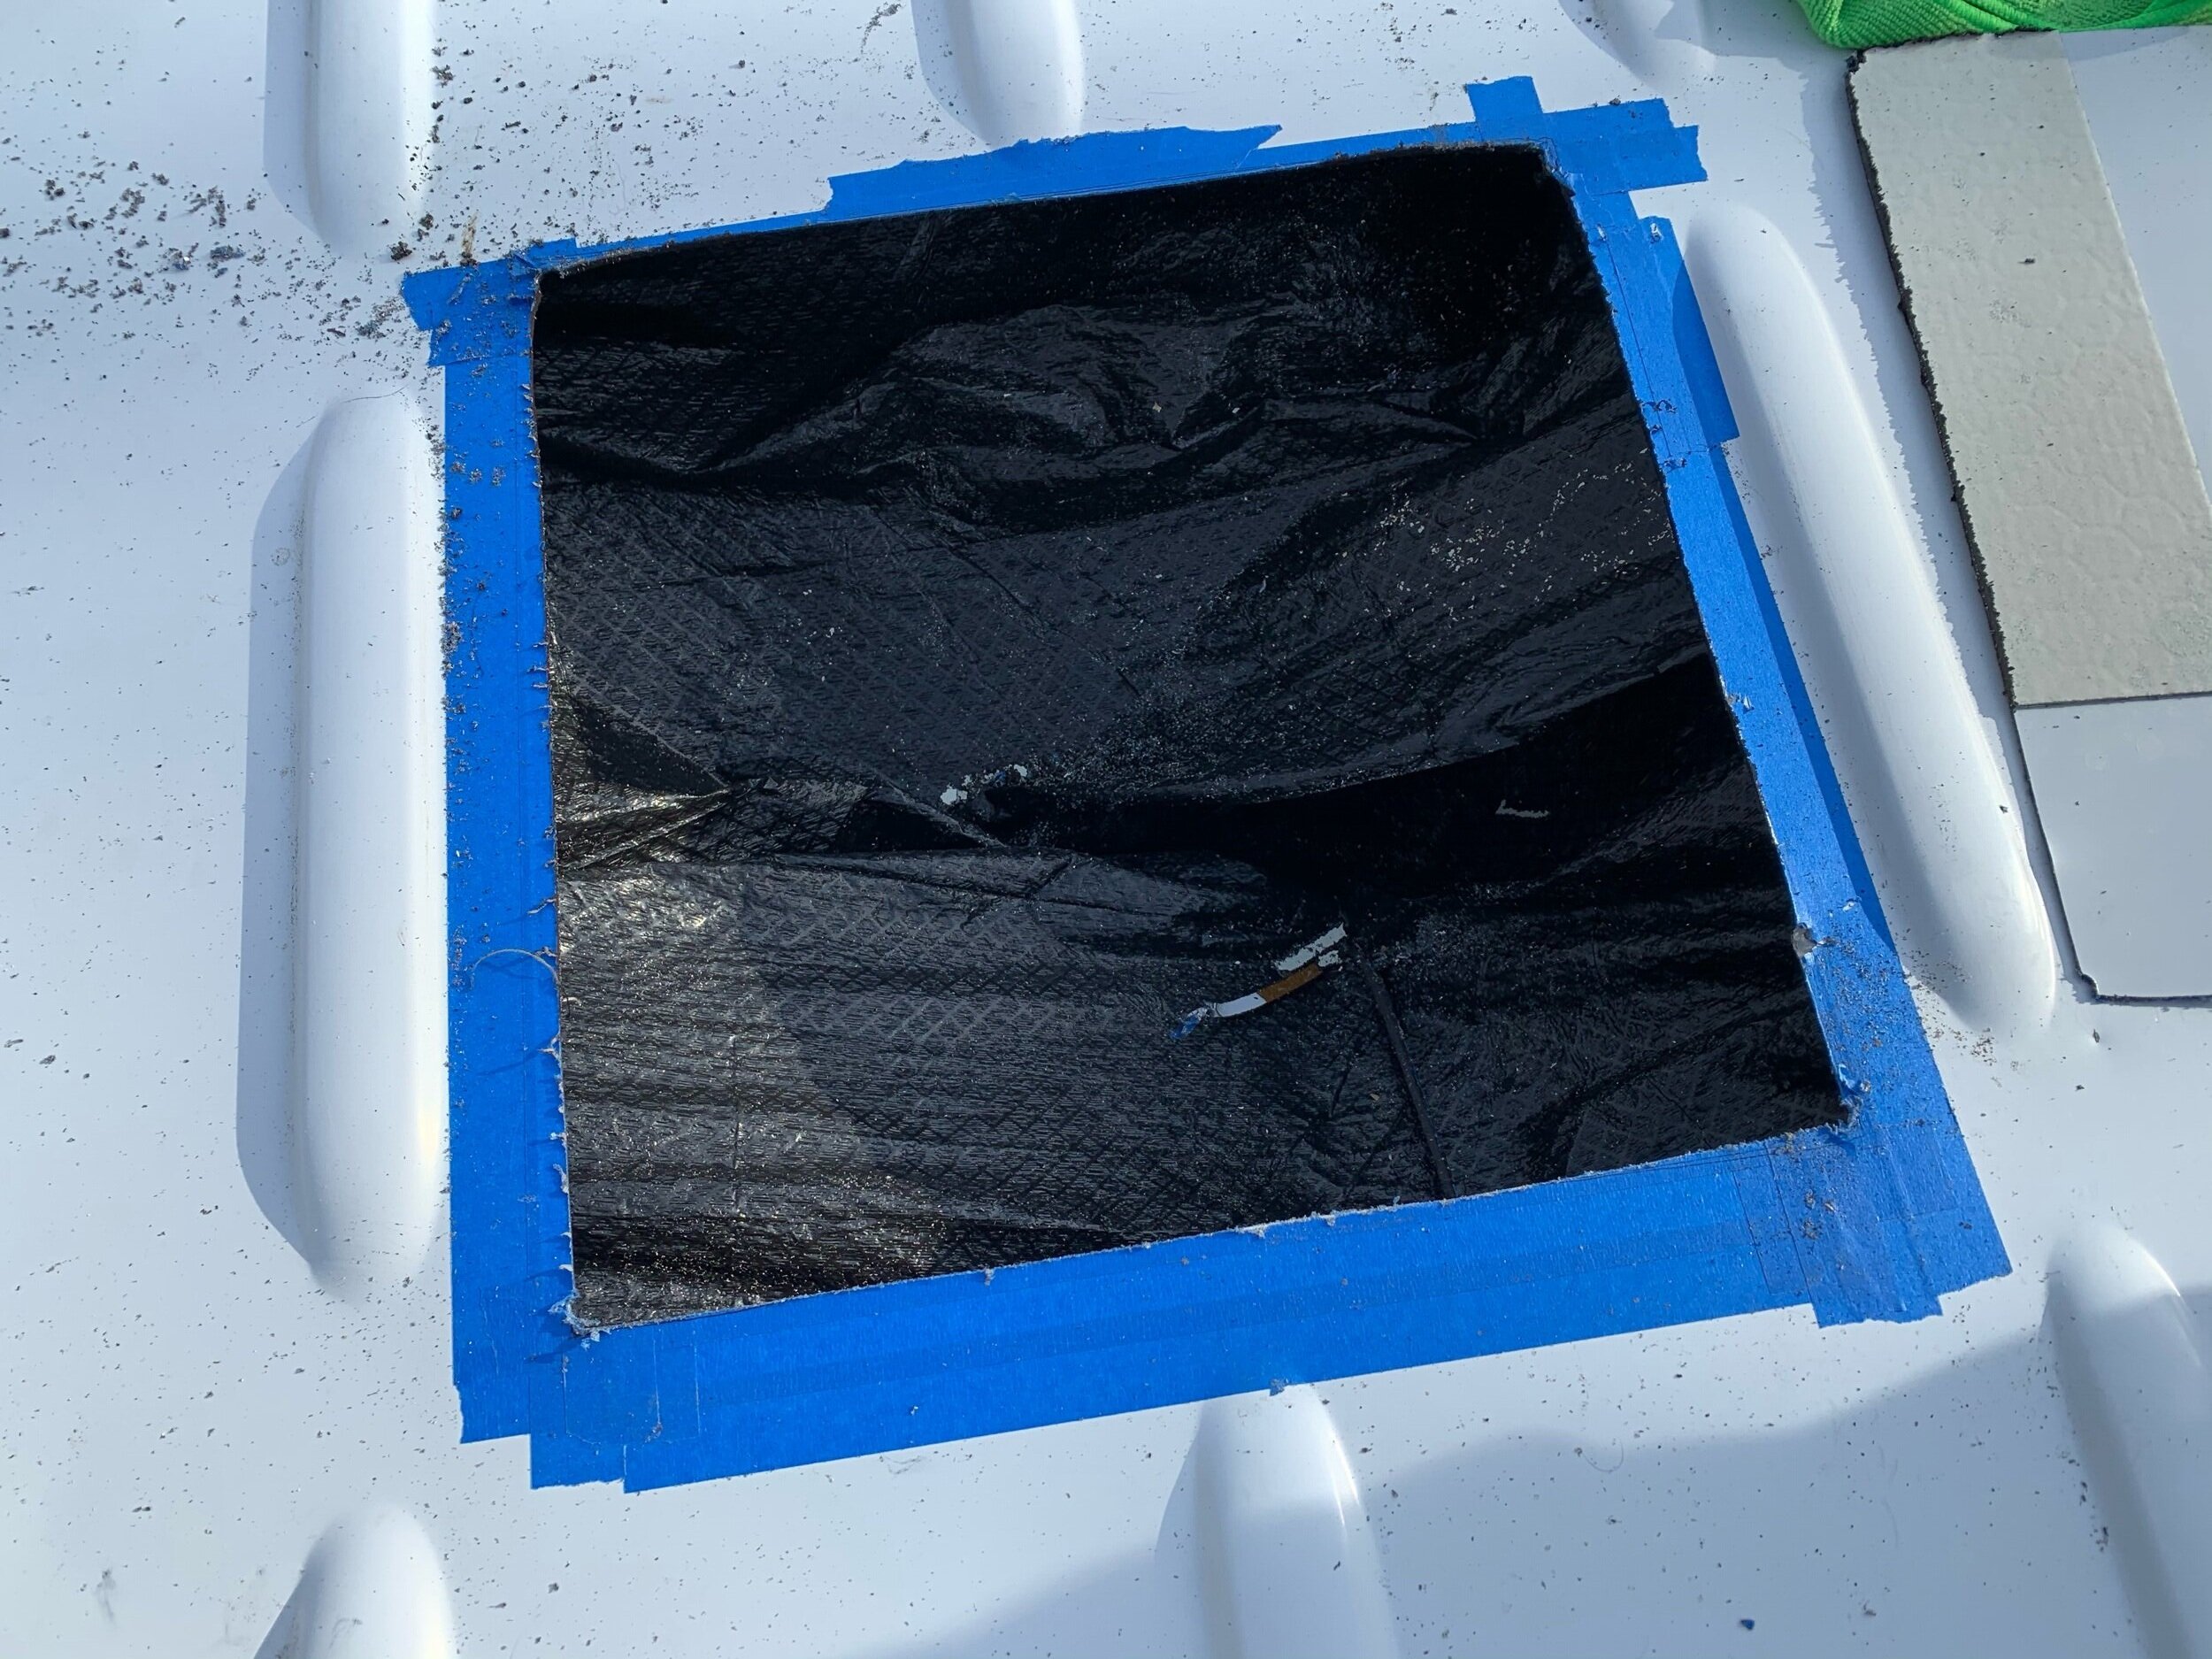
Choosing the MaxxFan 7000 in our van was a no brainer due to its ability to operate in the rain and its remote control option of adjusting the fan while we are still in bed. We started by laying out all the tools we thought we would need and putting a square of blue painters tape on the roof of Morning Star. We chose to install the fan over our kitchen area to pull out any cooking fumes from the kitchen. There's a space perfect for this placement with no close ridges to impede our jigsaw cuts.
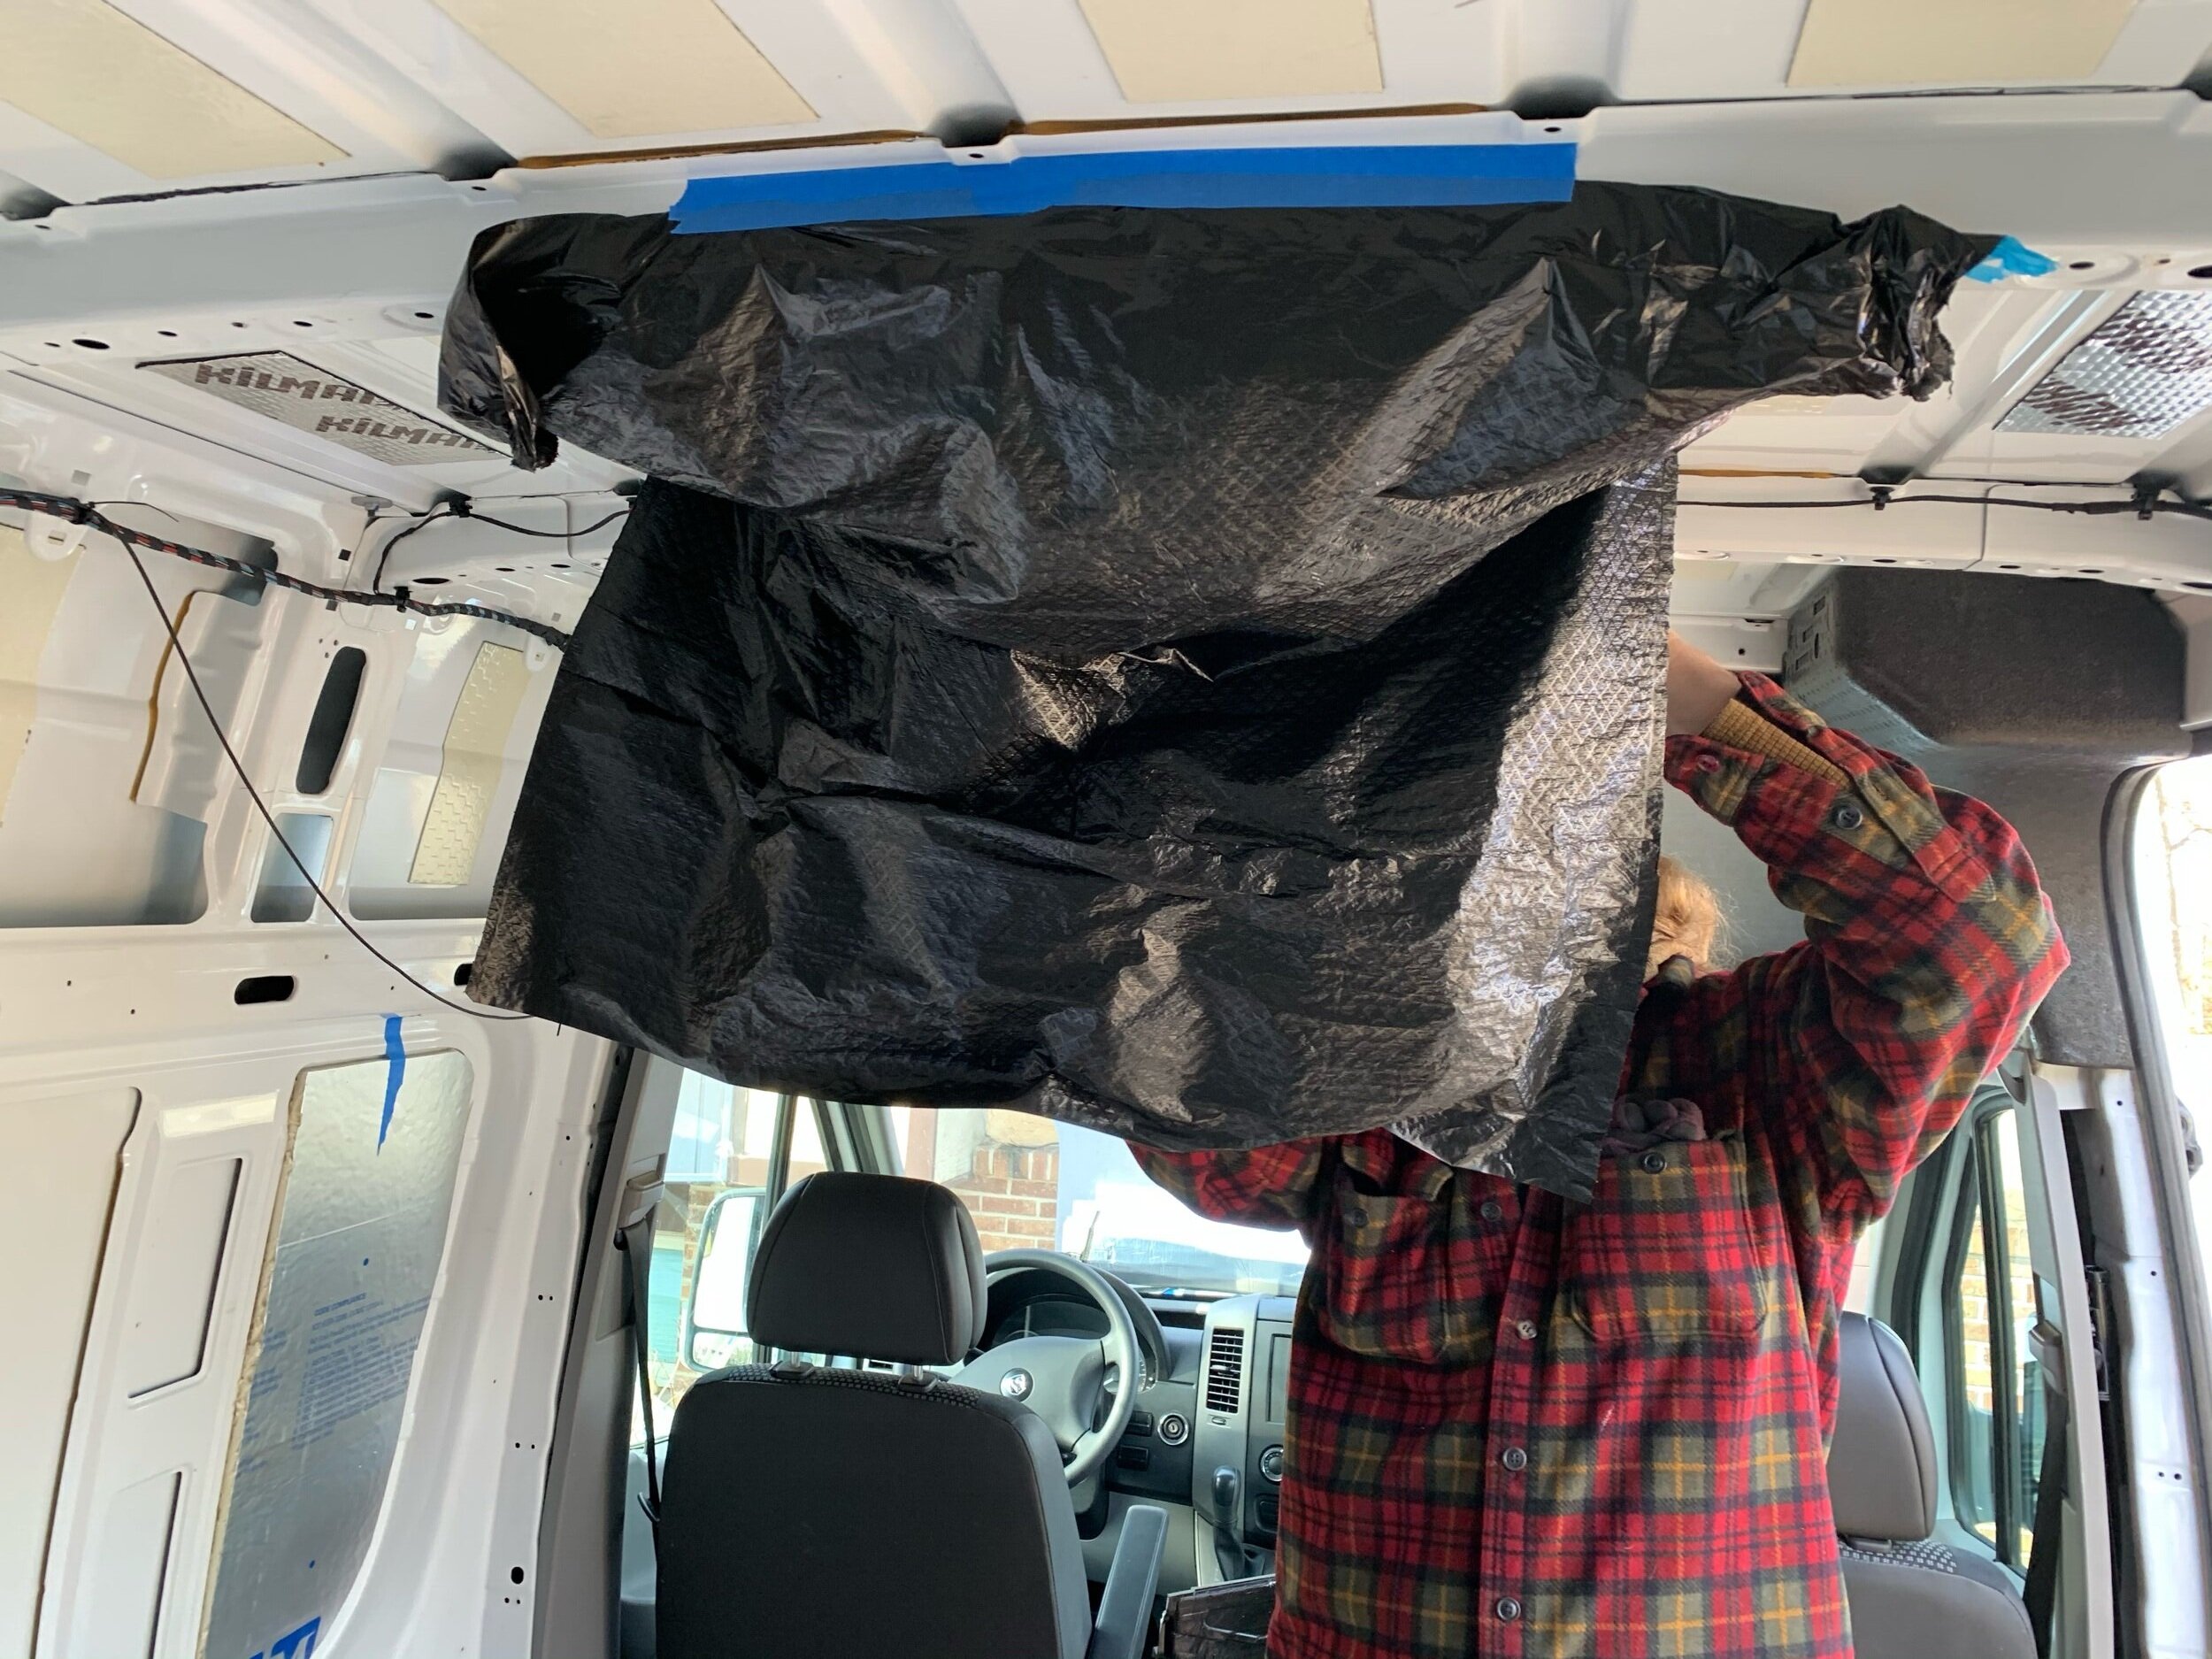
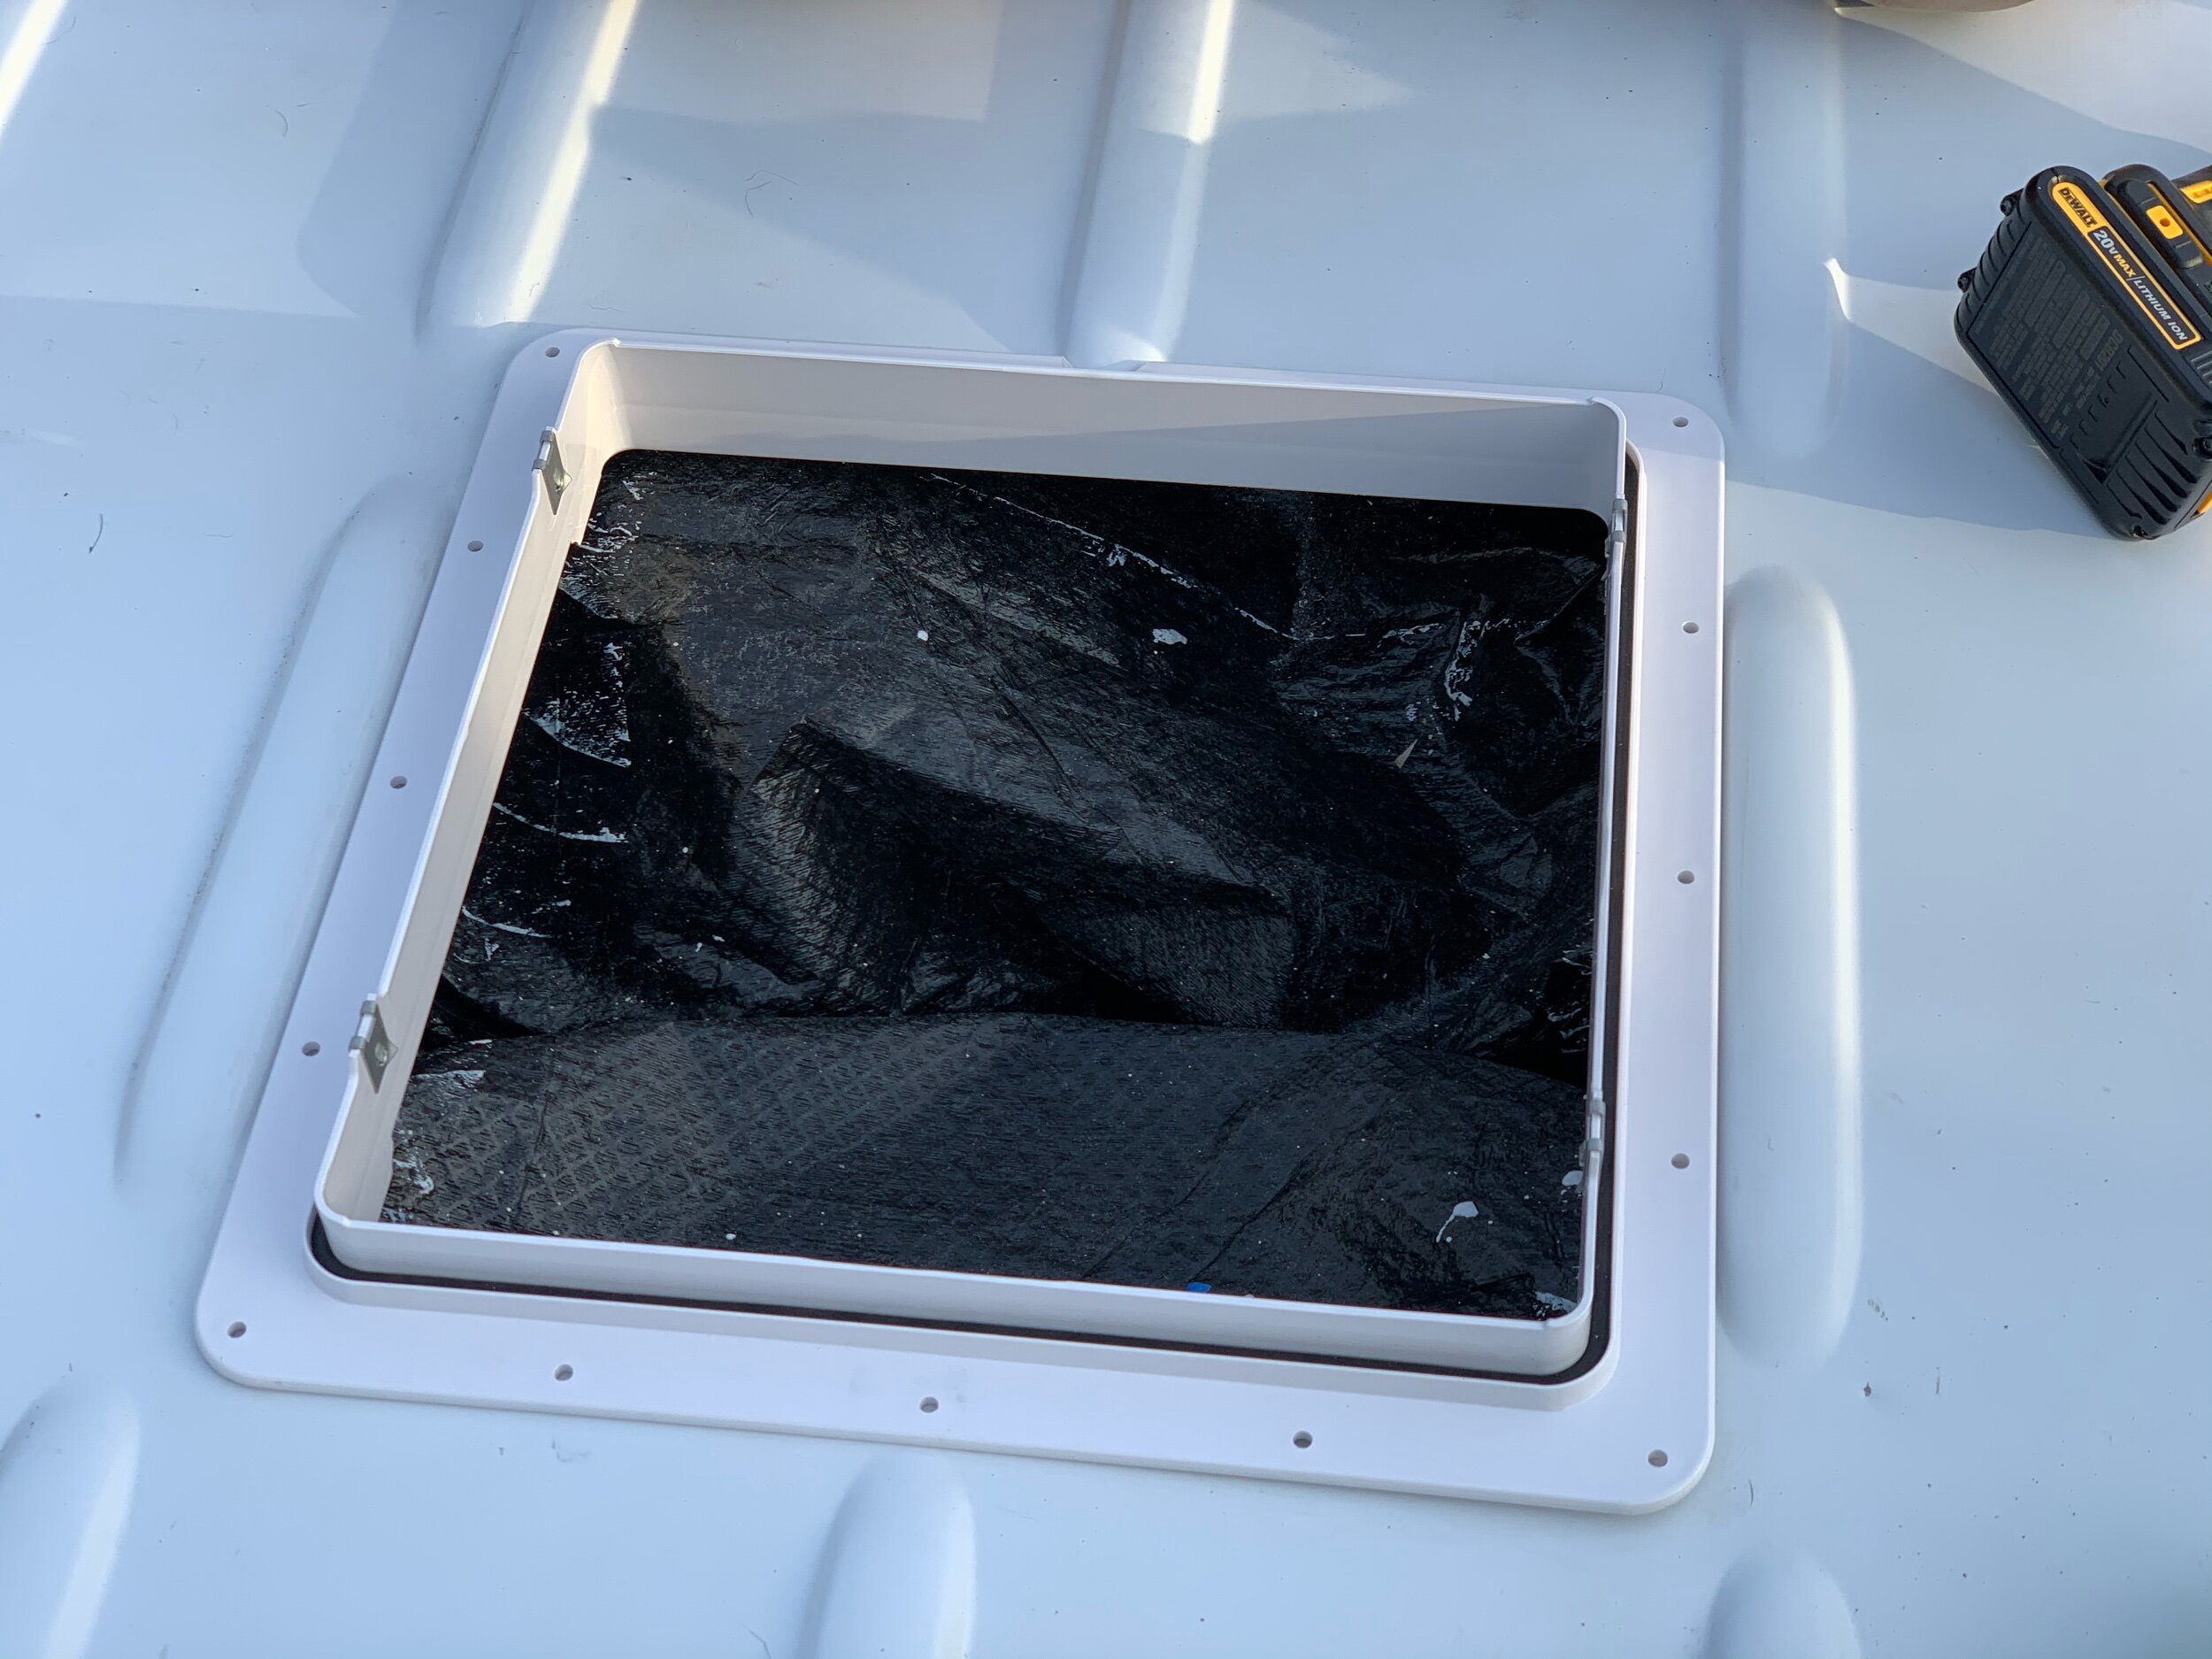
PRO TIP: Tape a trash bag to the underside of the roof to catch any metal shavings that fall for easy cleanup.
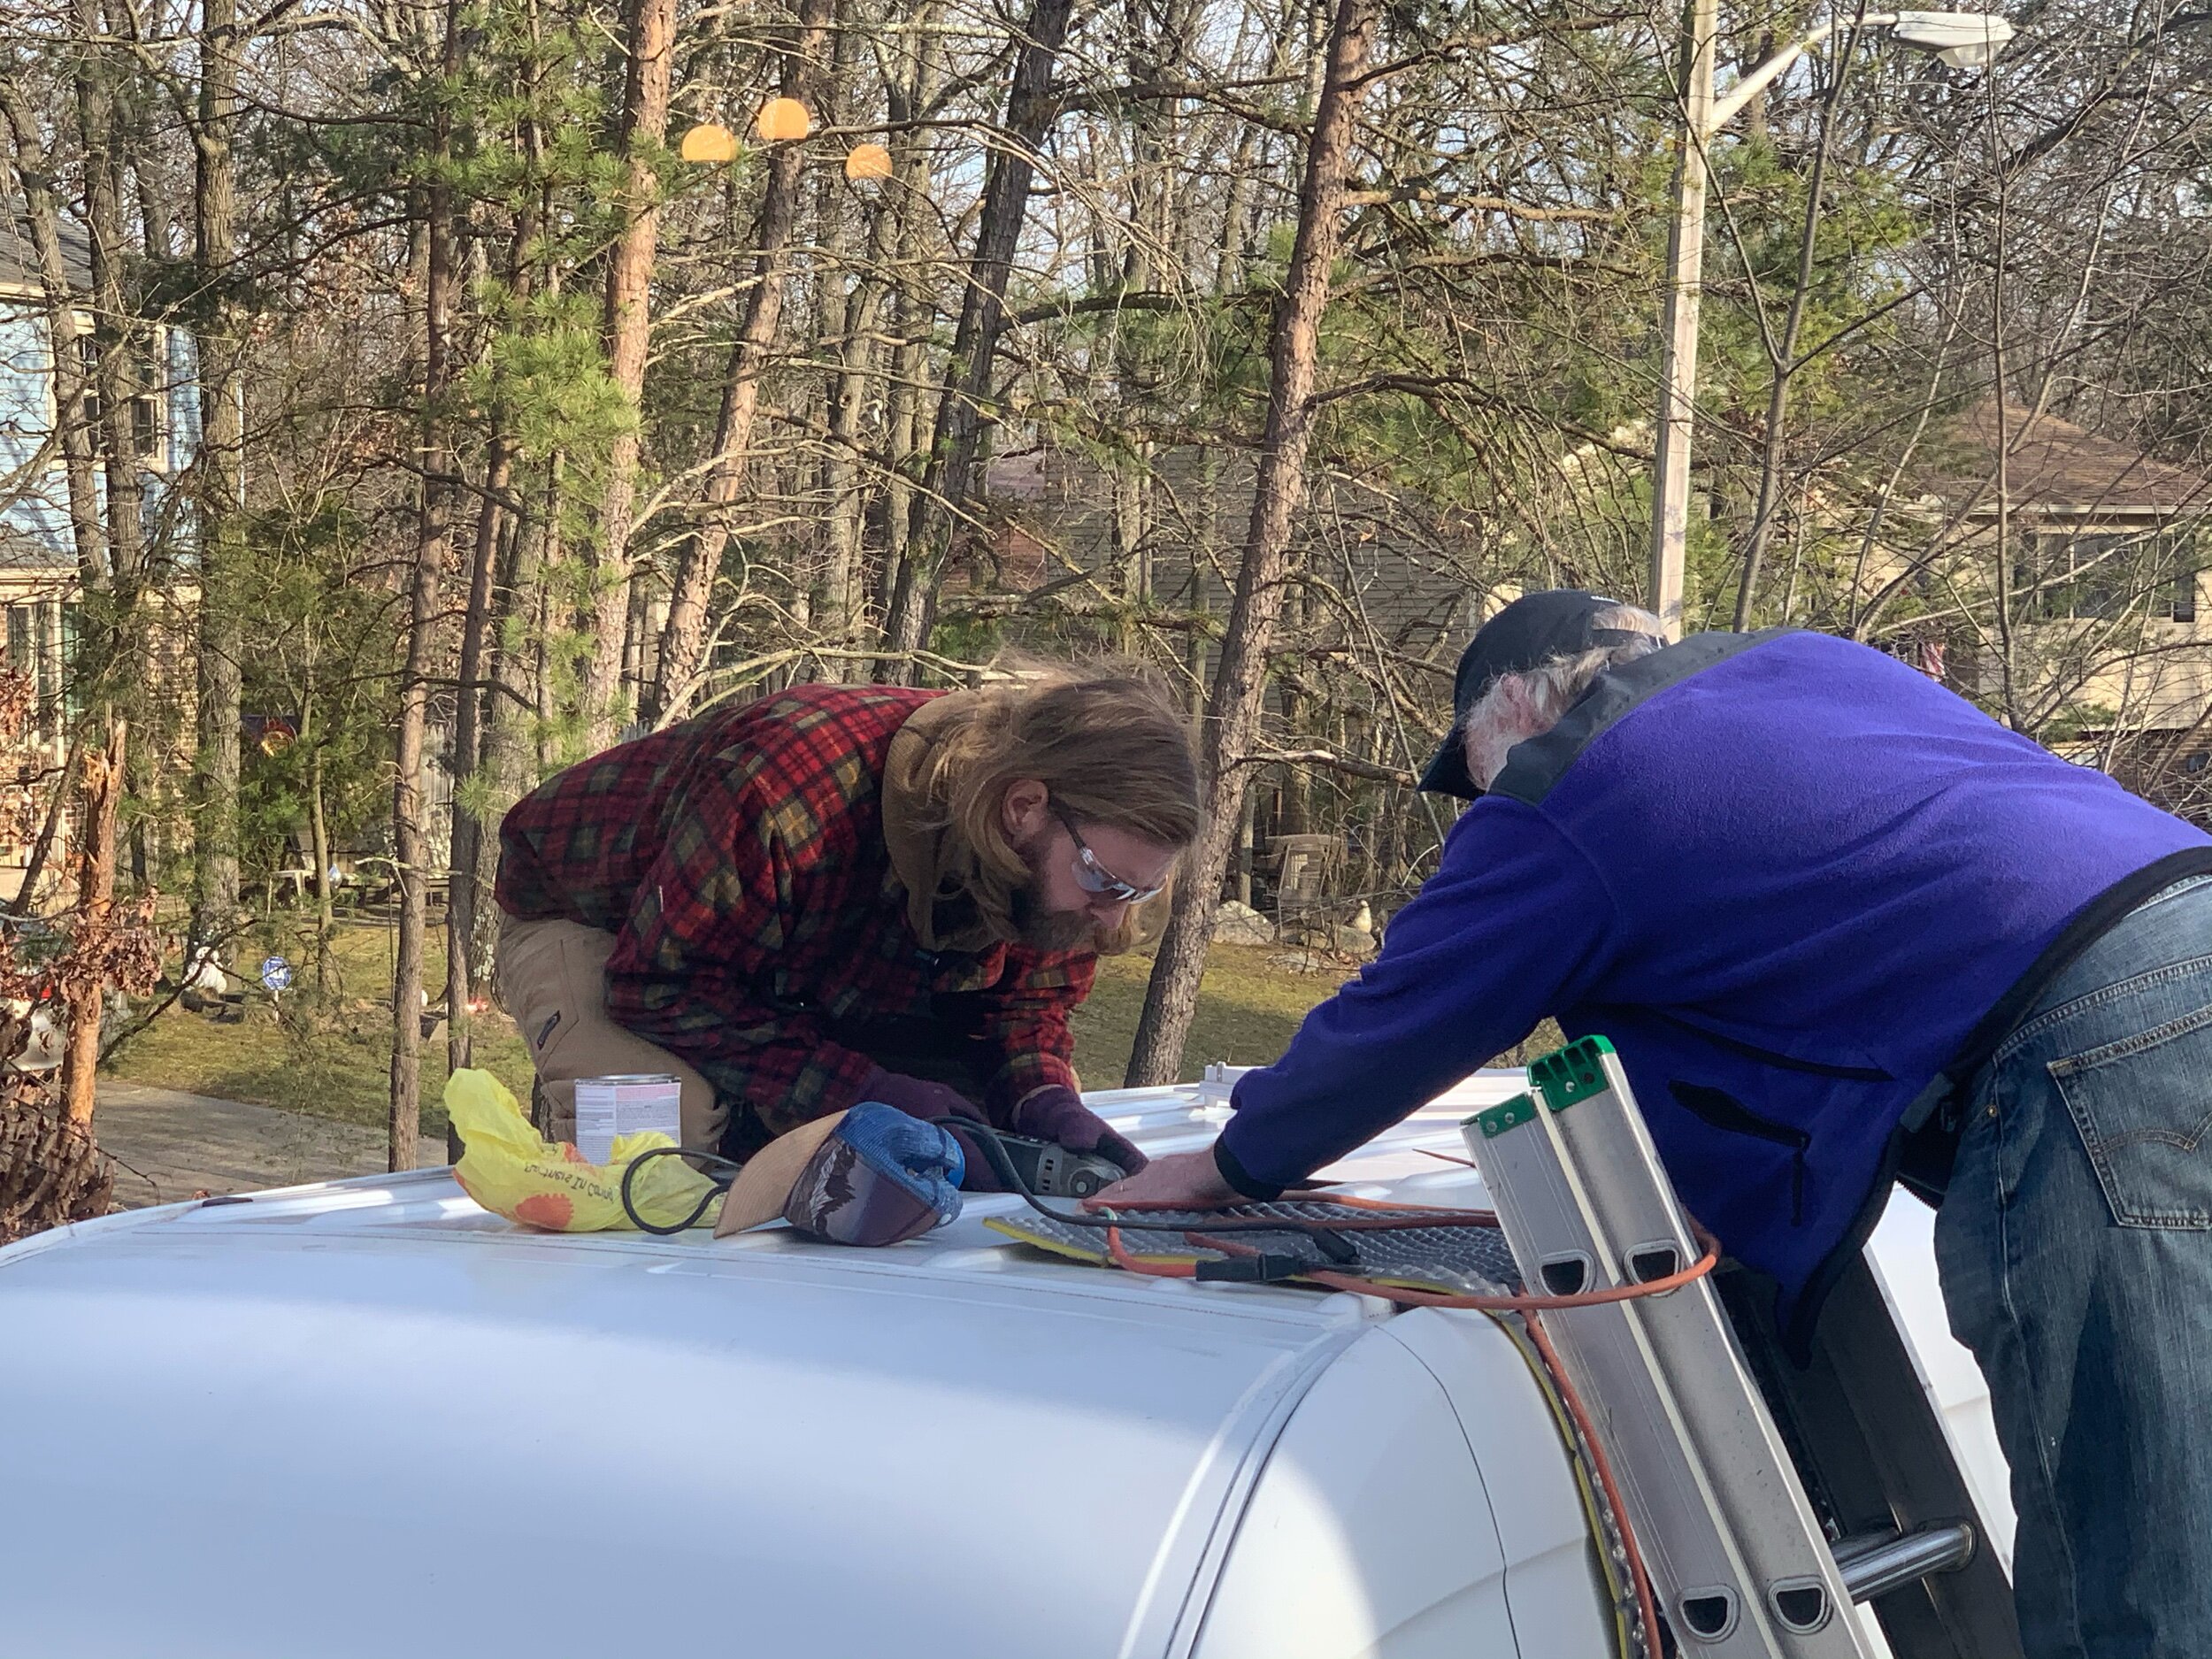
Next, we measured out exactly where the template should live about ten times to be absolutely sure it was the right spot. We also tapped a trash bag to the underside of the roof to catch any metal shavings that would fall to prevent future rust. Next, we drilled 4 holes in the corners of the template to give a space for the jigsaw blade to start and a couple in the center as well. We practiced a couple of straight cuts in the middle of our square marking then proceeded to cut the straight lines of the template.
Once the square piece of roof was removed, we took a file to the fresh cut to remove any flakes left hanging on. We then checked the fit of the collar and noticed it was a little too tight. Alexa’s father, Roy, recommended using a dremel took to take off a little bit of excess and that worked very well. We then had a perfect square hole in our roof.
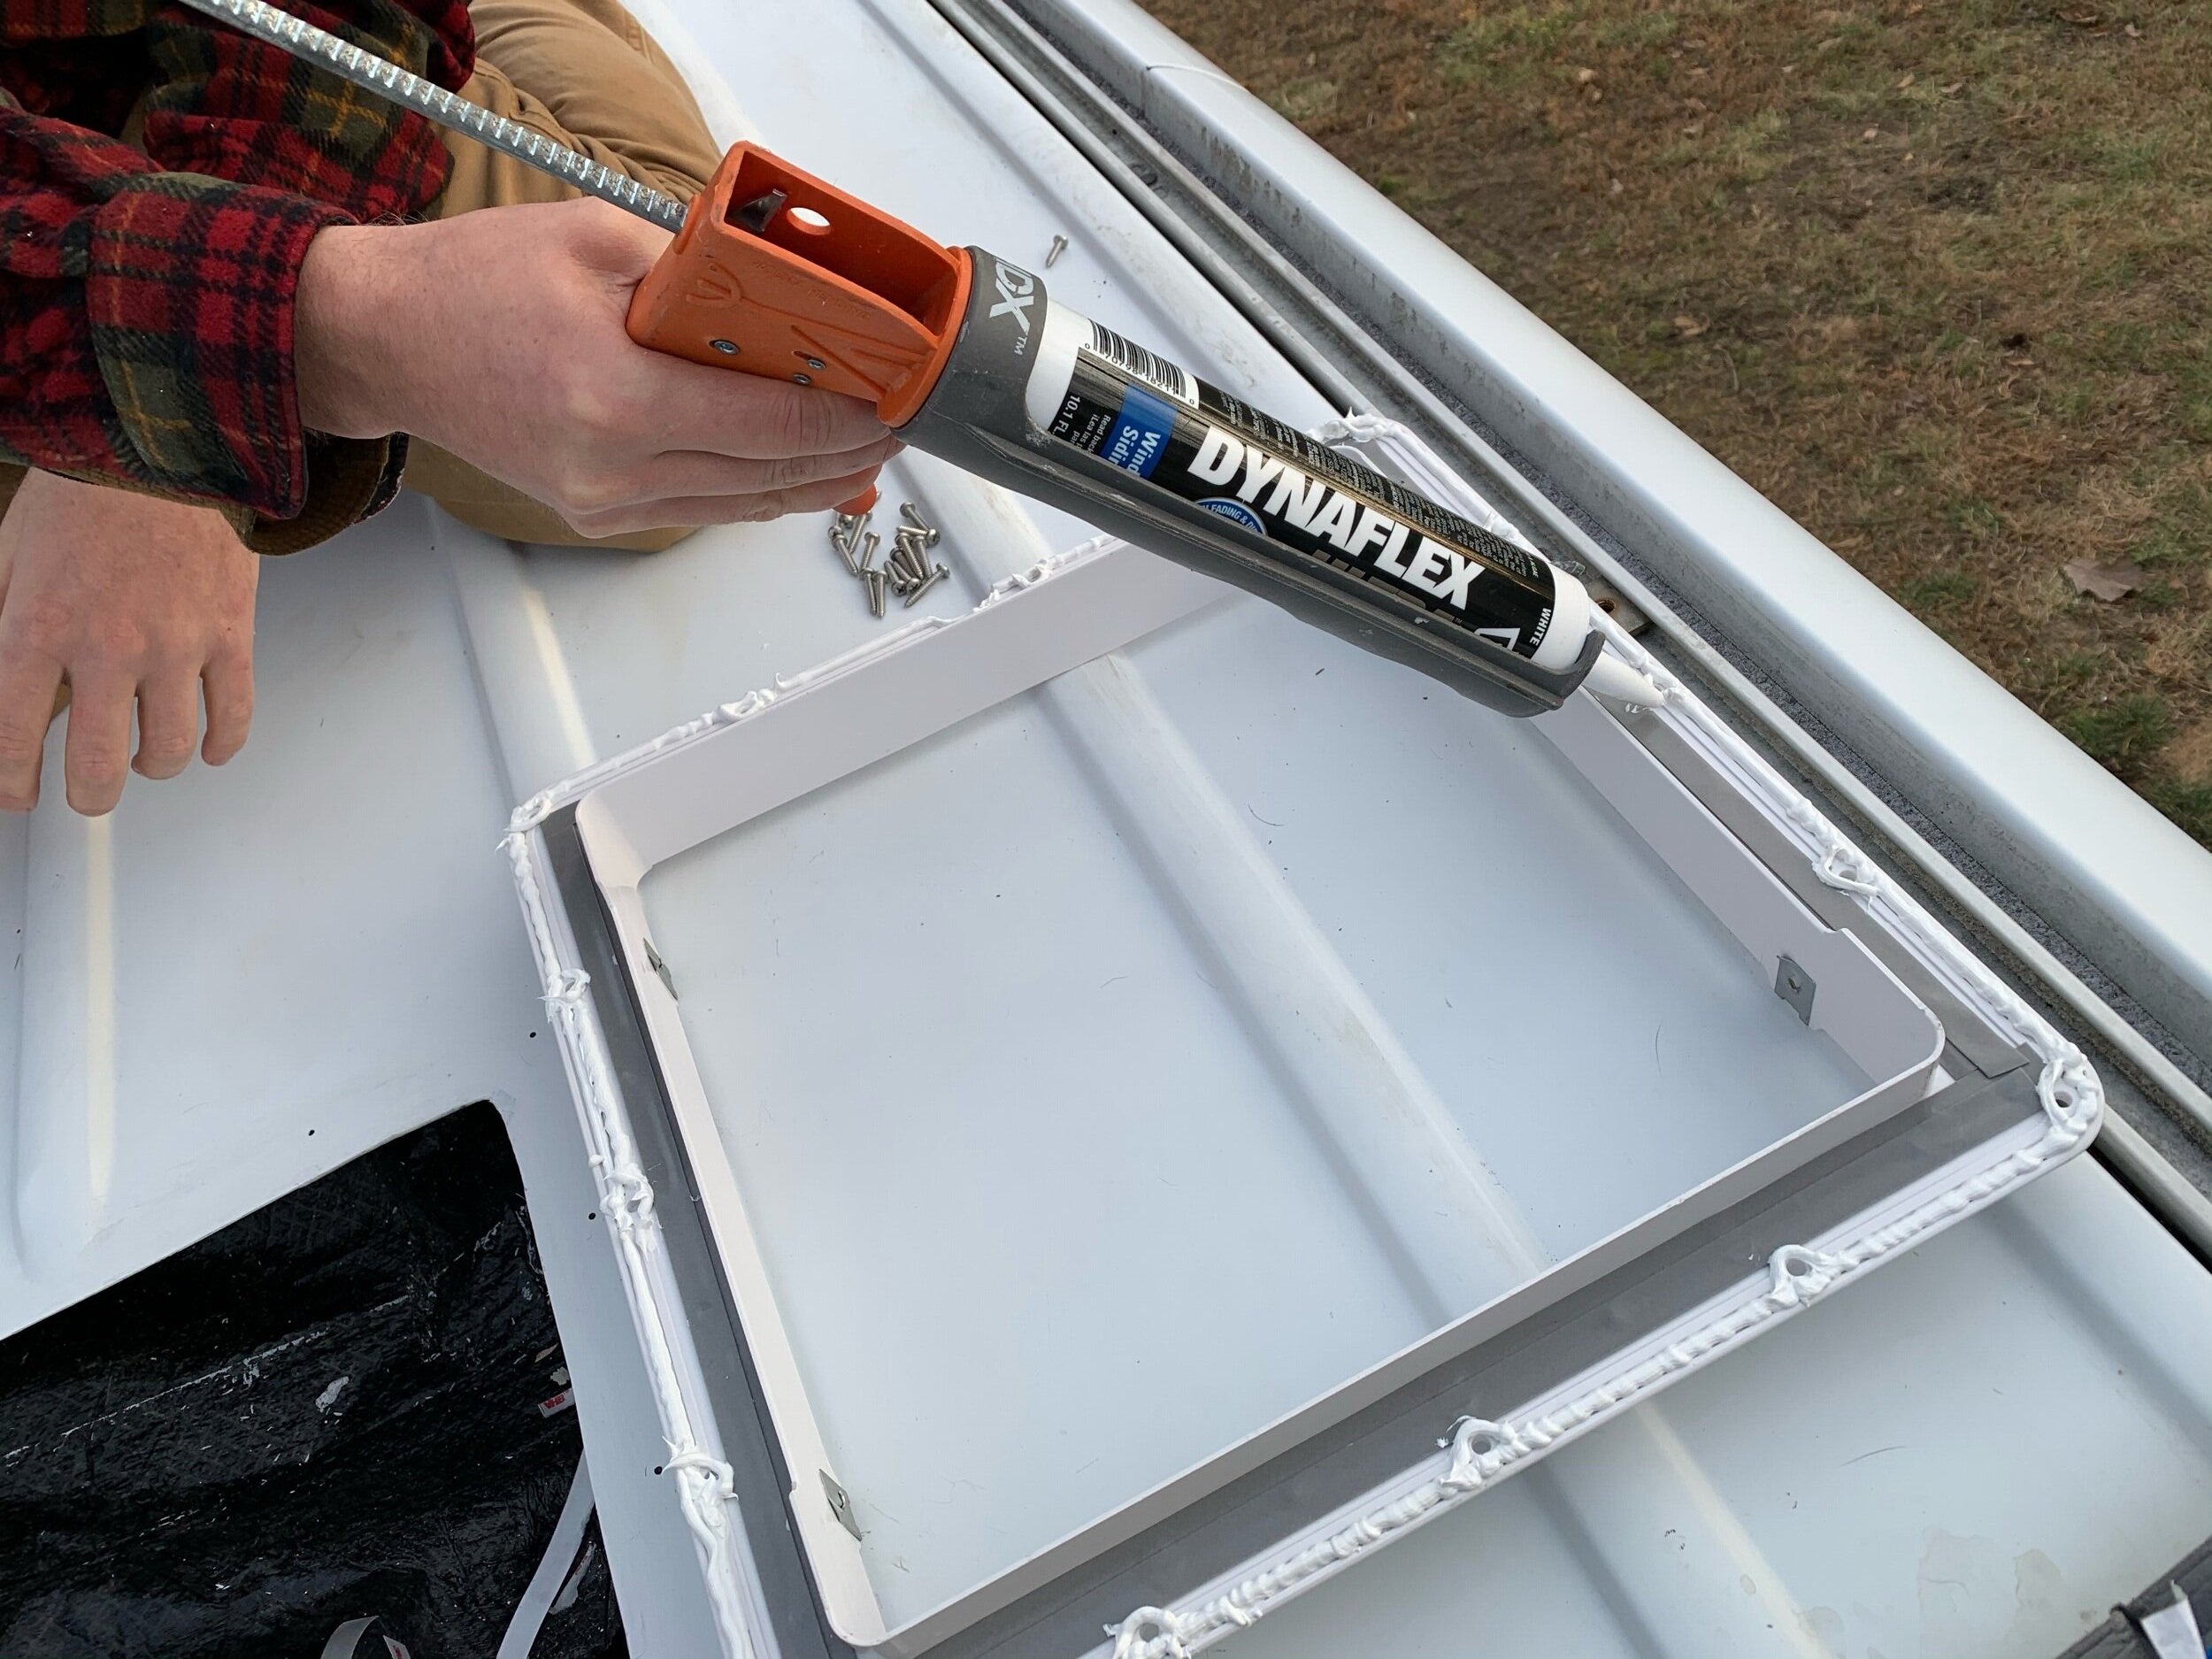
The plastic collar was put in place and the pilot holes were drilled through the roof where the screws would live. Once the preholes were set we removed the collar and applied VHB (very high bondage) tape to the inside of the ring and a bead of sealant around the edge. We placed the collar back onto the roof and screwed it into place. We added some more sealant around the edge and on top of the screws to prevent leaks and rust then spray painted the screws from below to further prevent rust. Finally, we placed the fan itself on top of the collar and screwed it into place.
Tools and Materials:
- DEWALT Jig Saw Tool
- DEWALT DRILL
- Caulking Gun
- Lap Sealant
C.R. Laurence 15x30 Sunroof
Features:
- Flush-Fitting Frame with Weather-Tight Silicone Seal
- Solar High Performance Glass Provides 92% U.V. Protection
- Traditional Design that Replaces Most Other Sunroofs on the Market
- Bio-Mechanical Latch with Two Opening Positions Allows for Easy Glass Removal
Since we have no windows in the back of our van, adding a sunroof seemed like the perfect solution to give us natural lighting but still give us privacy. When measuring the roof of our van there seemed to be a perfect place for a sunroof to be installed right over our bedroom space. The flat area was approximately 16.5 inches wide by 33 inches long.
When checking online for sunroofs we noticed there weren’t as many options as we were expecting and only one that would fit our roof. The 15x30 size sunroof was our only option that would fit our van. We had seen a price of $350 for the sunroof and thought we could wait, but once we checked again the price had risen to $450 and supplies were limited. We ended up calling the manufacturer who told us the product was being discontinued and they only had a few more left. We decided to buy the sunroof for $450 before it went up even farther or worse, we wouldn’t be able to find one at all.
To be honest, the sunroof installation was just as easy as the Maxxfan. The sunroof came with a great cutout template. We measured the location of the sunroof about 10 times as well to be sure there was enough space for the frame and the two metal collars. Once we were happy with the spot, we traced the template onto the blue masking tape, cut on the inside of the line and the top collar fit perfectly the first time. Unlike the fan install, we didn’t have to put any screws through the roof because the top collar screws into the bottom collar and combines with the provided butyl tape. Once both collars were screwed together we added some more sealant around the exterior of the sunroof for extra water sealing.
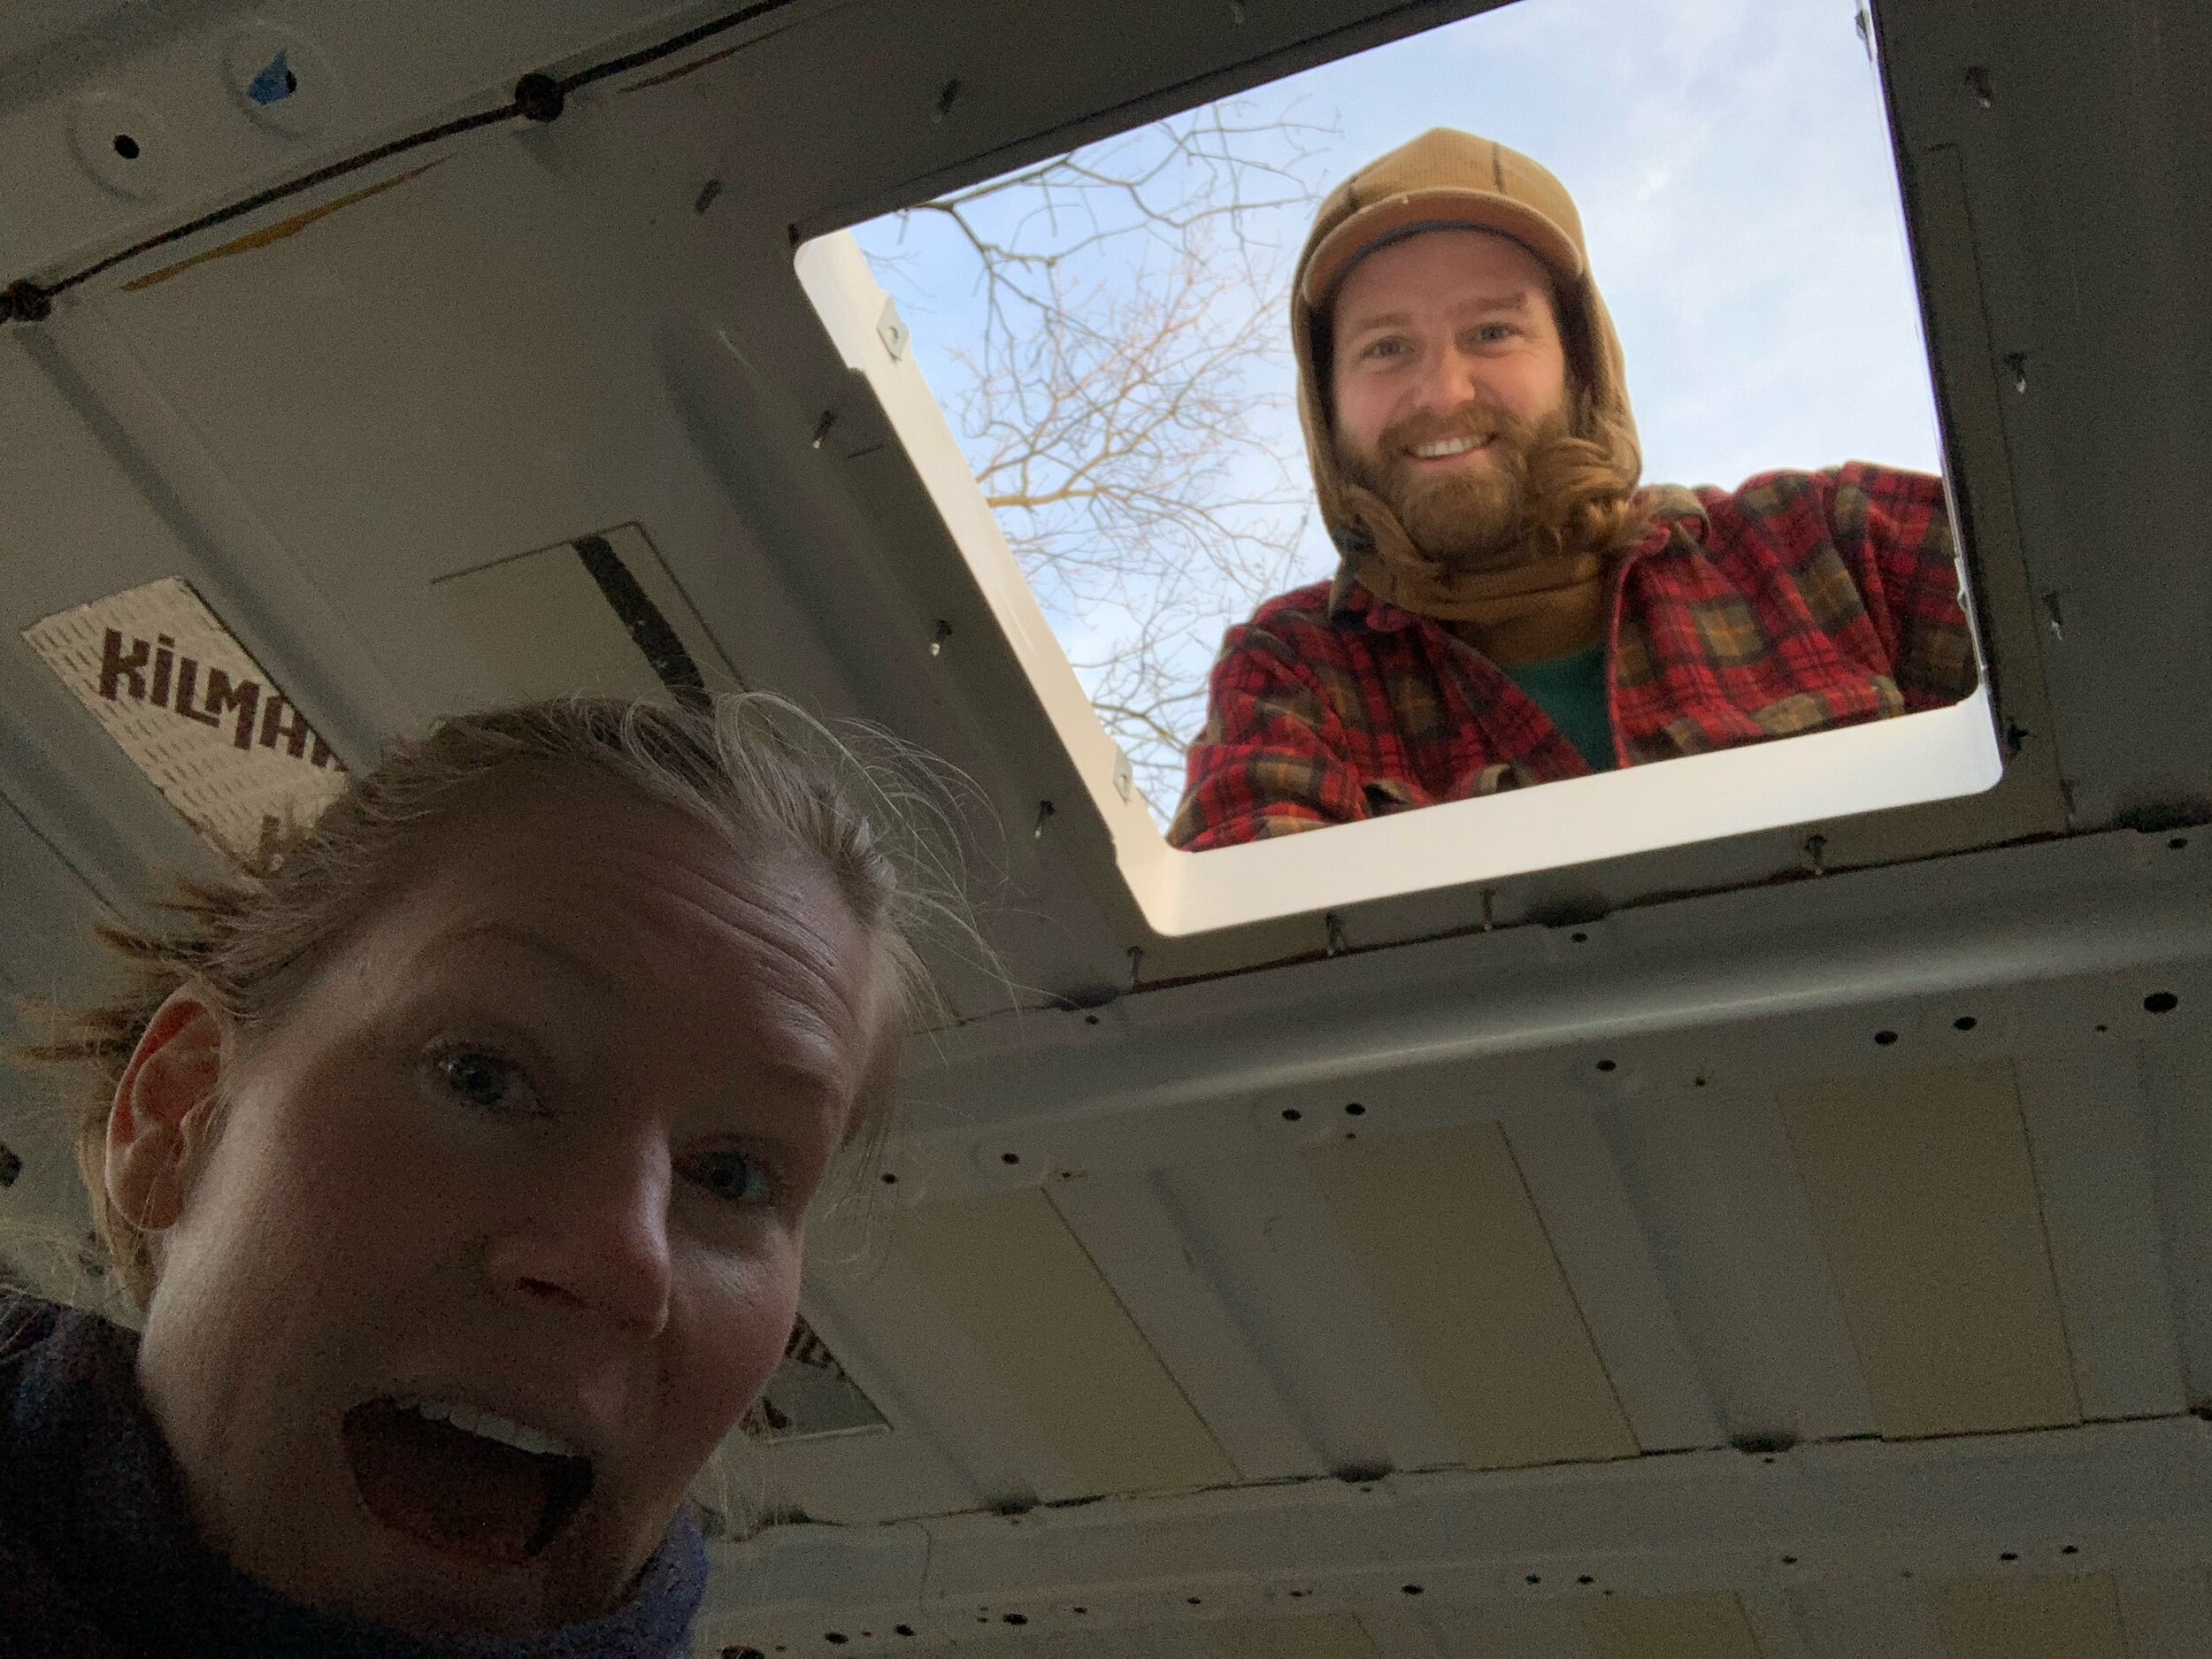
Placing the glass was easy enough by securing the two hooks and then the mechanical handle into place. And just like that, we have a sunroof in the van!
Stage 3 Gallery