
Stage 4: Van Electrical System
In this post we share our electrical diagram for our Sprinter van and a brief explanation on why we chose what we did. Our goal in creating this system was to be fully off-the-grid in the simplest way possible.
For full transparency, we are not electricians! However, we're open to questions and totally support consulting a certified electrician when it comes to building your own system!
Van Electrical components
Renogy two (2) 100 Watt 12 Volt Monocrystalline Solar Panels (Compact Design)
Renogy two (2) 100Ah 12 Volt Smart Lithium Iron Phosphate Batteries
Renogy 2000W 12 Volt Pure Sine Wave Inverter
EP EVER MPPT Solar Charge Controller with Remote Meter and Temperature Sensor Monitoring
Kohree Battery Disconnect Master Switch T Tocas 300A Heavy-Duty Negative bus bar terminal
T Tocas 30 Amp Surface-Mount Circuit Breakers with Manual Reset
WindyNation ANL Fuse Holder Branch Connector Parallel Adapter Kit for Solar Panel
3 AC Outlets Recessed Power Strip

How does it work?
Let's start with the batteries
We bought two (2) 100Ah batteries so we could collect solar power from our roof and have enough storage to last us at least a few days without any sun. We chose Lithium Ion Batteries from Renogy because of the great customer service, decent price with discounts and long life of Lithium Ion Phosphate.
We did some early calculations of all our planned electrical components and decided that 200Ah would be enough for us. So far, three months into vanlife, we think we made the right decision.
We wired our two (2) 100Ah batteries in parallel by connecting the positive of one battery to the positive of the other with a thick 2 awg wire. We also connected both negatives to each other with the same thickness wire to complete the parallel.

Terminal Fuse: Protect your batteries!
To protect the batteries and components, we added an in-line 250Amp WindyNation ANL Fuse Holder in case there is a big power surge it will break the fuse instead of damaging the batteries or components. The reason we chose a 250A fuse was that our batteries can normally supply 200A of 12v current, so you want a fuse that allows for the max electric current but will break if it goes much further.
Main System Switch
From the main 250A fuse we then connected, with the same heavy duty 2 awg wire, a 250A Kohree Battery Master switch. This switch is a very important safety measure to be able to turn off all the power coming from your batteries and going to your components. For us, we ran out of battery a couple times early on when it was rainy for a few days and we were carelessly using power. To prevent any further damage, we flipped the main switch so no more power could be drawn by the charge controller or 12v fuse box.
When lithium batteries read under 12v the batteries really start to suffer and can be damaged. Once the sun came out we flipped the switch back on and saw that the batteries themselves turned off to self preserve, which is good!
After turning on the batteries, the charge controller started pumping power back into the batteries and all was well. We also connected all three main components (charge controller, inverter and 12 volt fuse box) directly to the out of the main switch.

120v AC Inverter: Serious Power
Highlight loves her smoothies and coffee in the morning so we wanted plenty of AC 120volt power in case we wanted to boil water on the kettle while also blending up a smoothie. We chose the Renogy 2000W 12V Pure Sine Wave Inverter for our AC power needs. So far, this inverter has performed extremely well. We have never been short on AC power even when running several high usage electronics all at once.
When installing the inverter, we hooked up the provided thick positive cable directly to the out side of the main system switch and the provided negative cable to the negative bus bar.

Bus Bar: Connect everything back to the battery
At this point we have five negative cables that need to connect back to the battery. "Bus" bars are handy organizational tools to help connect many wires to a battery terminal. Battery terminals typically hold one or two wires under the bolt, therefore, adding a bus bar allows for many wires to be connected to the terminal.
Charge Controller: Control the solar!
If you want solar panels on your roof, you need a charge controller to control the charge from your solar into your batteries. House batteries can be a little finicky even if you buy the high-end Lithium ones because if you over charge or draw too much power there can be damage.
After lots of research into charge controllers, we settled on the 40A EPEVER MPPT model because of its great reputation and metal fins. We like the metal fins so that whenever the batteries are totally topped up and the solar panels are still producing power, the charge controller can dissipate the energy in the form of heat effectively. We also liked that if we upgraded our solar to 300w or 400w at some point we could keep the same charge controller.
To be honest, we could probably have gotten by with a cheaper model and we're not sure that the metal fins are truly essential but it has worked really well for us and we have no lingering fears that our power system will overheat. Peace of mind is worth something!
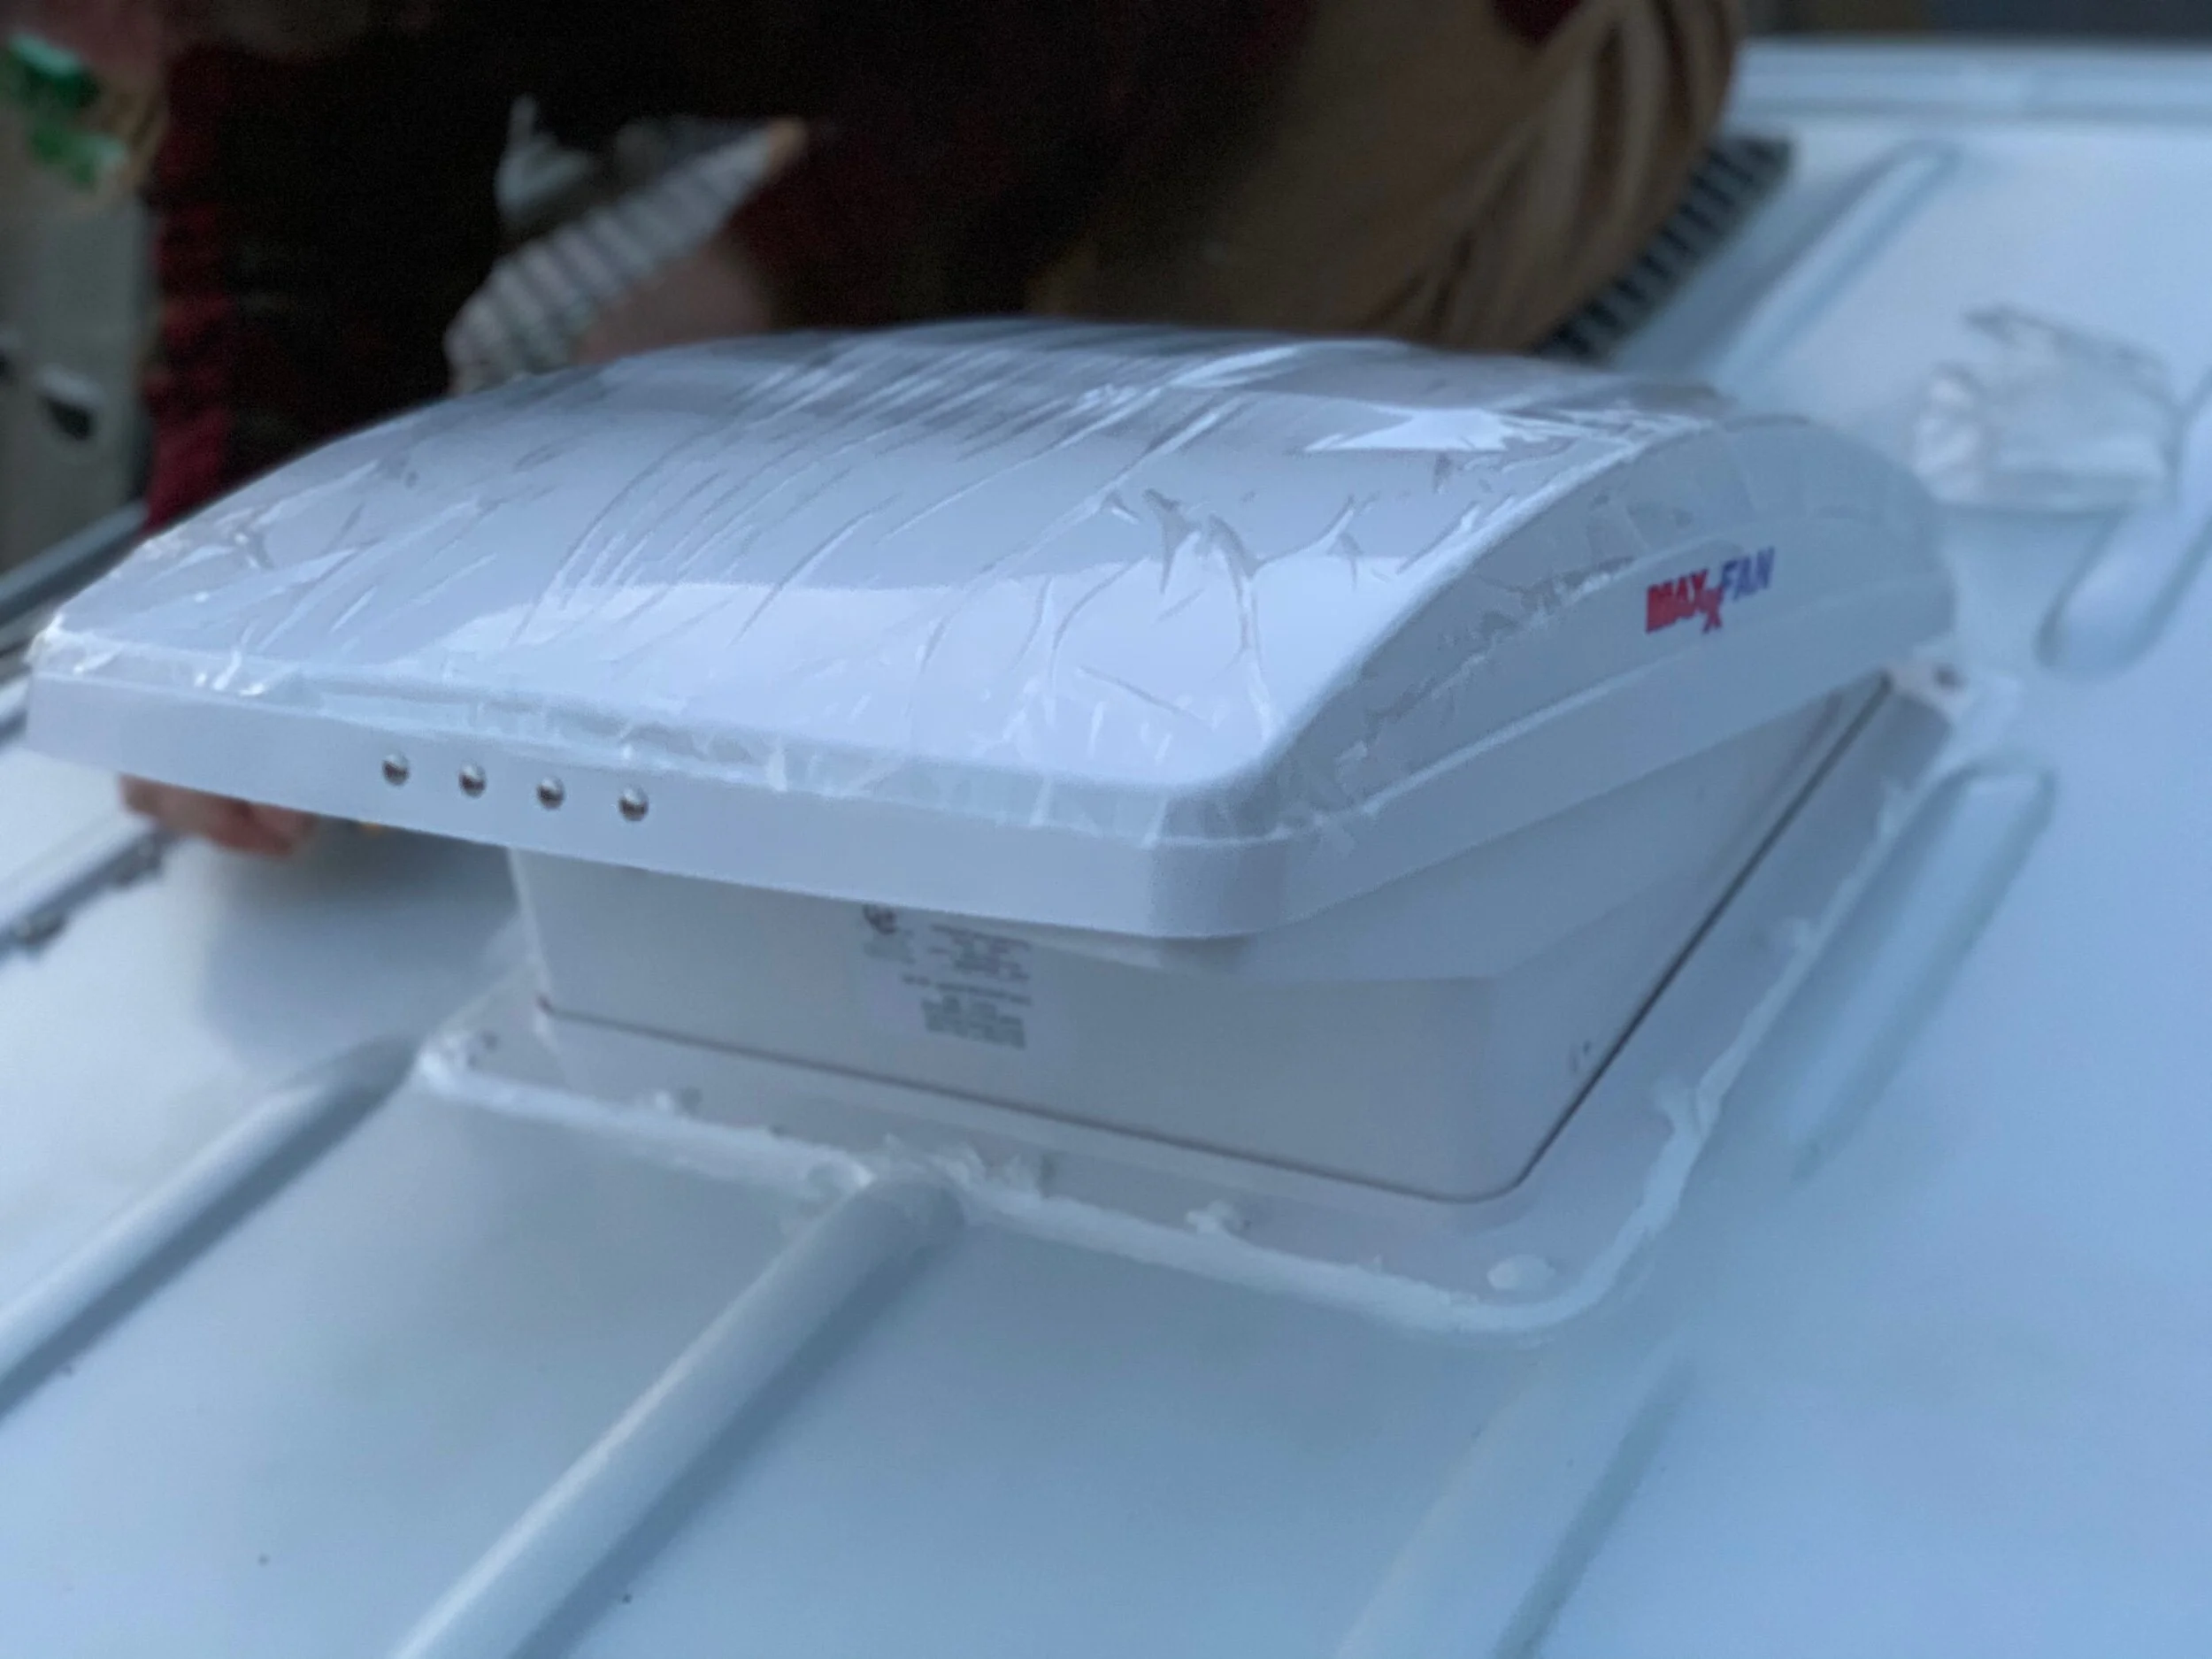
Solar Power: make the Power
We went with two (2) Renogy 100W Monocrystalline solar panelsbecause we got a good price during winter time seasonal sales and we just really like Renogy as a company cause they helped answer many questions throughout our electrical build.

The two panels were installed onto the roof with metal brackets that screw right into the roof. We added a good amount of lap sealant under and around the brackets as well as sprayed the inside screws with flex seal. The panels are connected in parallel with a weather-proof splitter. Don’t forget to plug in your battery temperature probe from the charge controller as well as the MT50 display screen to keep track of your battery’s voltage and solar’s charging data.
12 volt Fuse Box
We decided on an off-brand fuse box that got great reviews but was almost half the price of the Blue Seas version. We went with the WUPP Fuse Box and it’s worked flawlessly for the last 6 months. We connected 8 awg wire from the main switch to the positive of the fuse box as well as 8 awg wire connecting to the negative bus bar.
What we love about the fuse box is that it has an indicator light for each circuit so that when the fuse has been blown or if you simply remove a fuse from the holder, it will light up identifying which fuse has tripped.
Read more about our van conversion below!
Check out how we wired the Got It Wired van!